Cummings & Wilson Model E

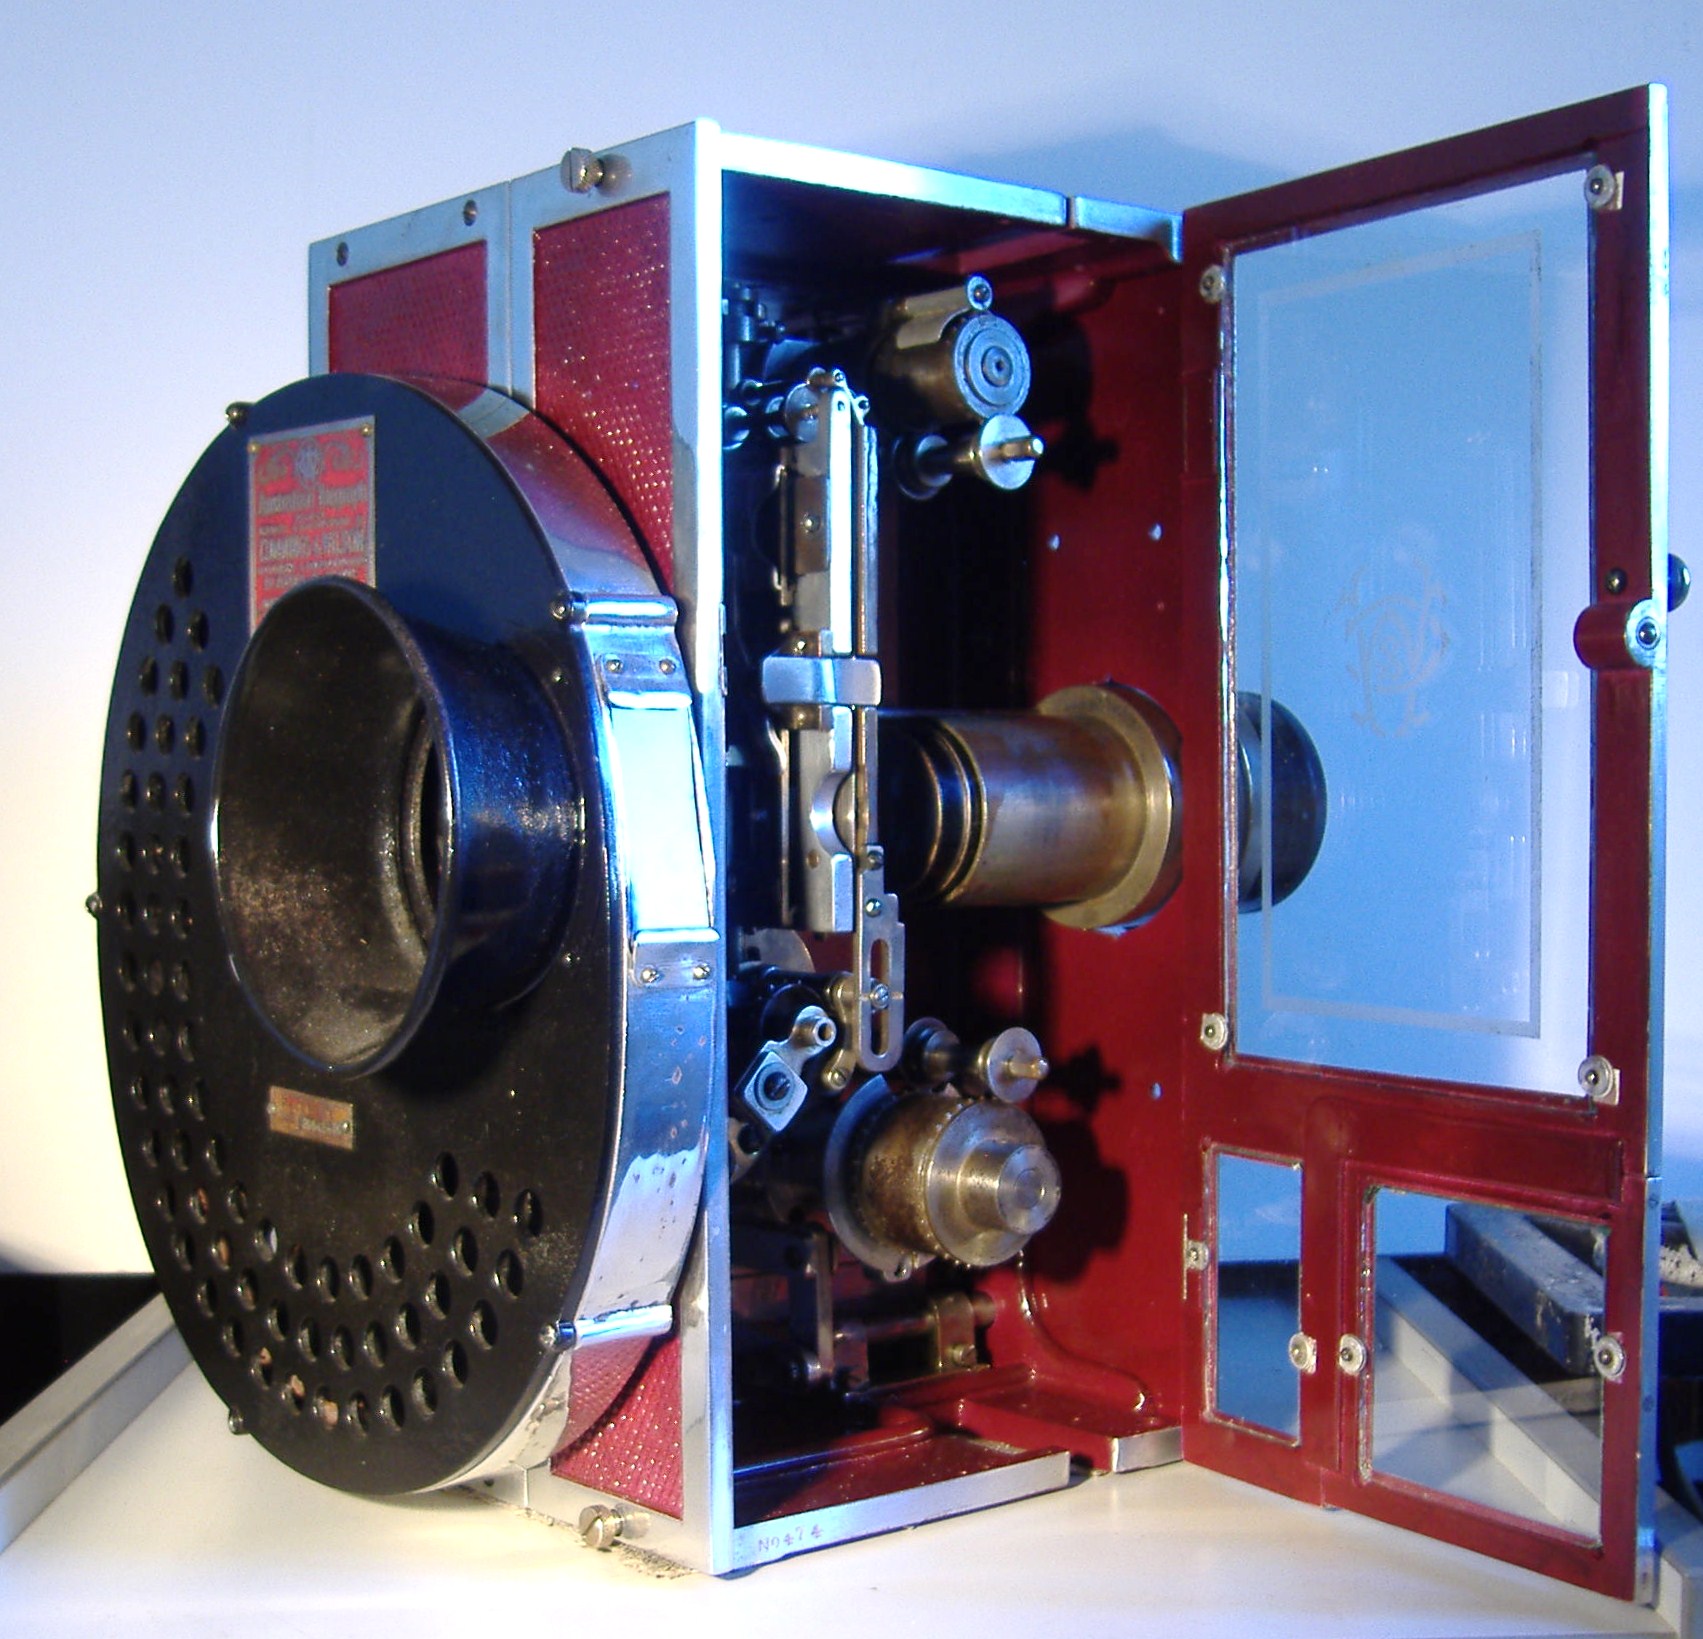
The Cummings & Wilson Model E. This article covers photographs of models and assembly of the Model E.

Taken from The C & W Manual written up by Richard Ashton.

Other articles on the C & W projectors are also written up in detail.

Announcement advertisement in Everyones October 29 1930


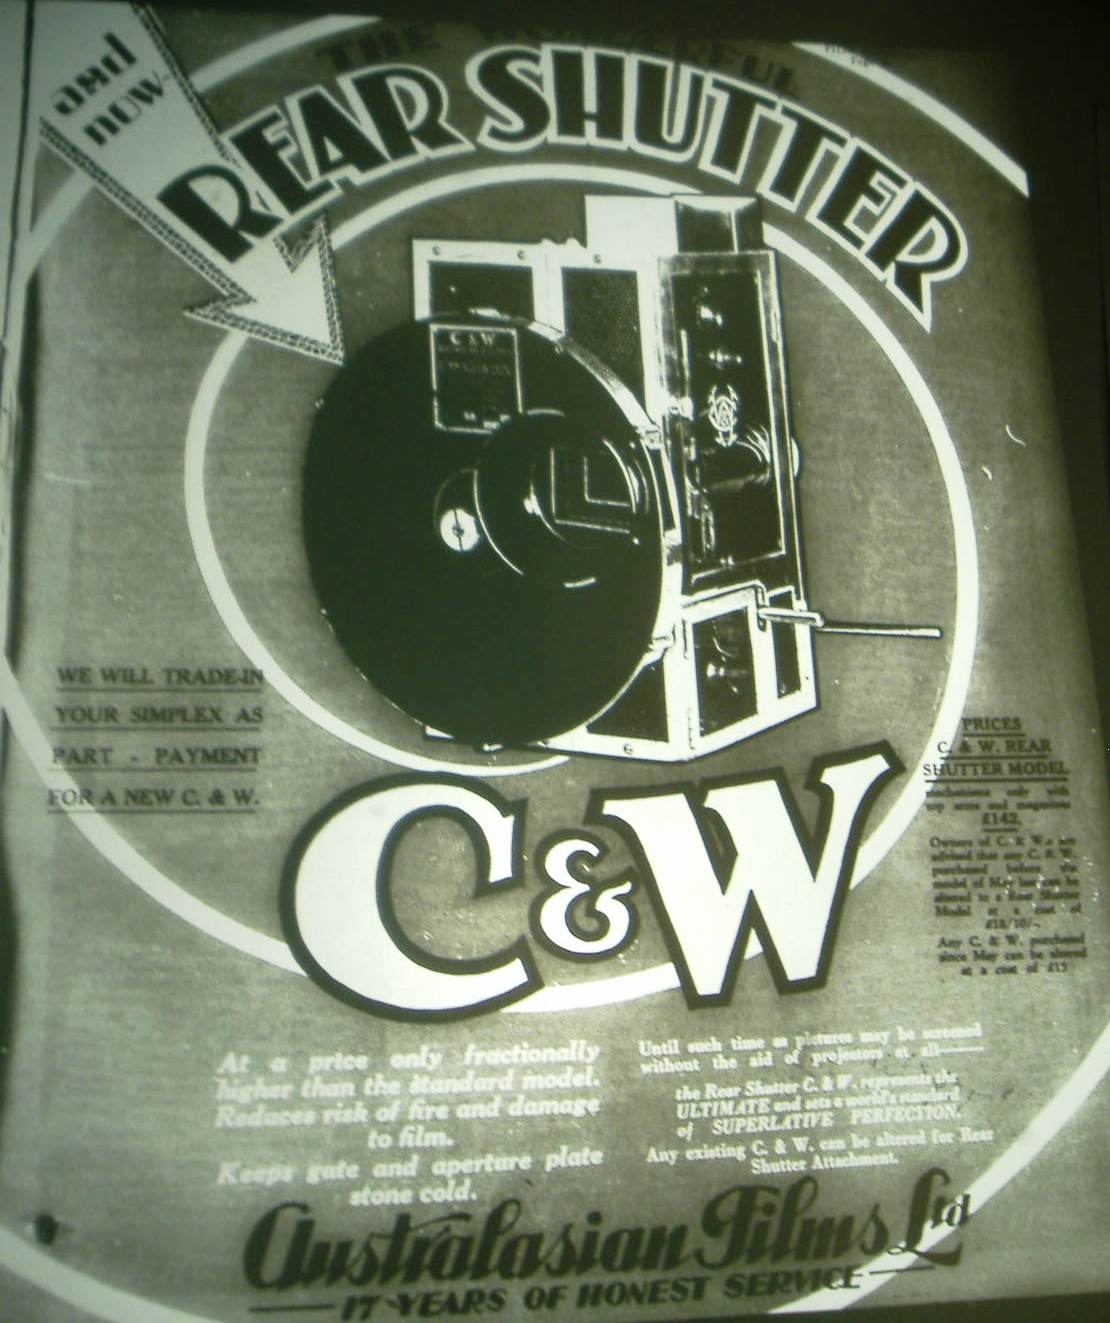
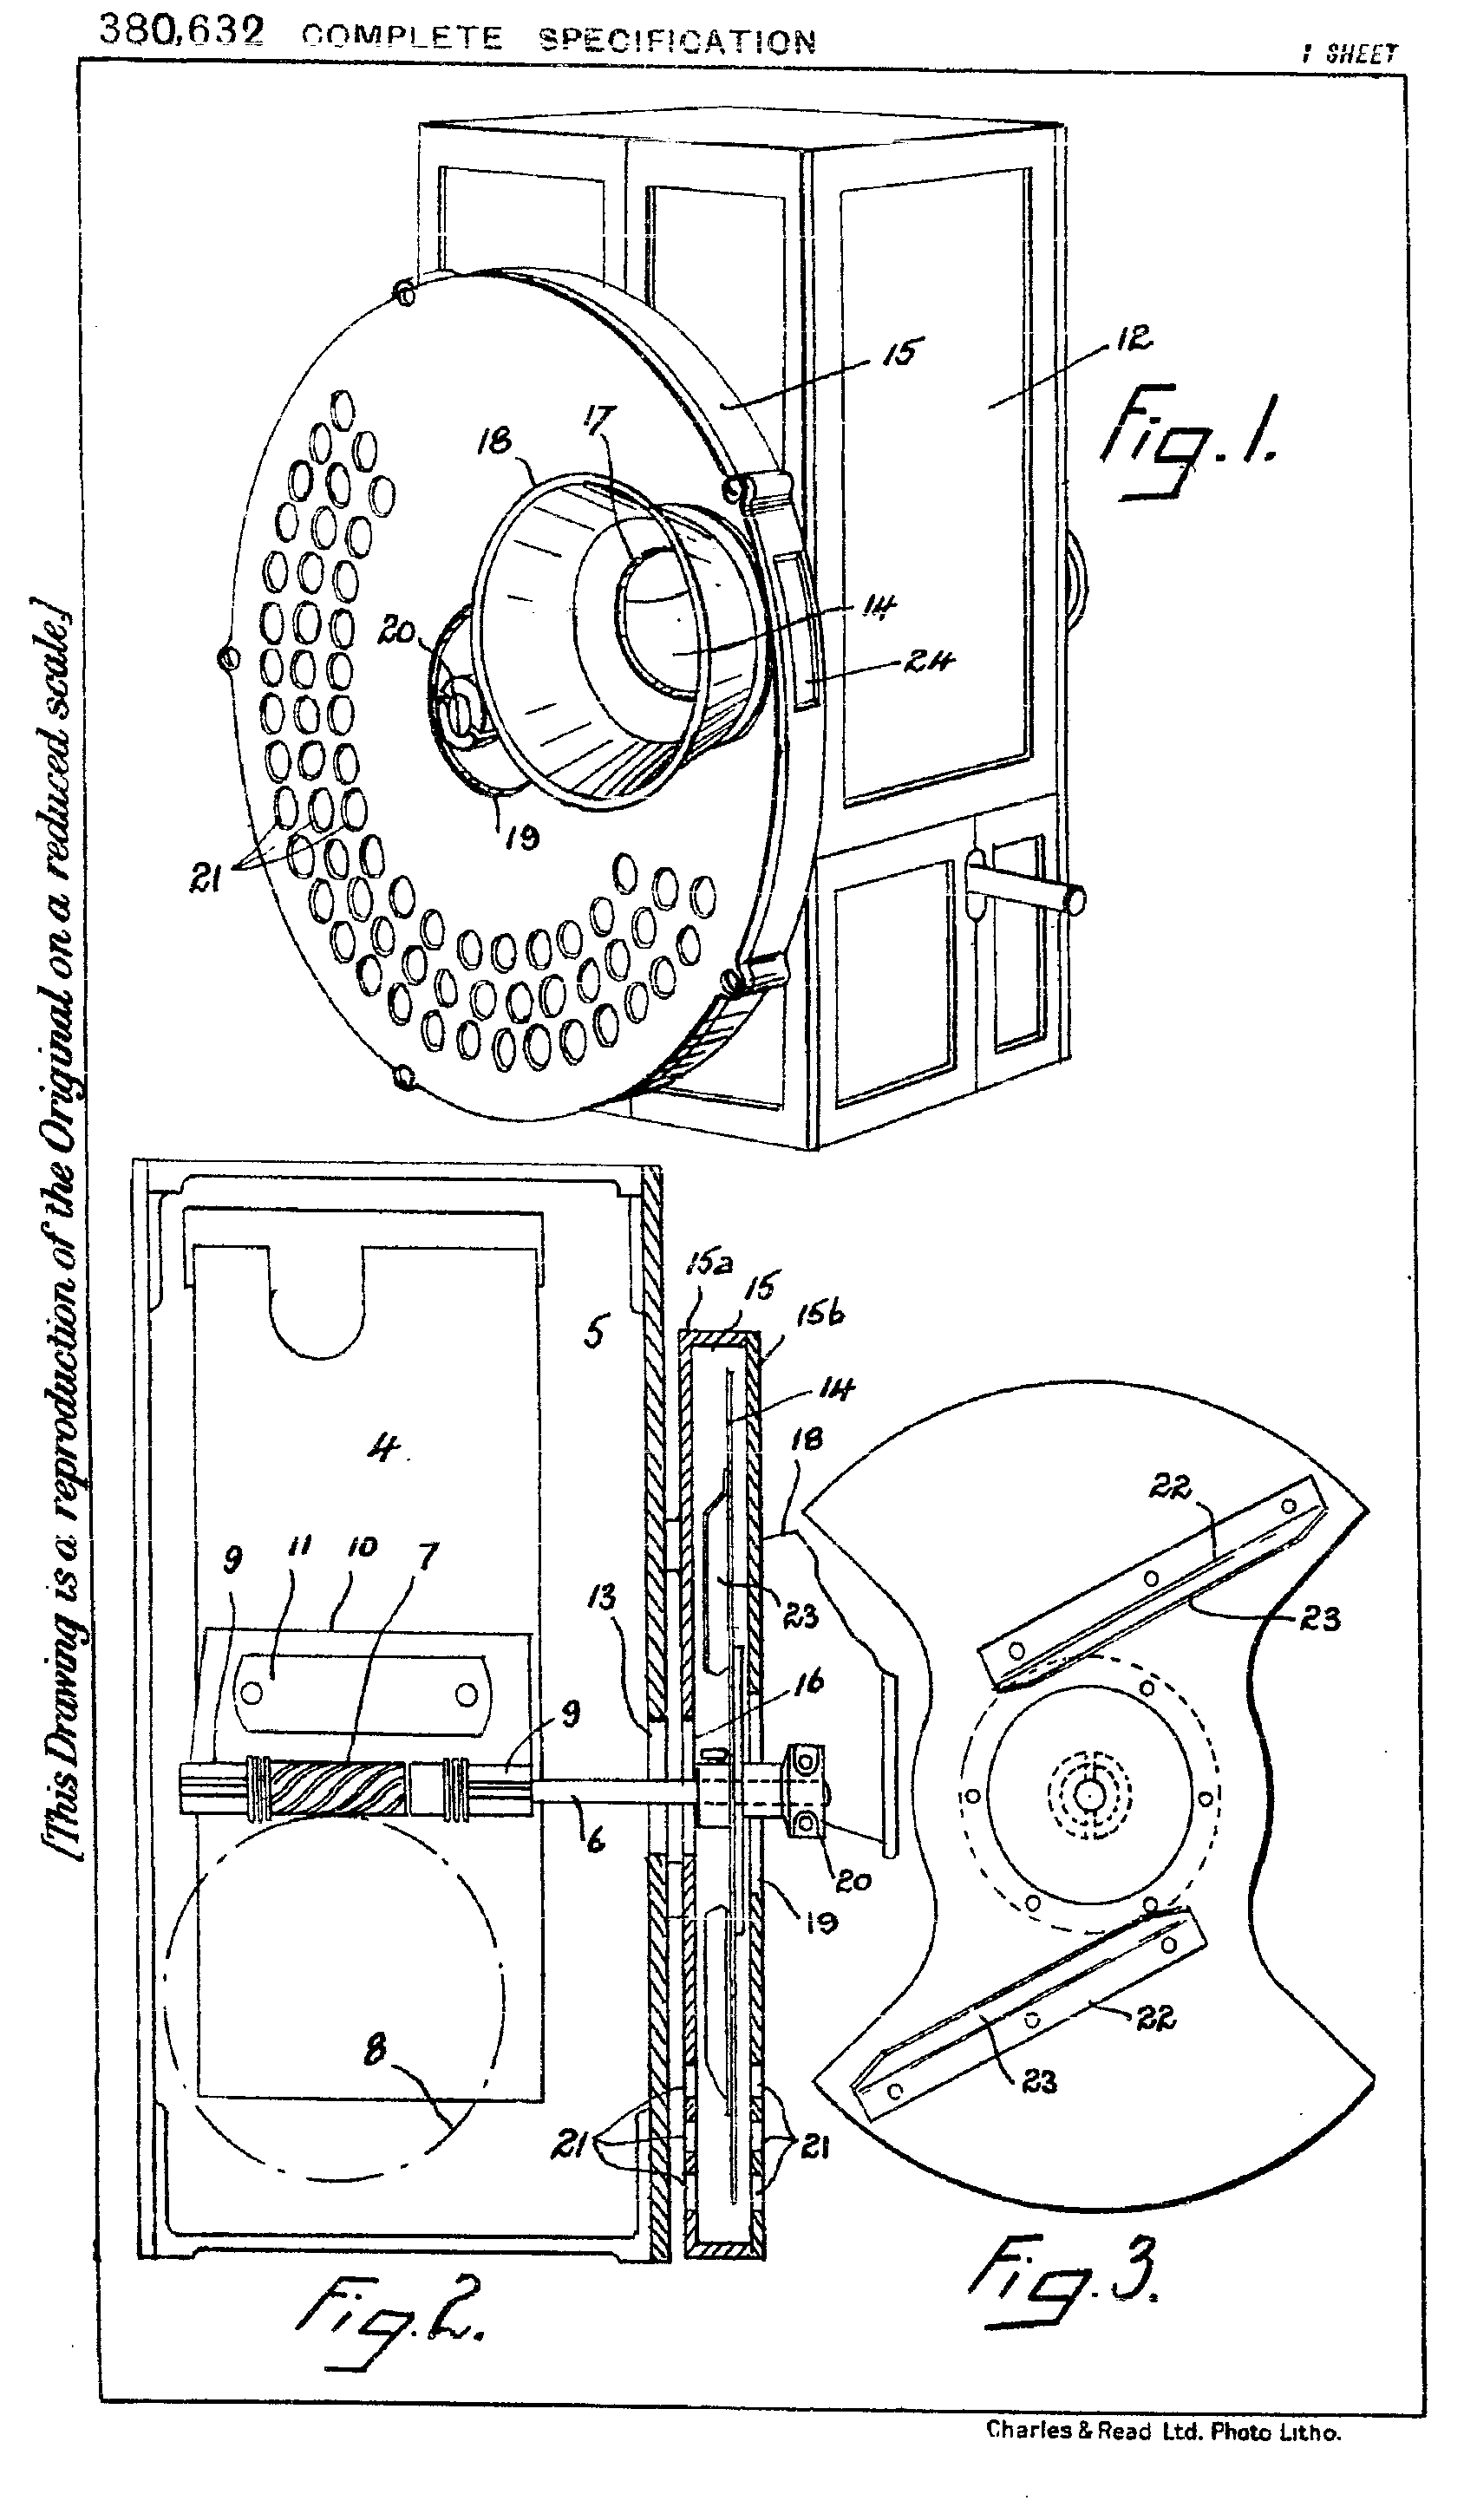
This advertisement of November 26 1931 shows that conversion of model D’s and earlier models could be made for £18:10

model E


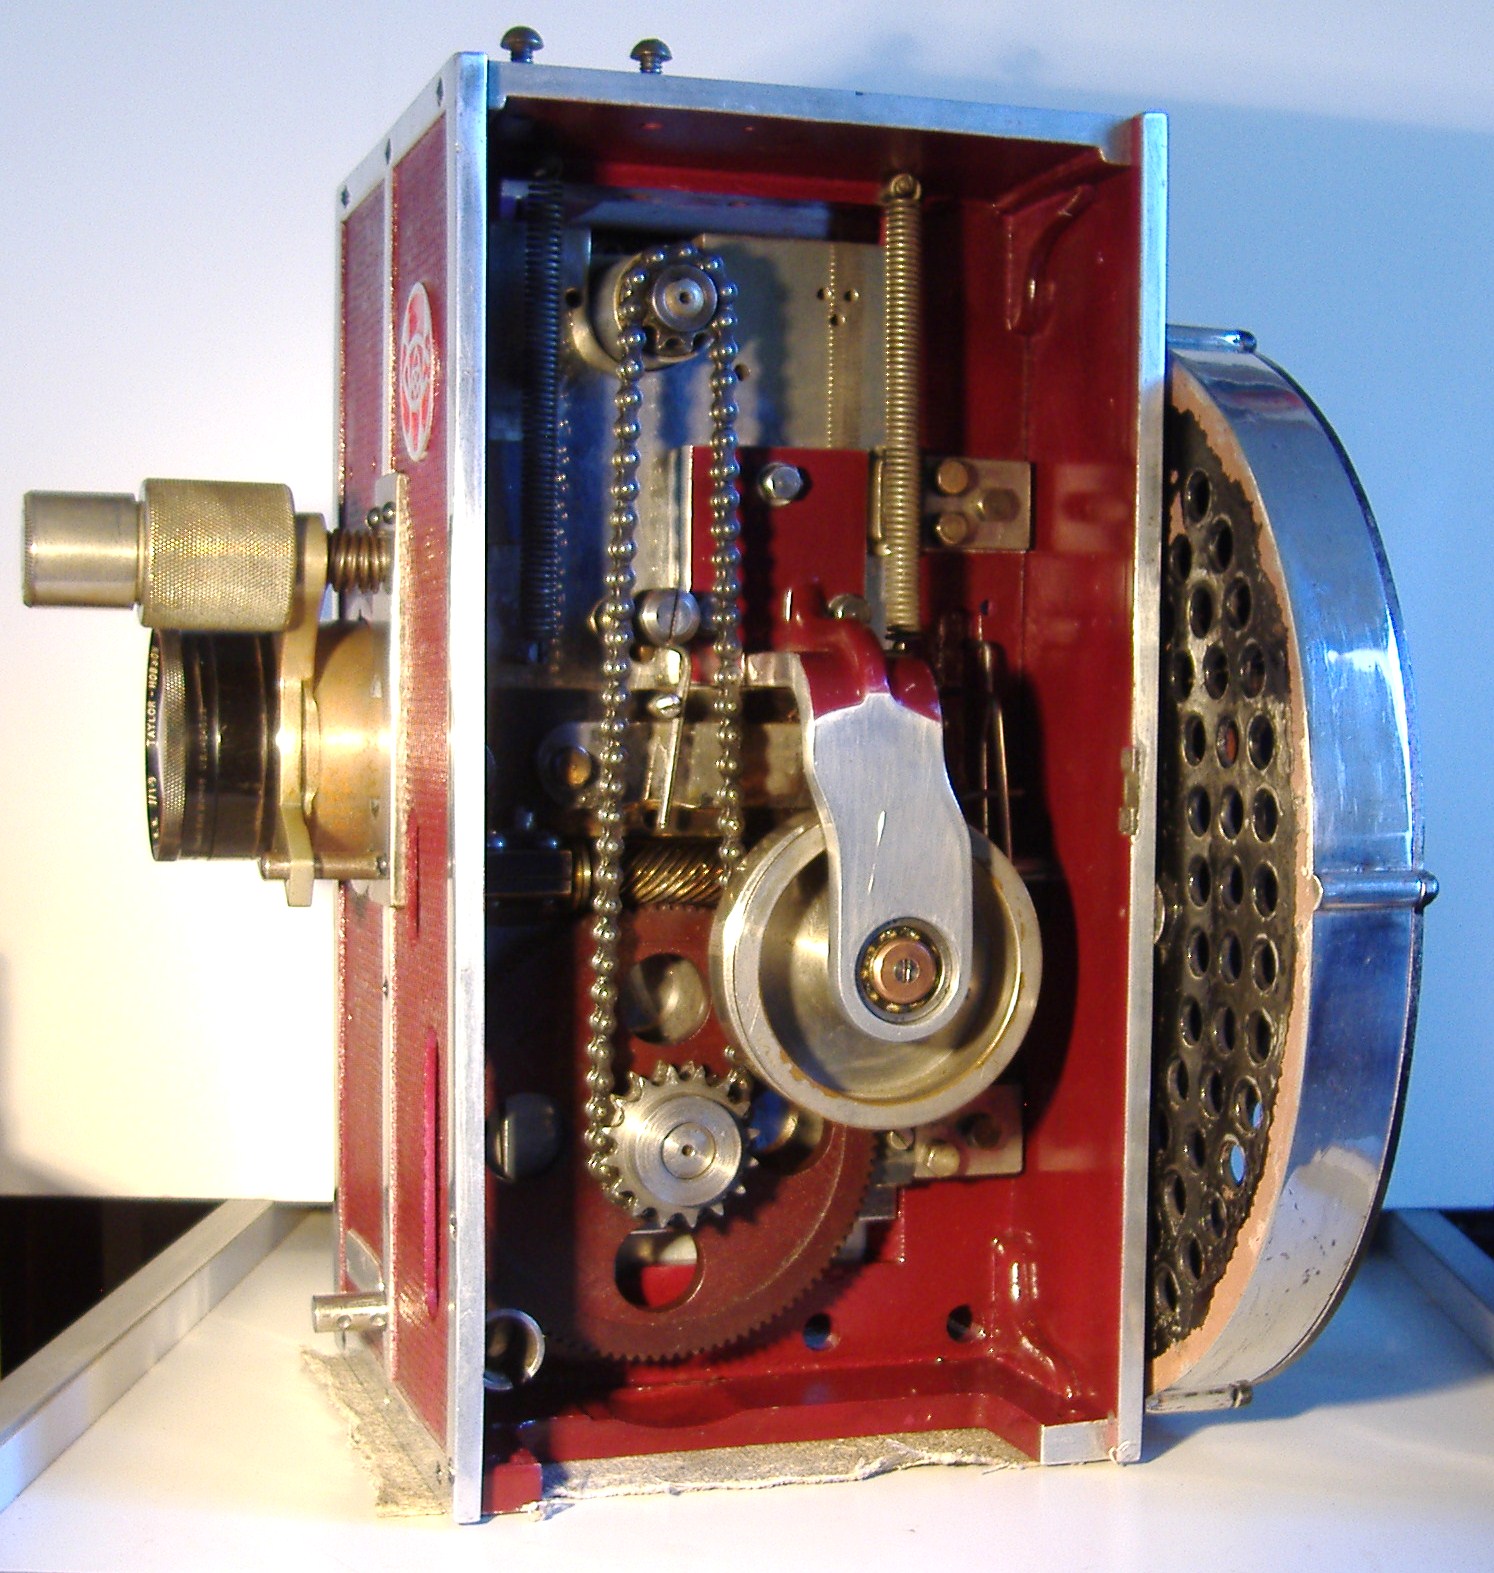
C&W Model E Rear Shutter Picture Gallery

mODEL e 1


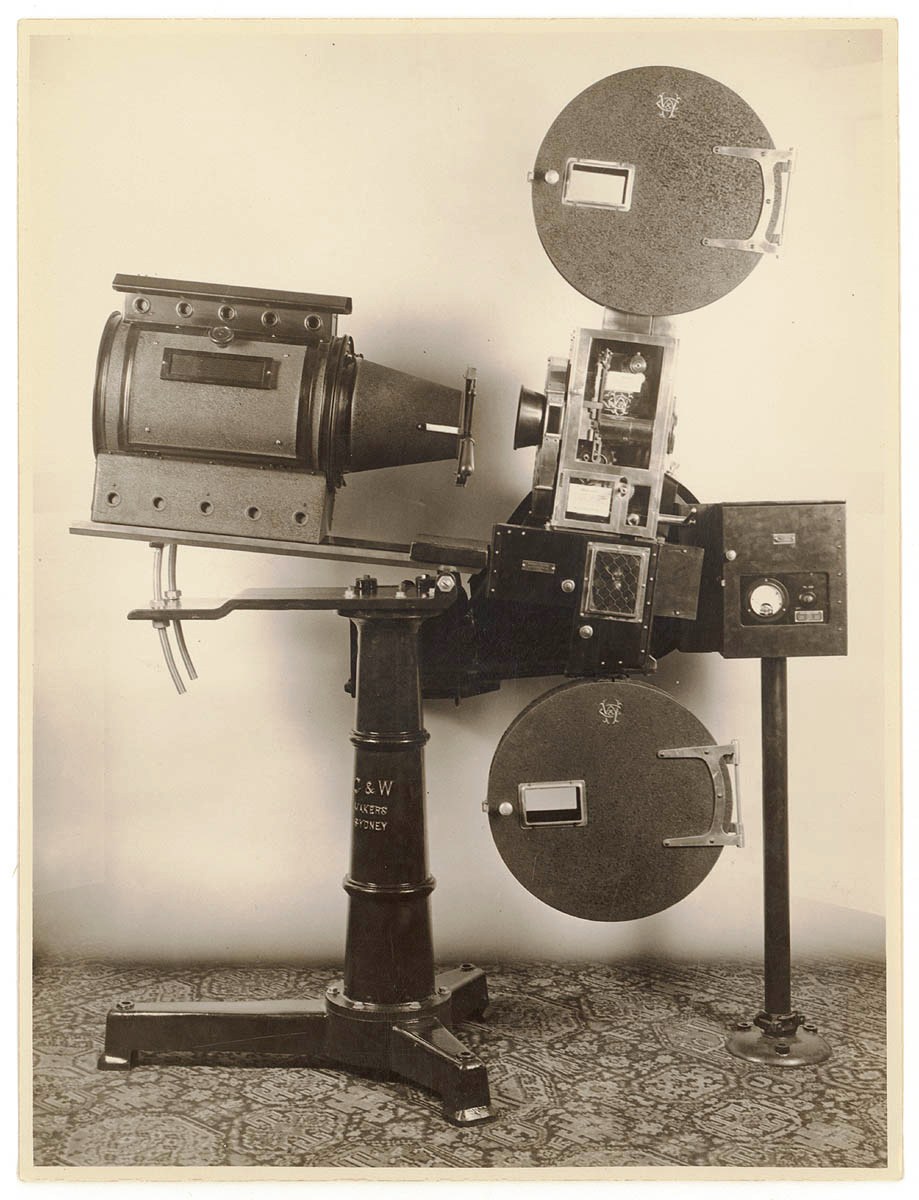
The original price for the new Model E was £142 projector and top spool box

The sound head is Western Electric including a separate pre-amp box and stand, Arc lamp is Hamilton and Baker, the Pedestal and bottom take up spool box  C&W

In the first 8 week after the launch 30 model E projectors were sold
In the first 8 week after the launch 30 model E projectors were sold. Front view


Flywheel side shows the cover for the (two leather?) drive belts Also the chain drive leading to the bottom spool box shows an interesting chain tensioned and drag clutch fitting…see the end on view the bottom spool box


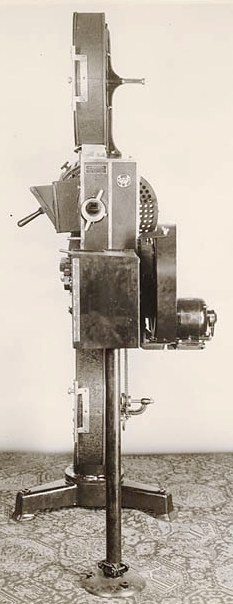
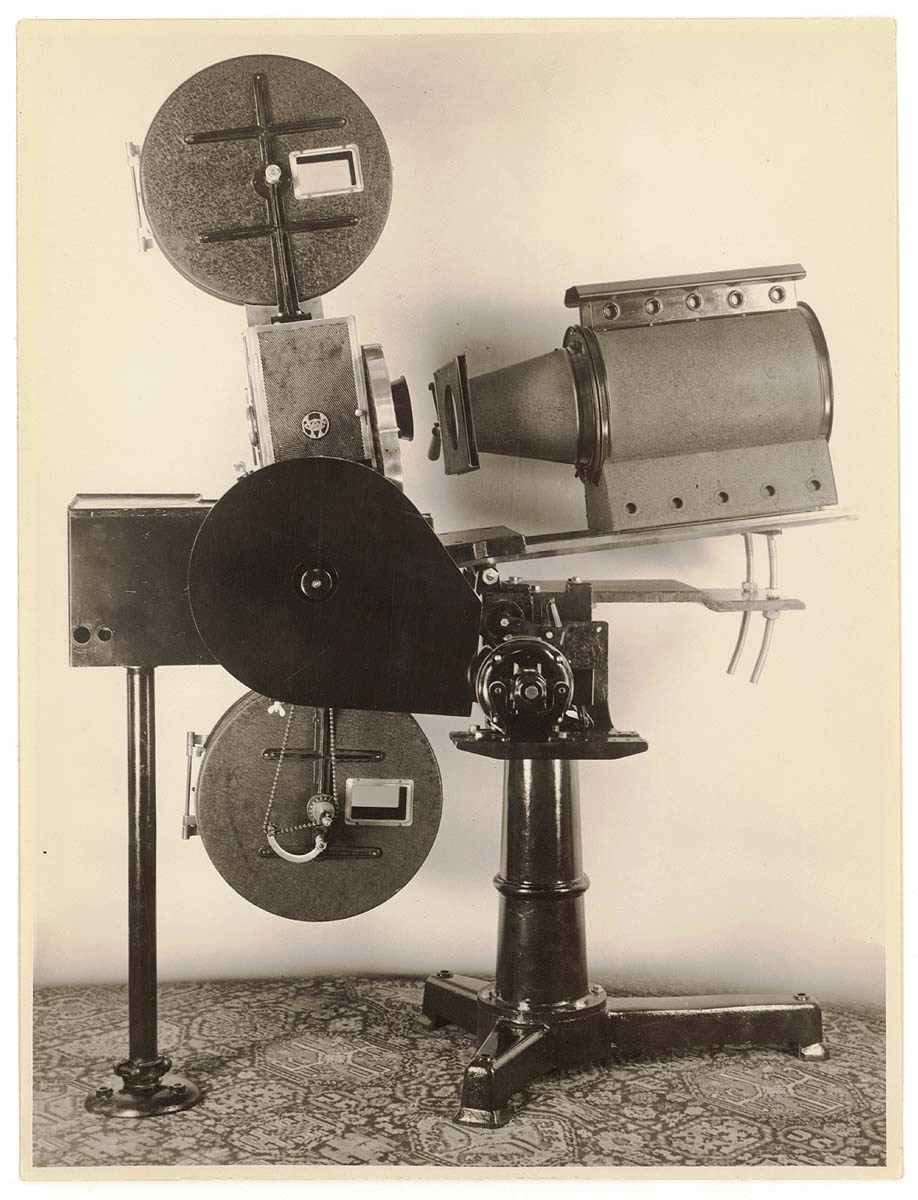
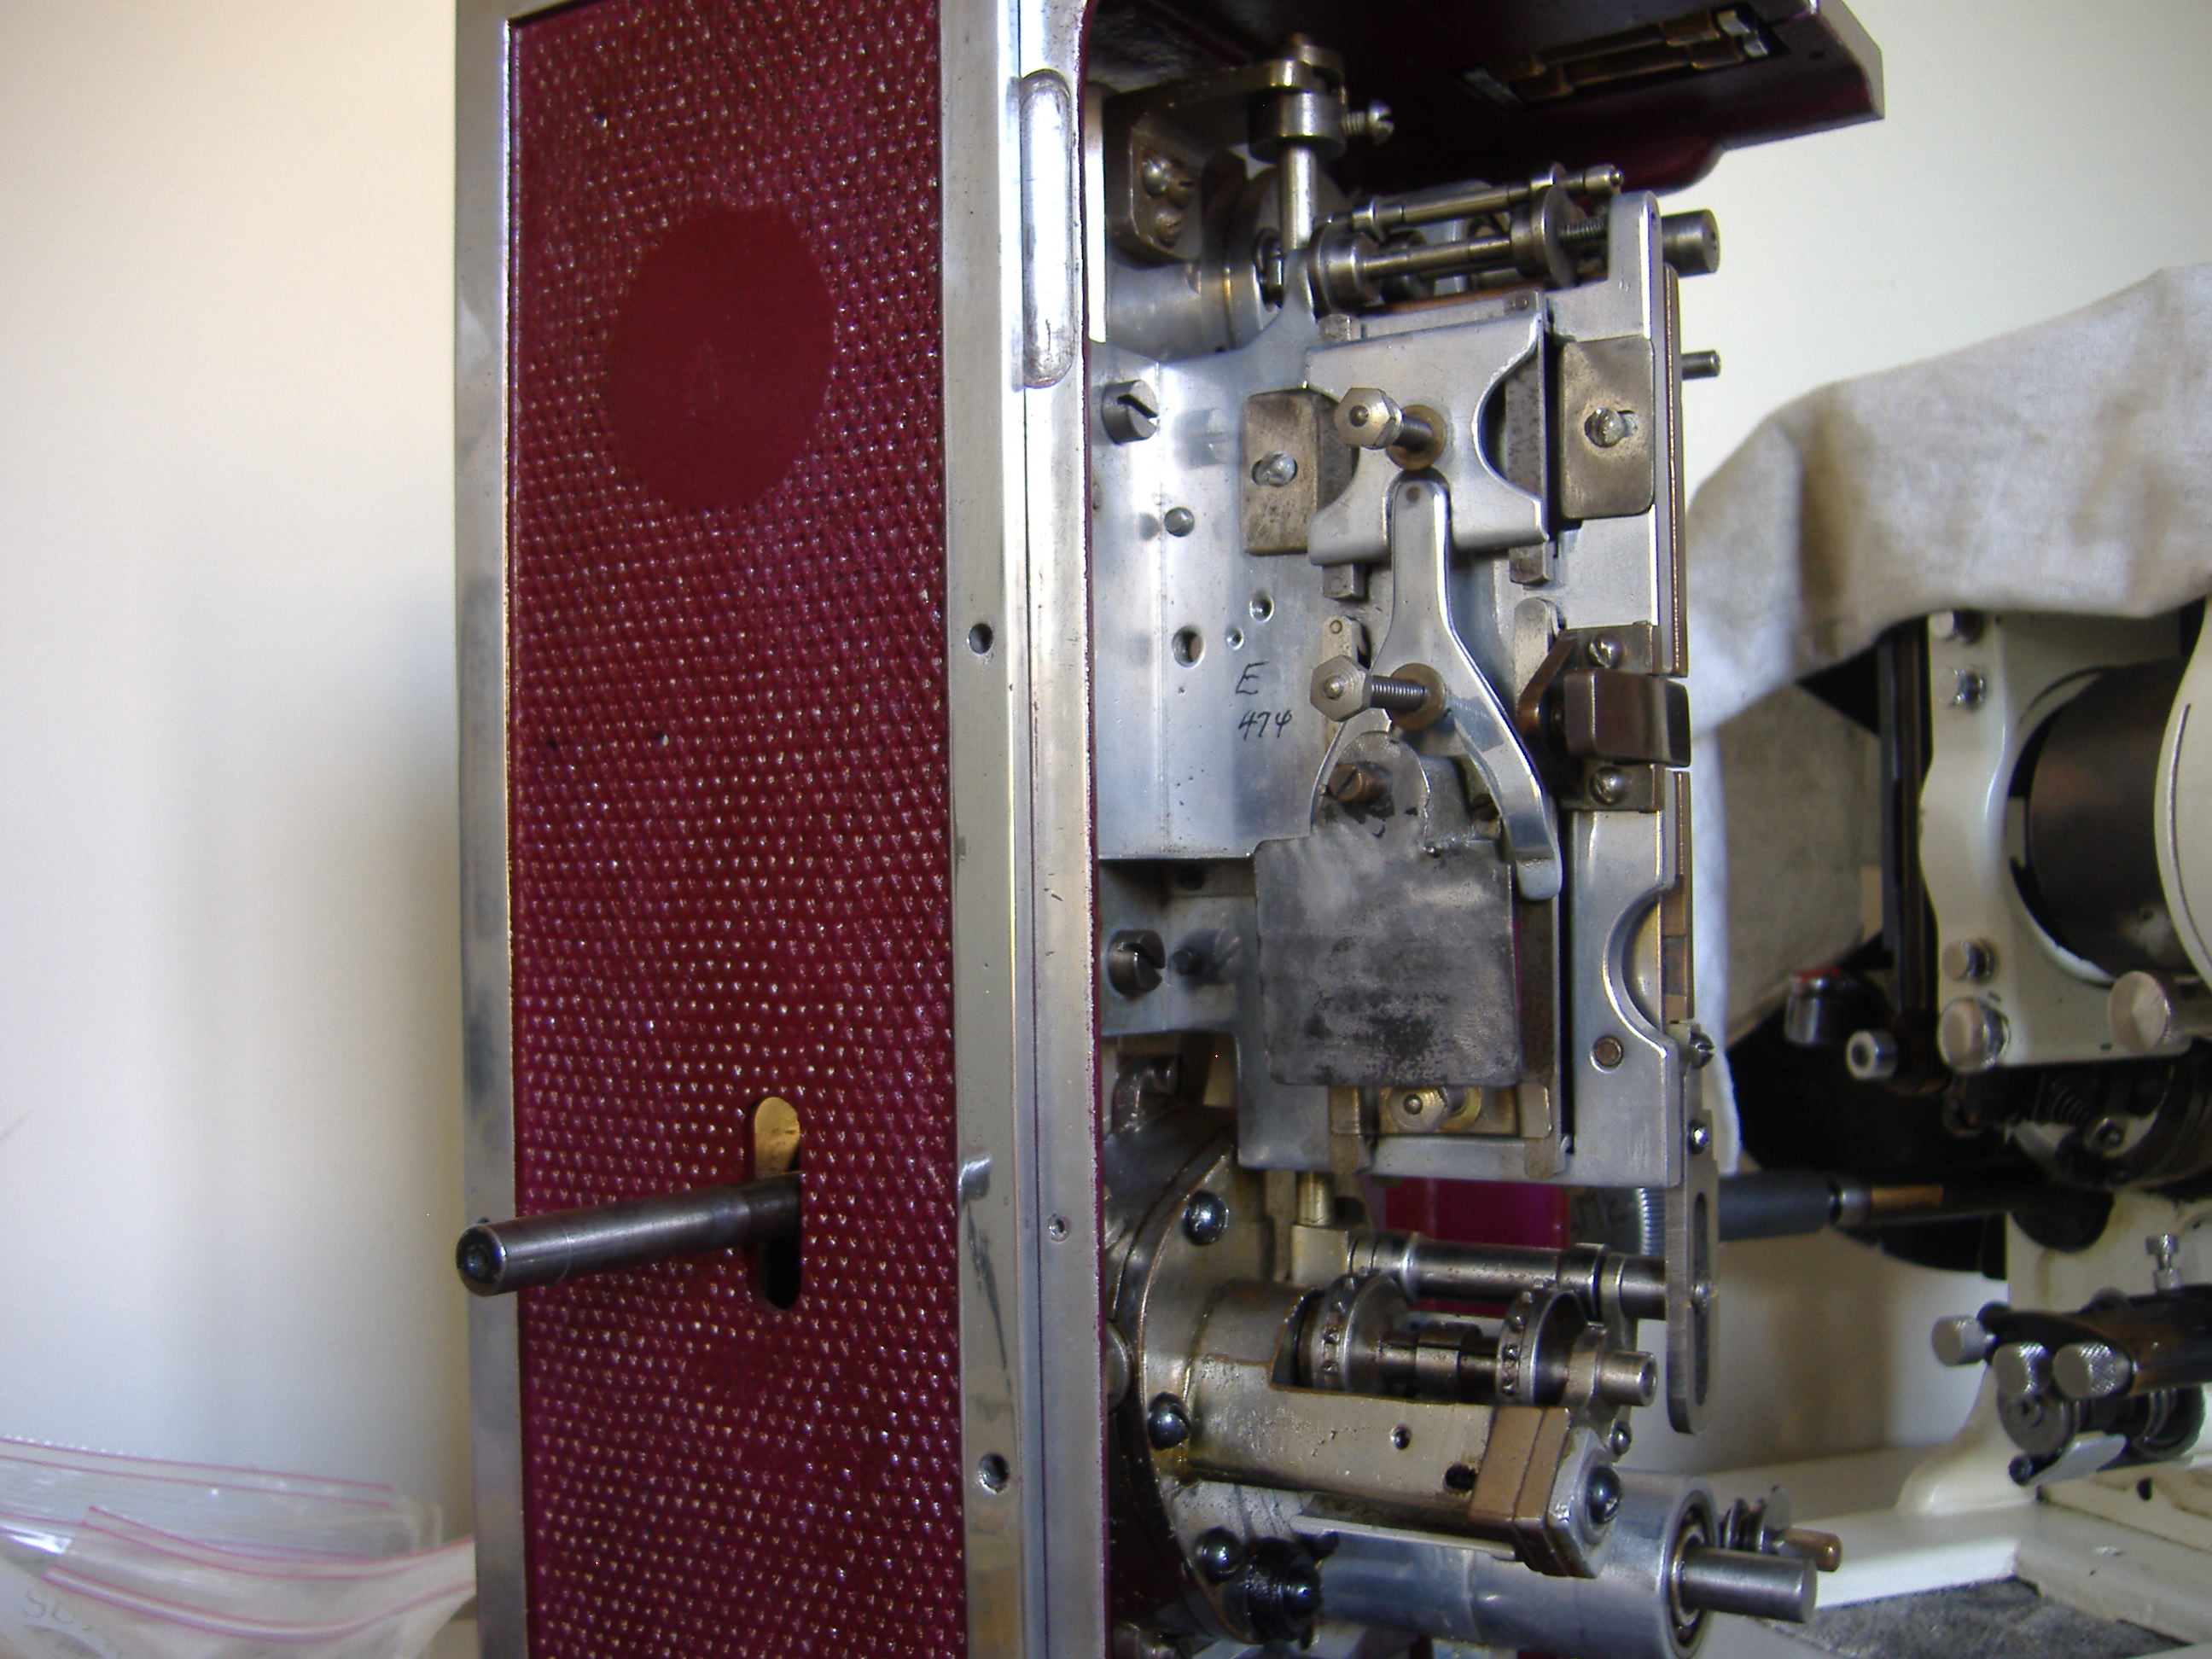
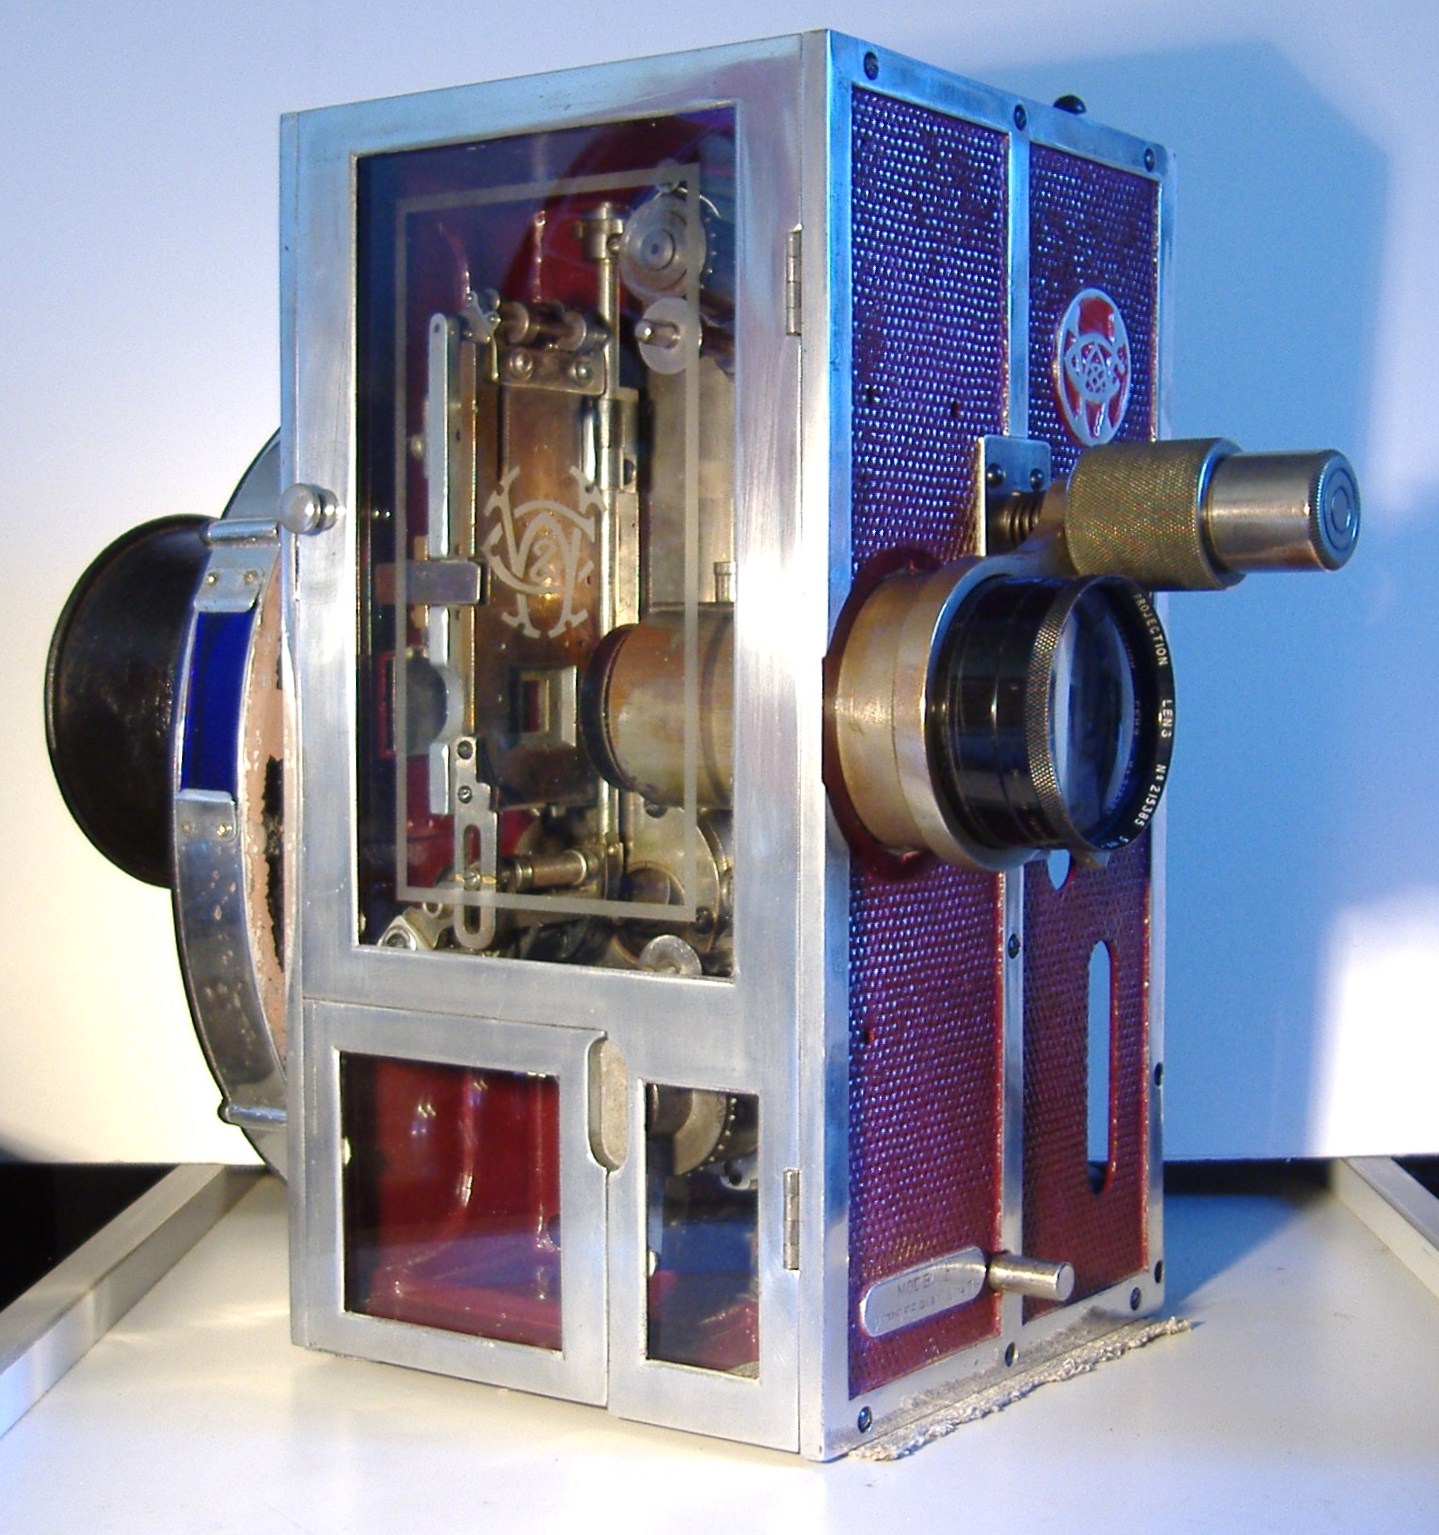
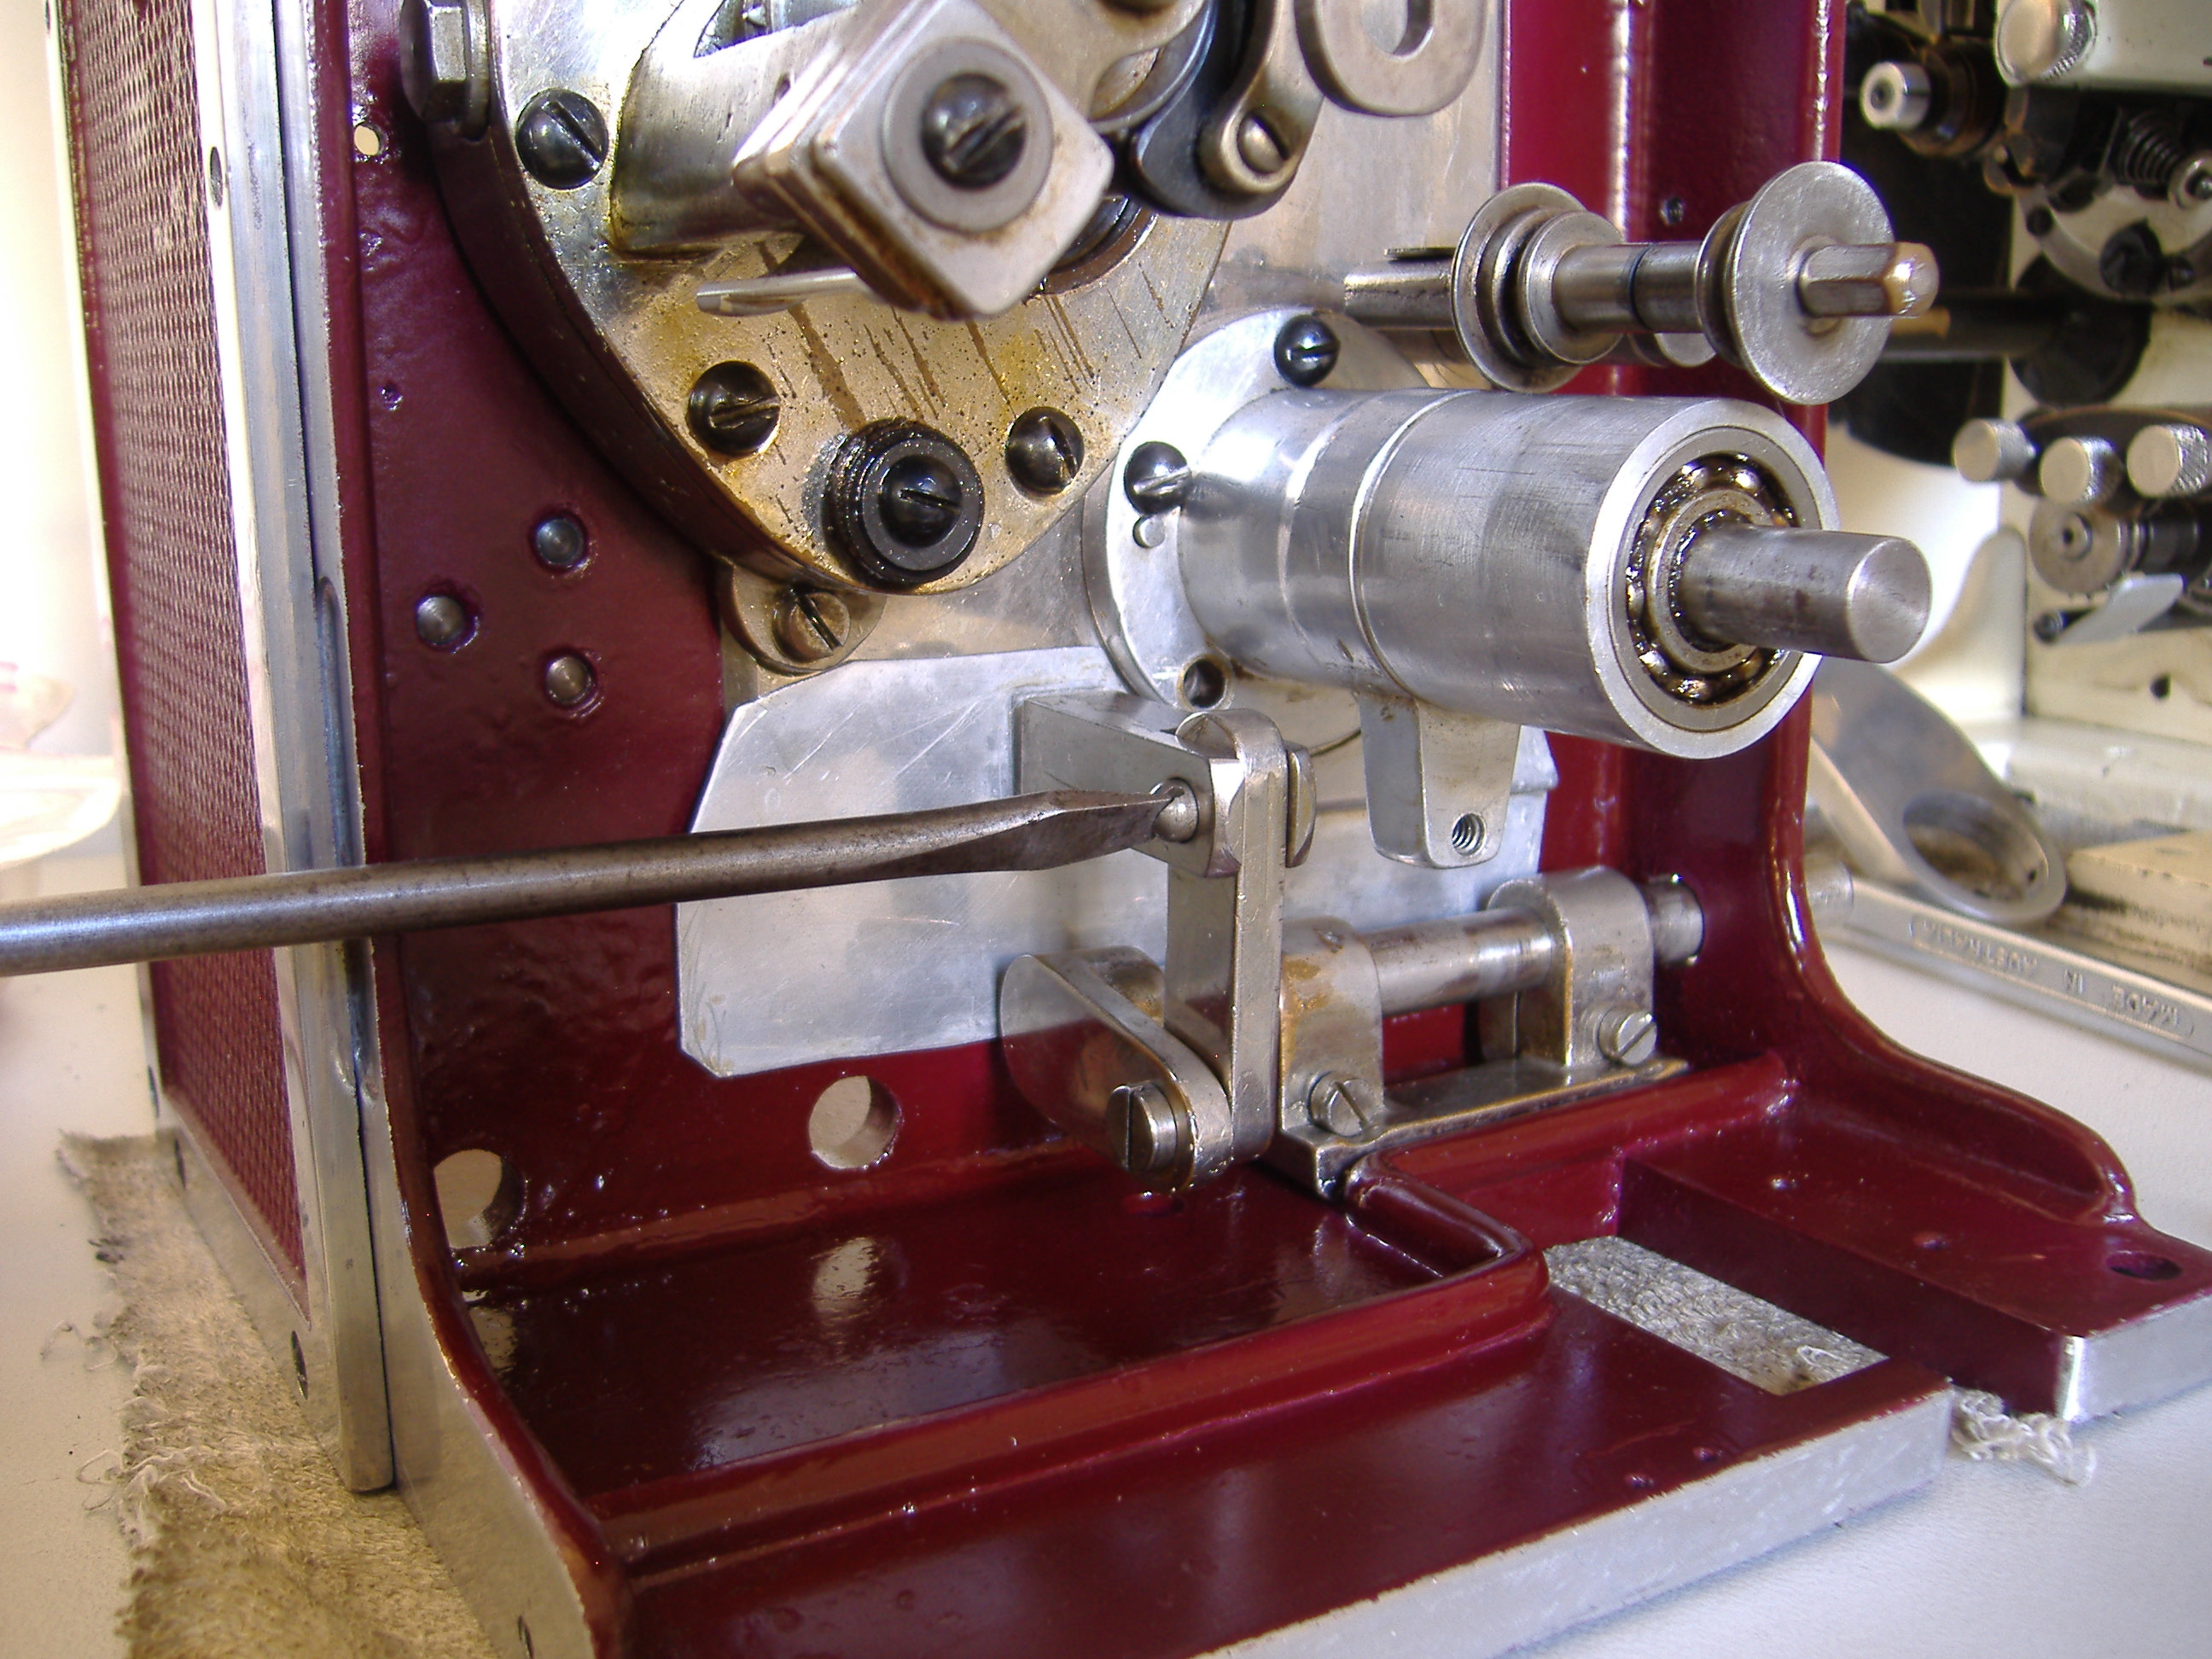
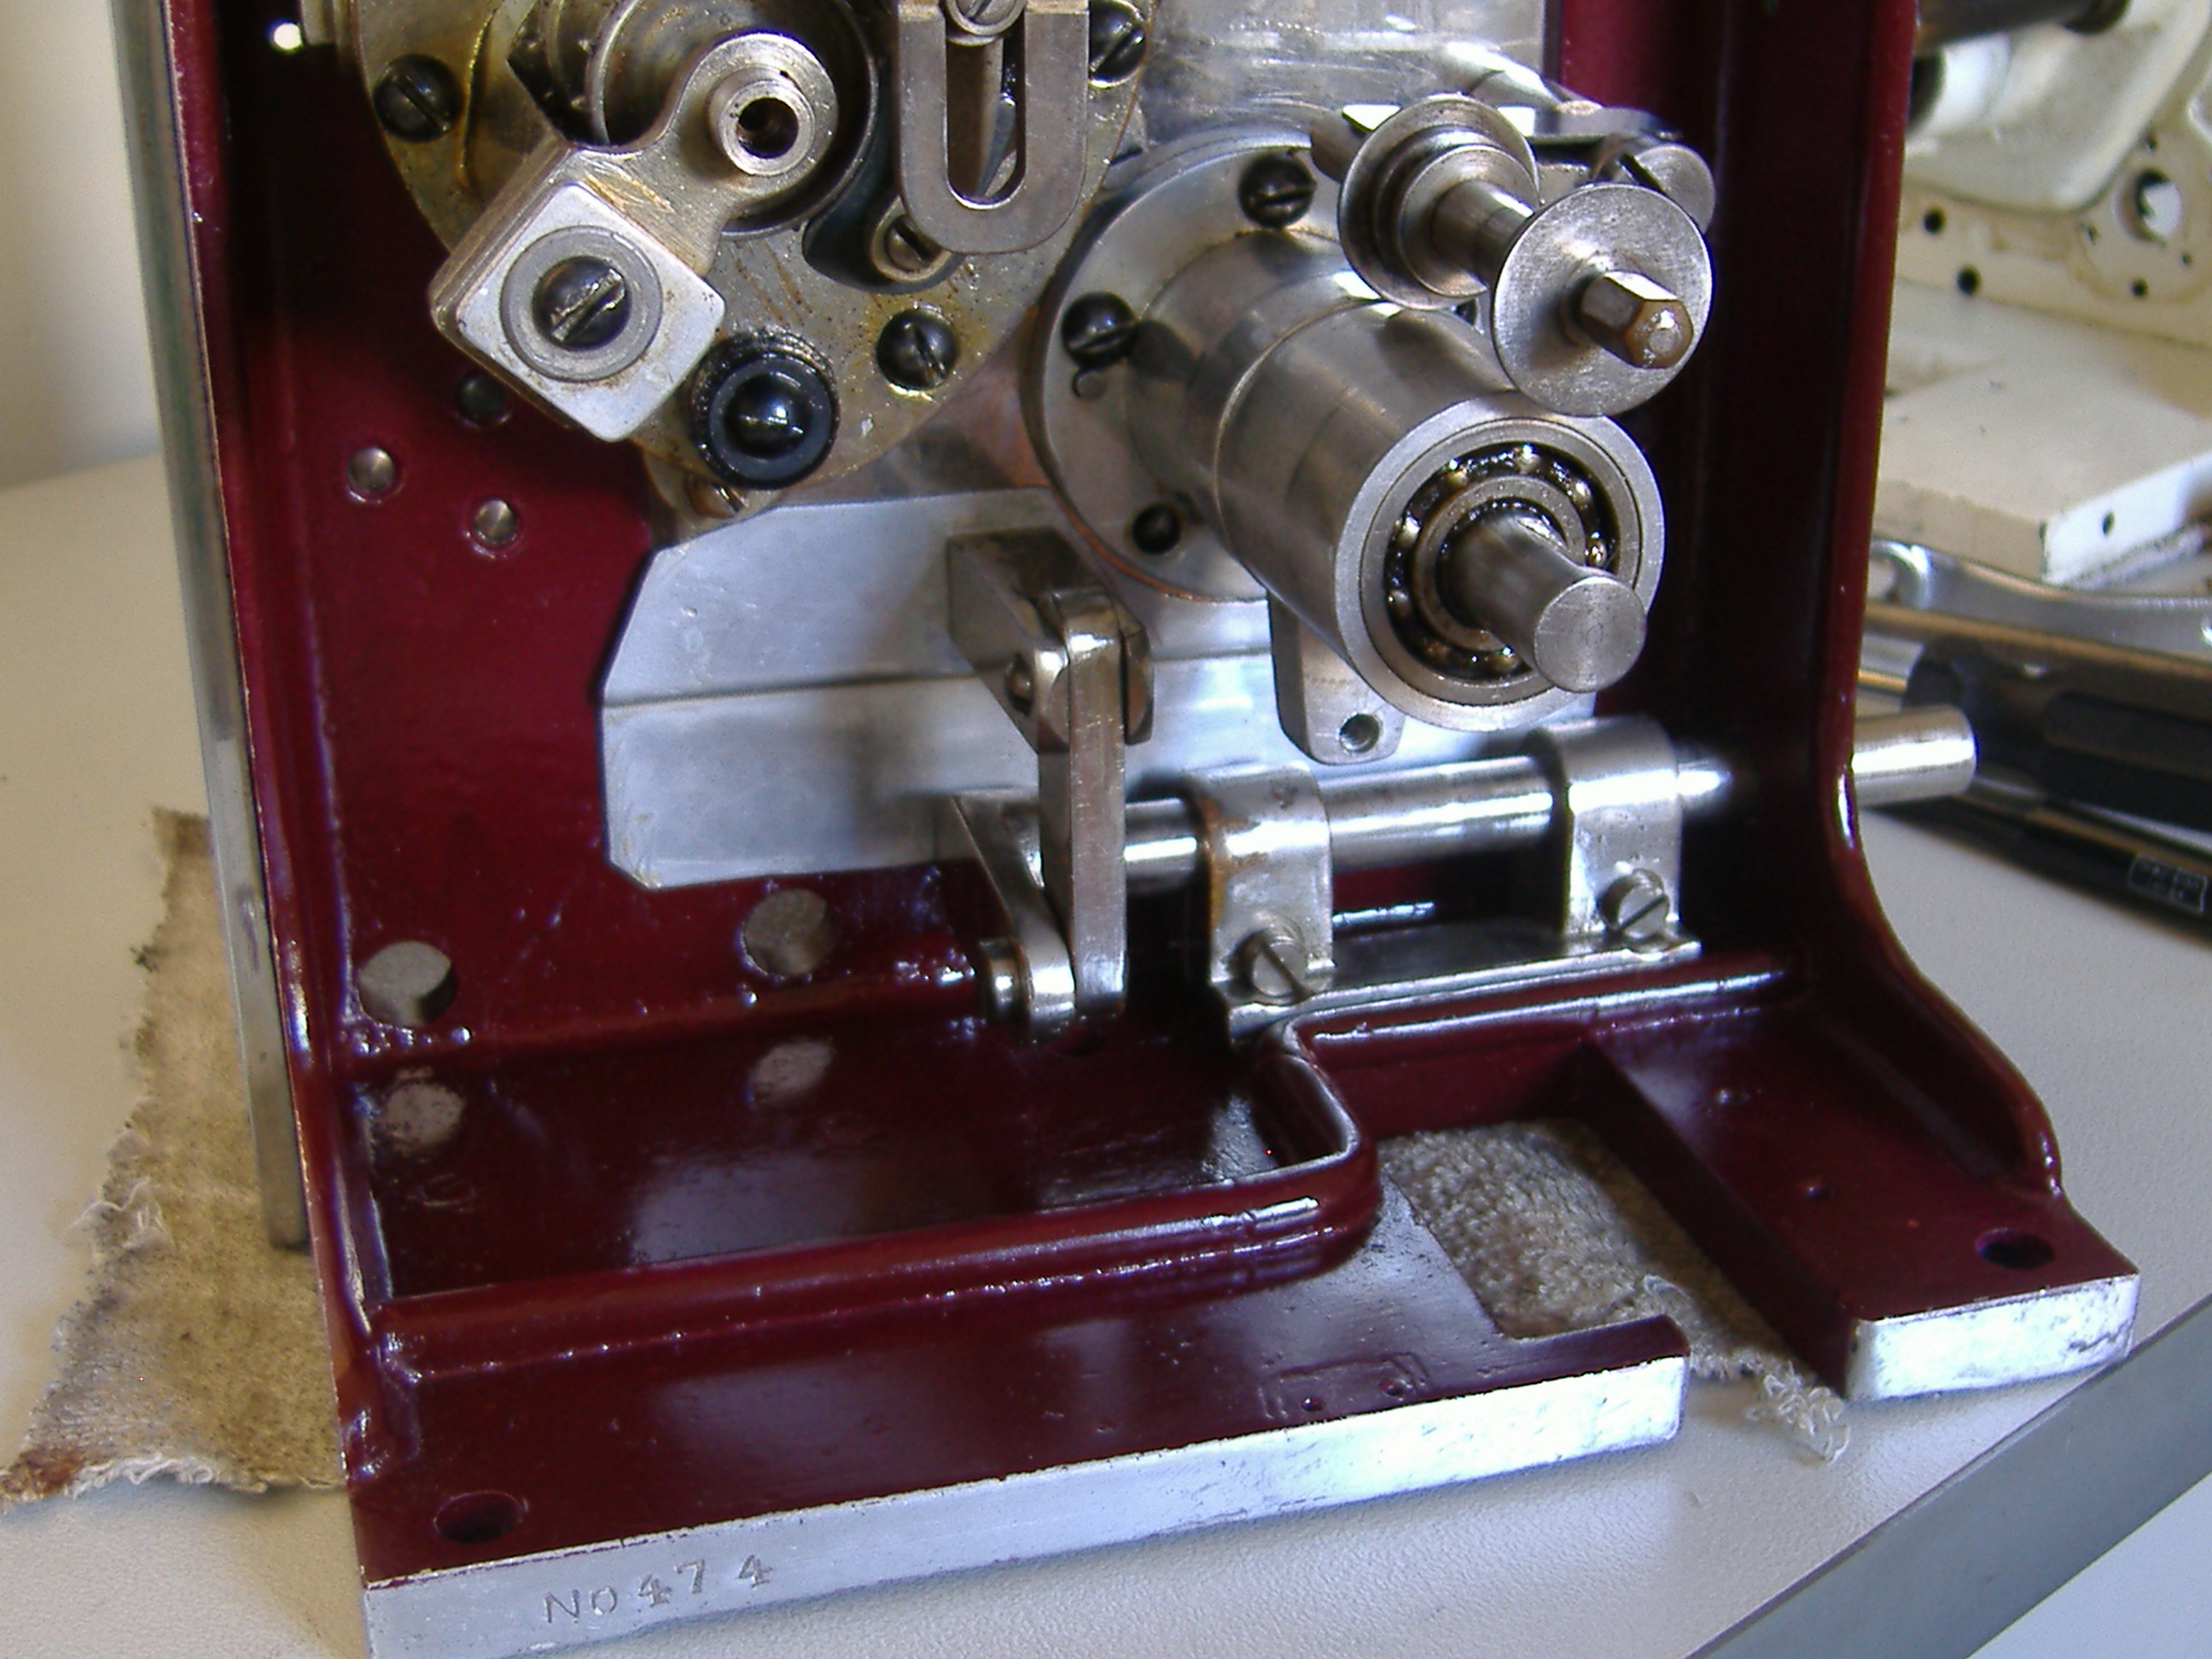
C&W Senior model E No. 474

C&W E series 4 No. 474 shows new large real shutter


Front elevation shows new lens holder and micro focus adjuster wheel


Flywheel side of the model E shows a new fibre main drive wheel


flywheel 2


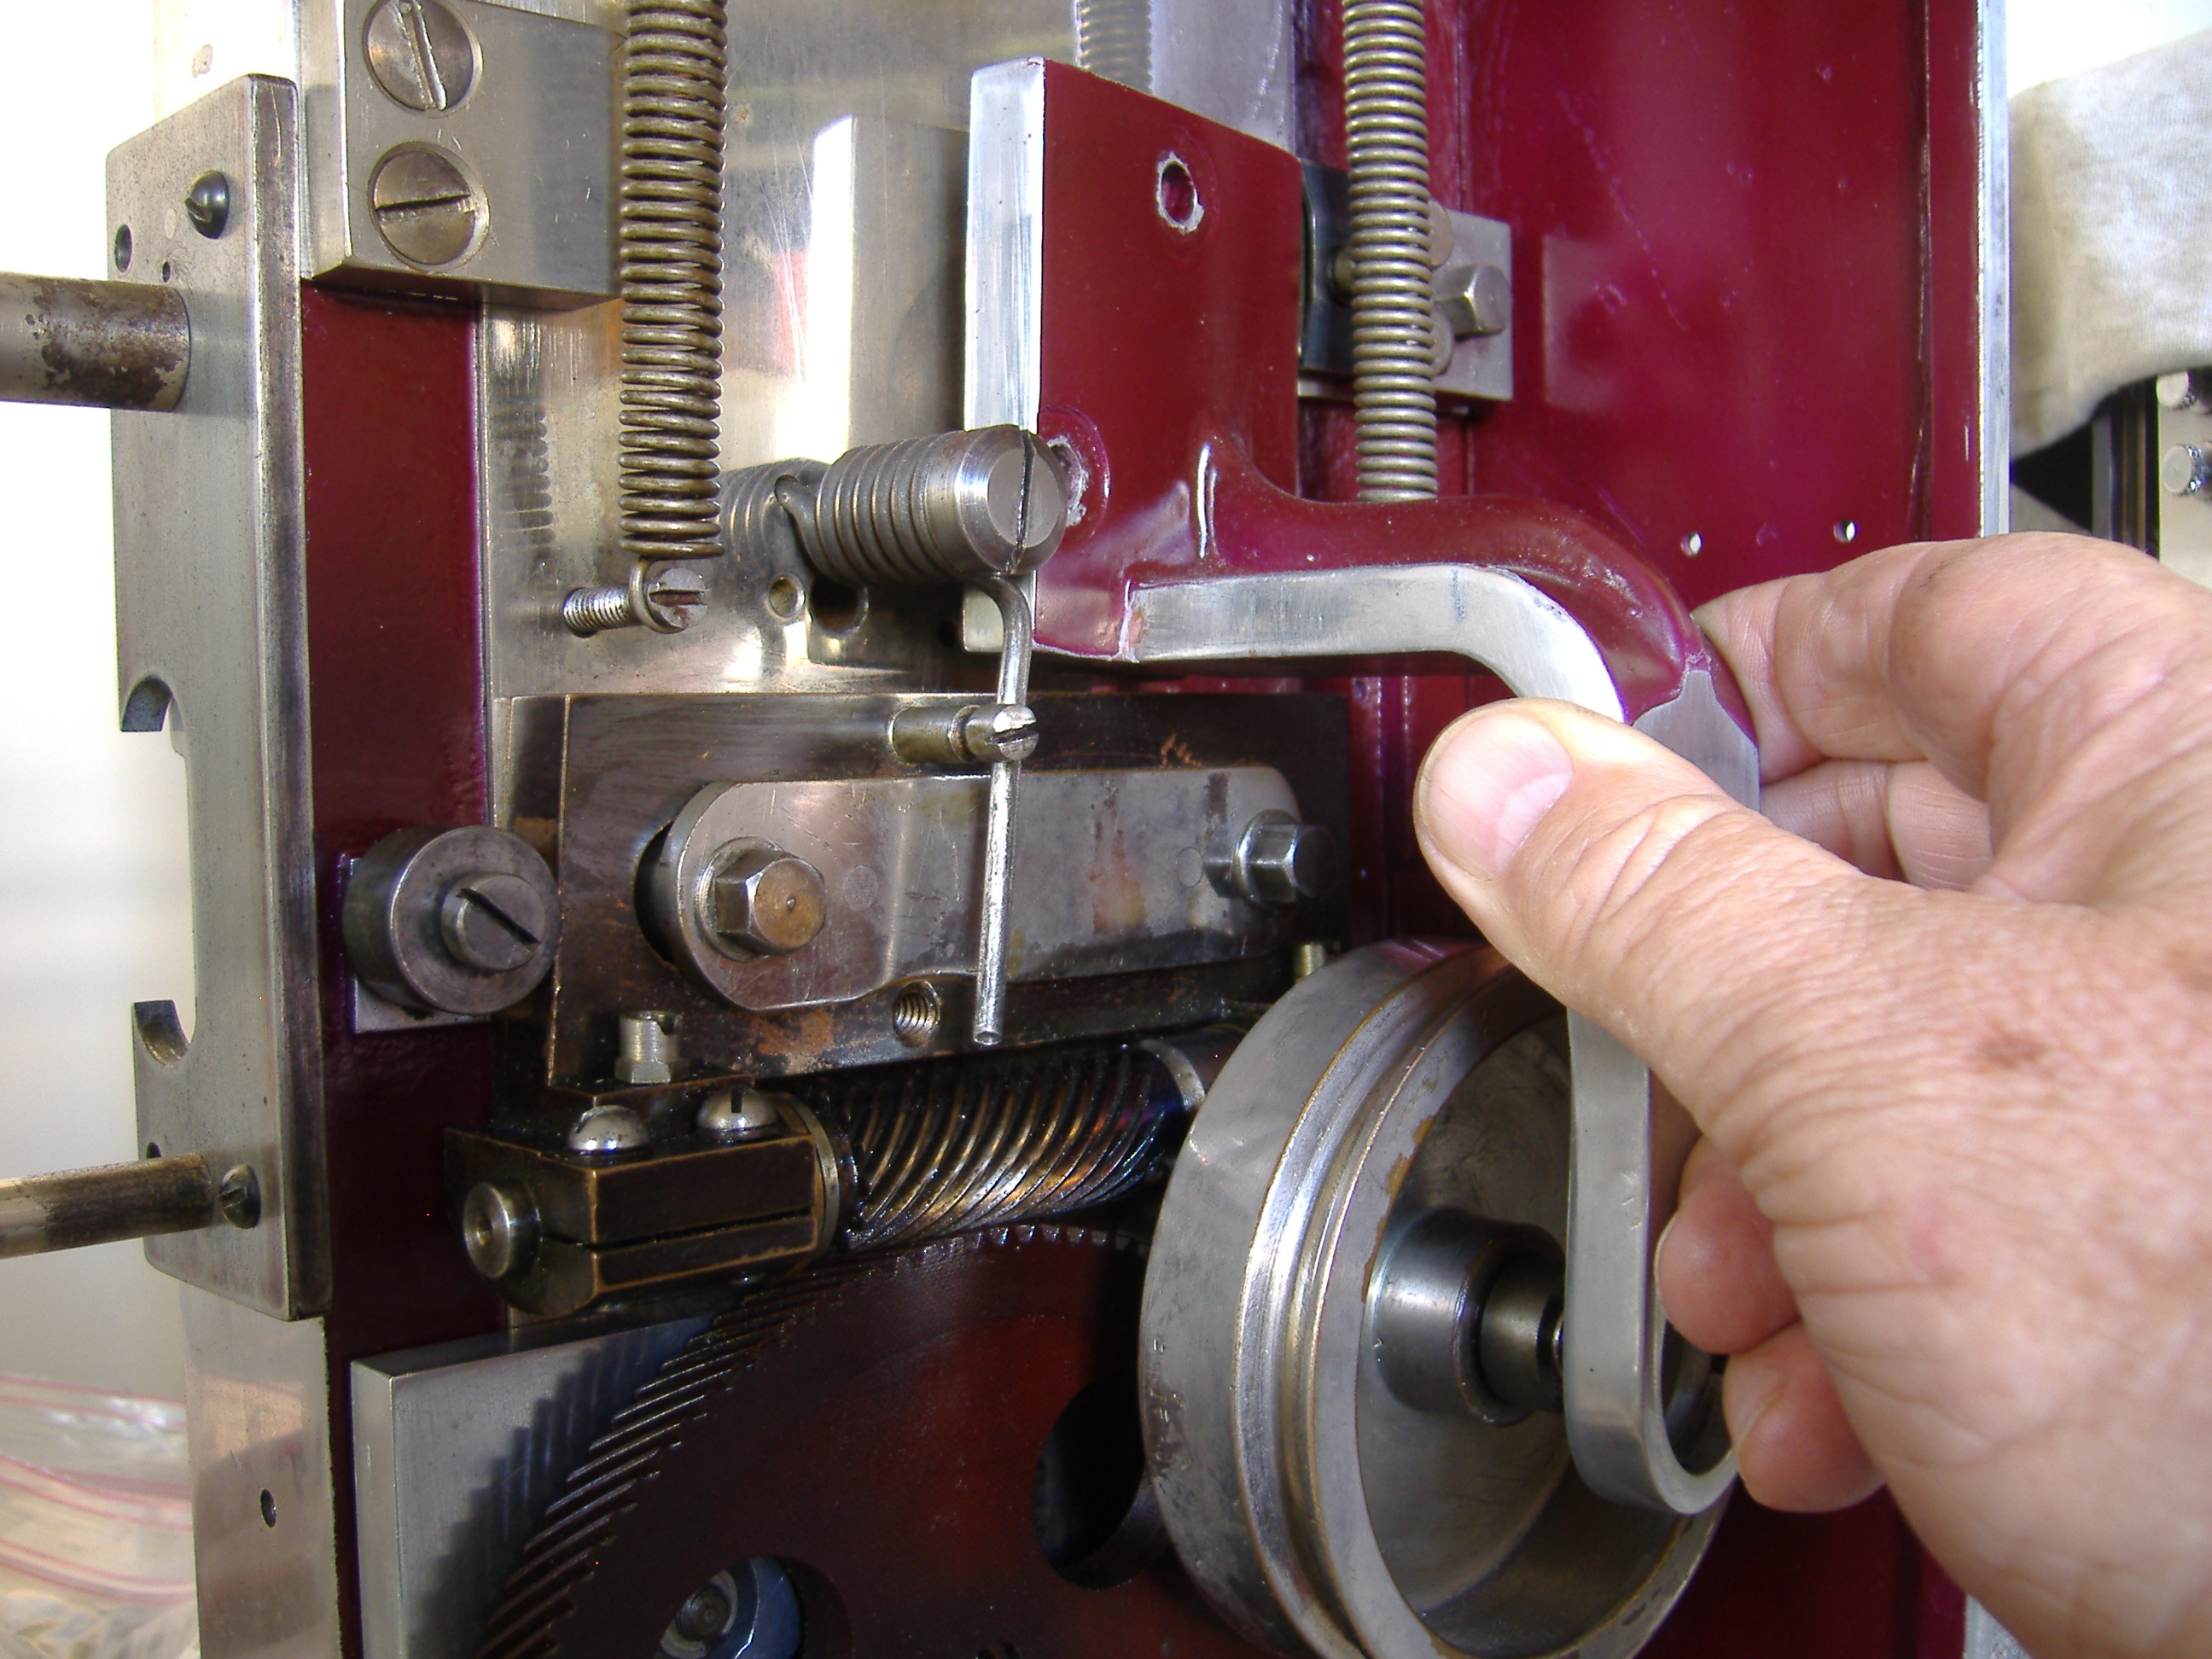
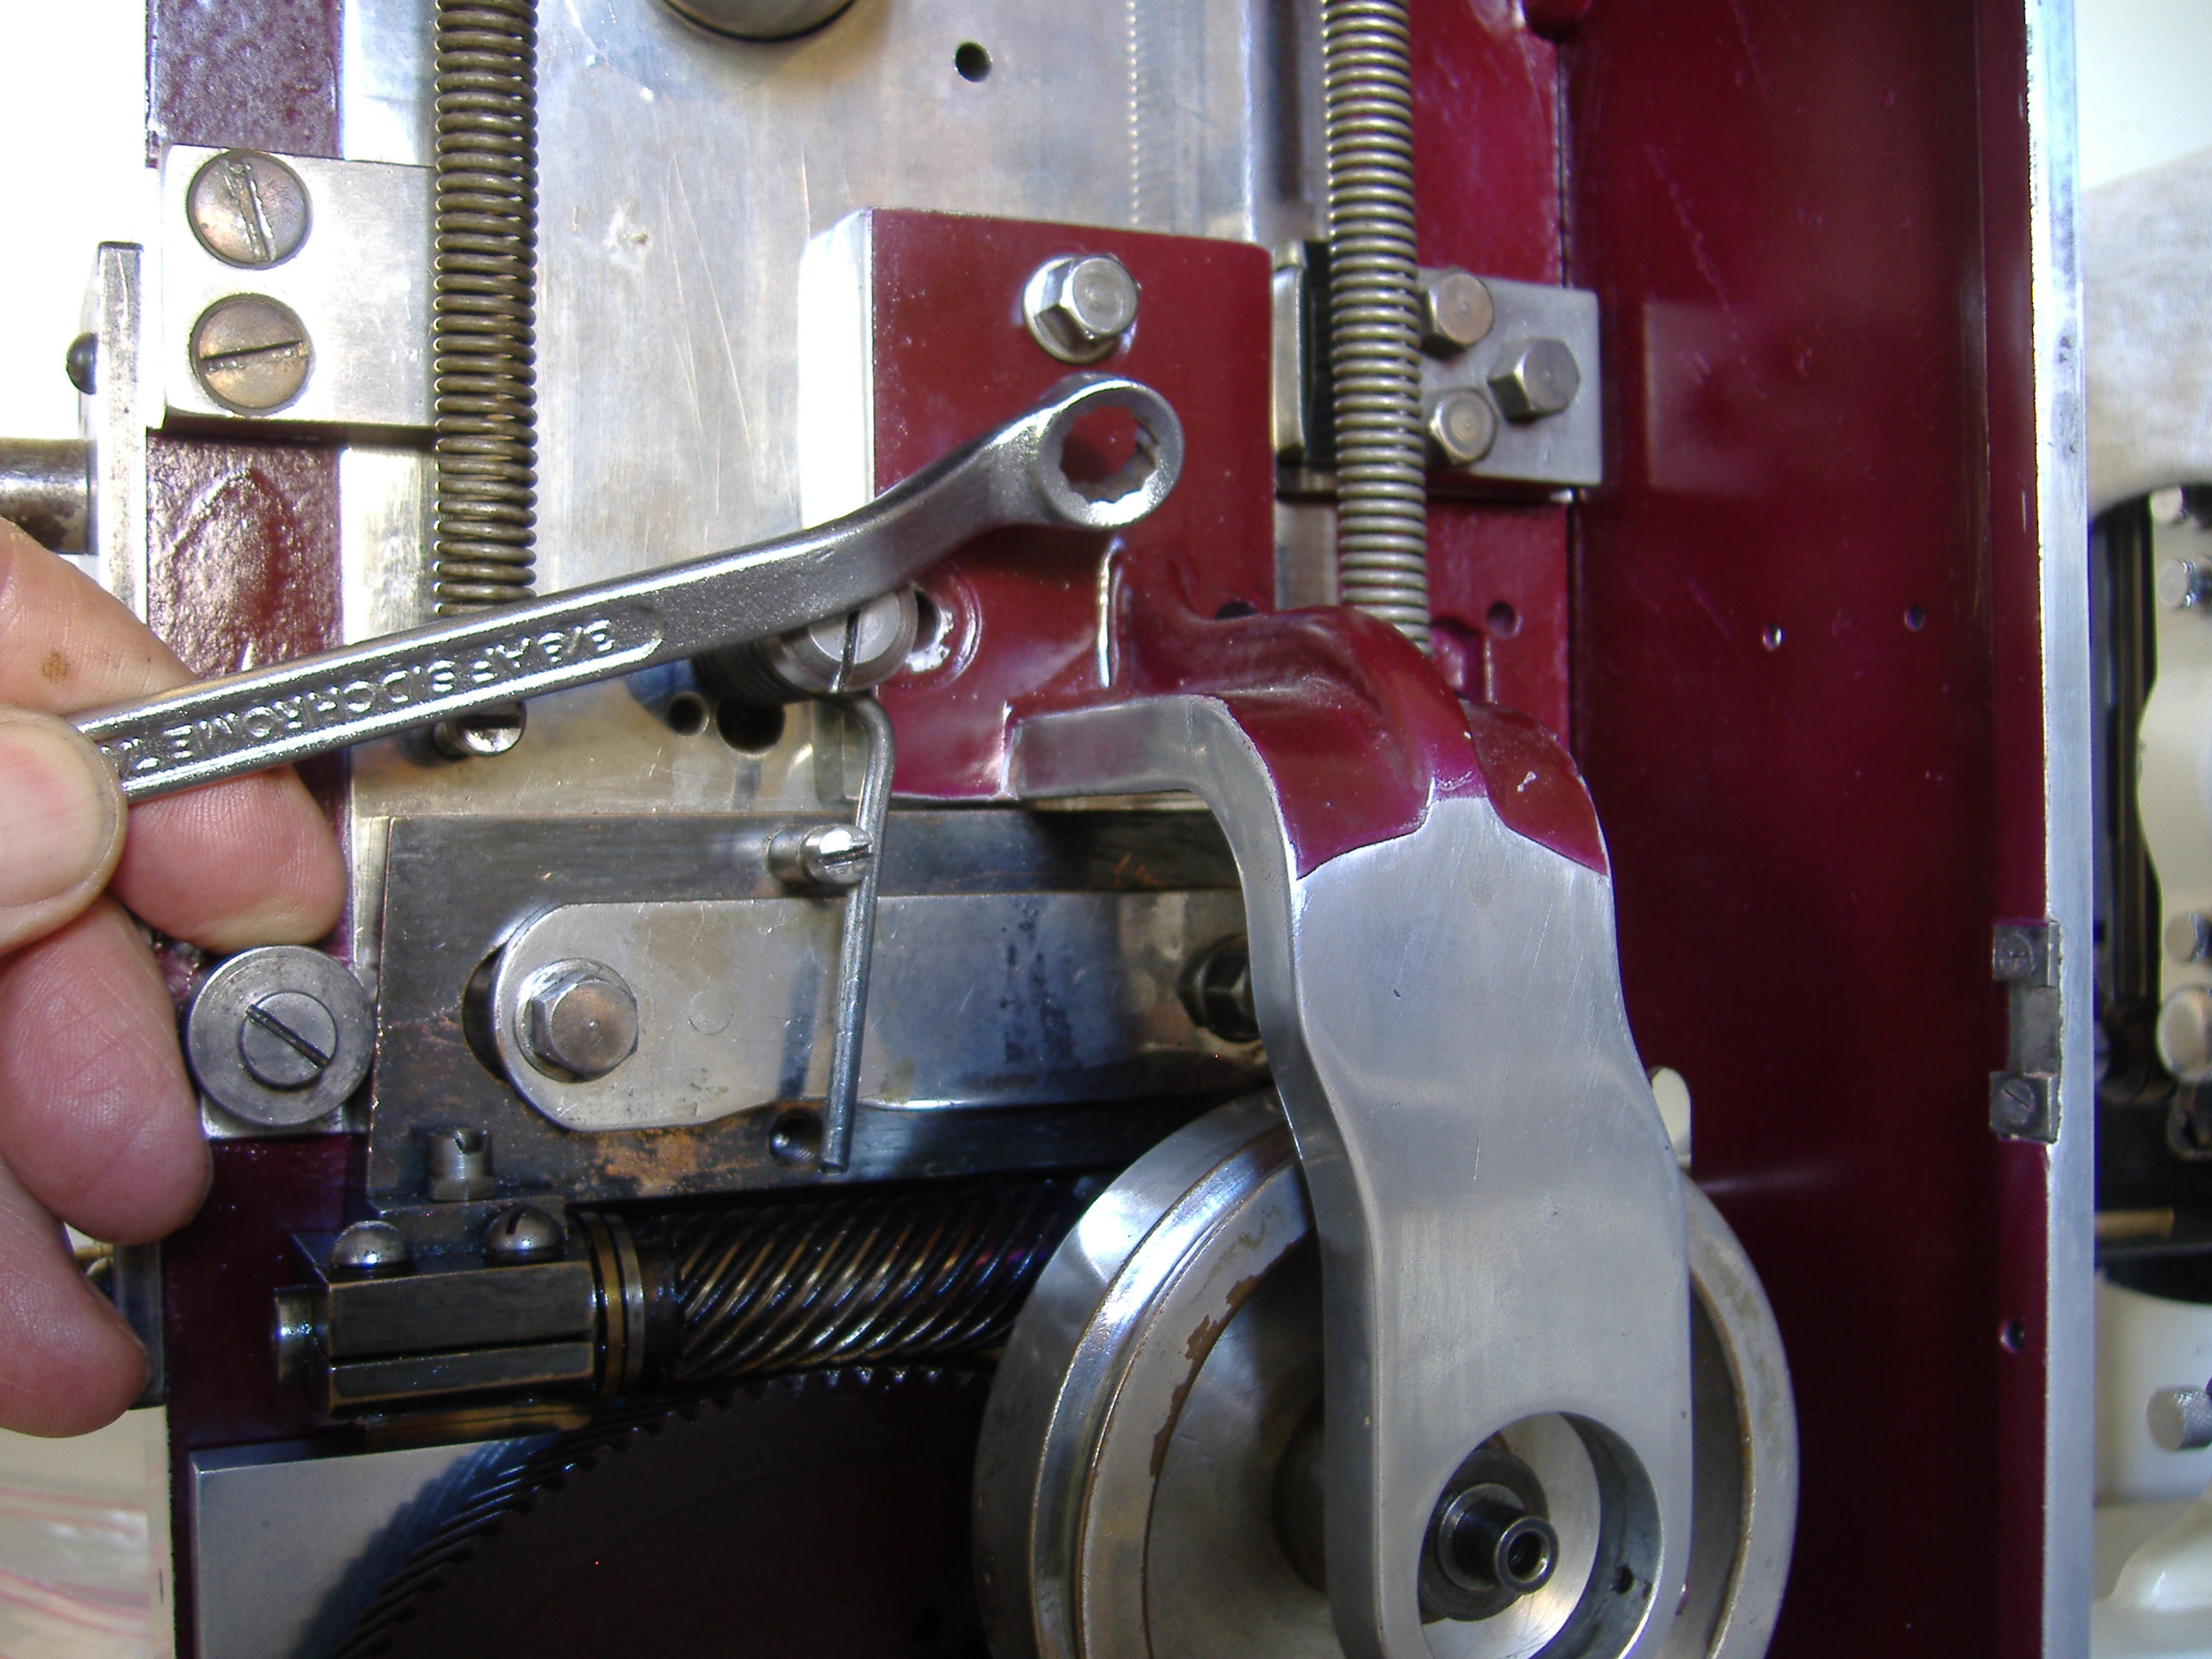
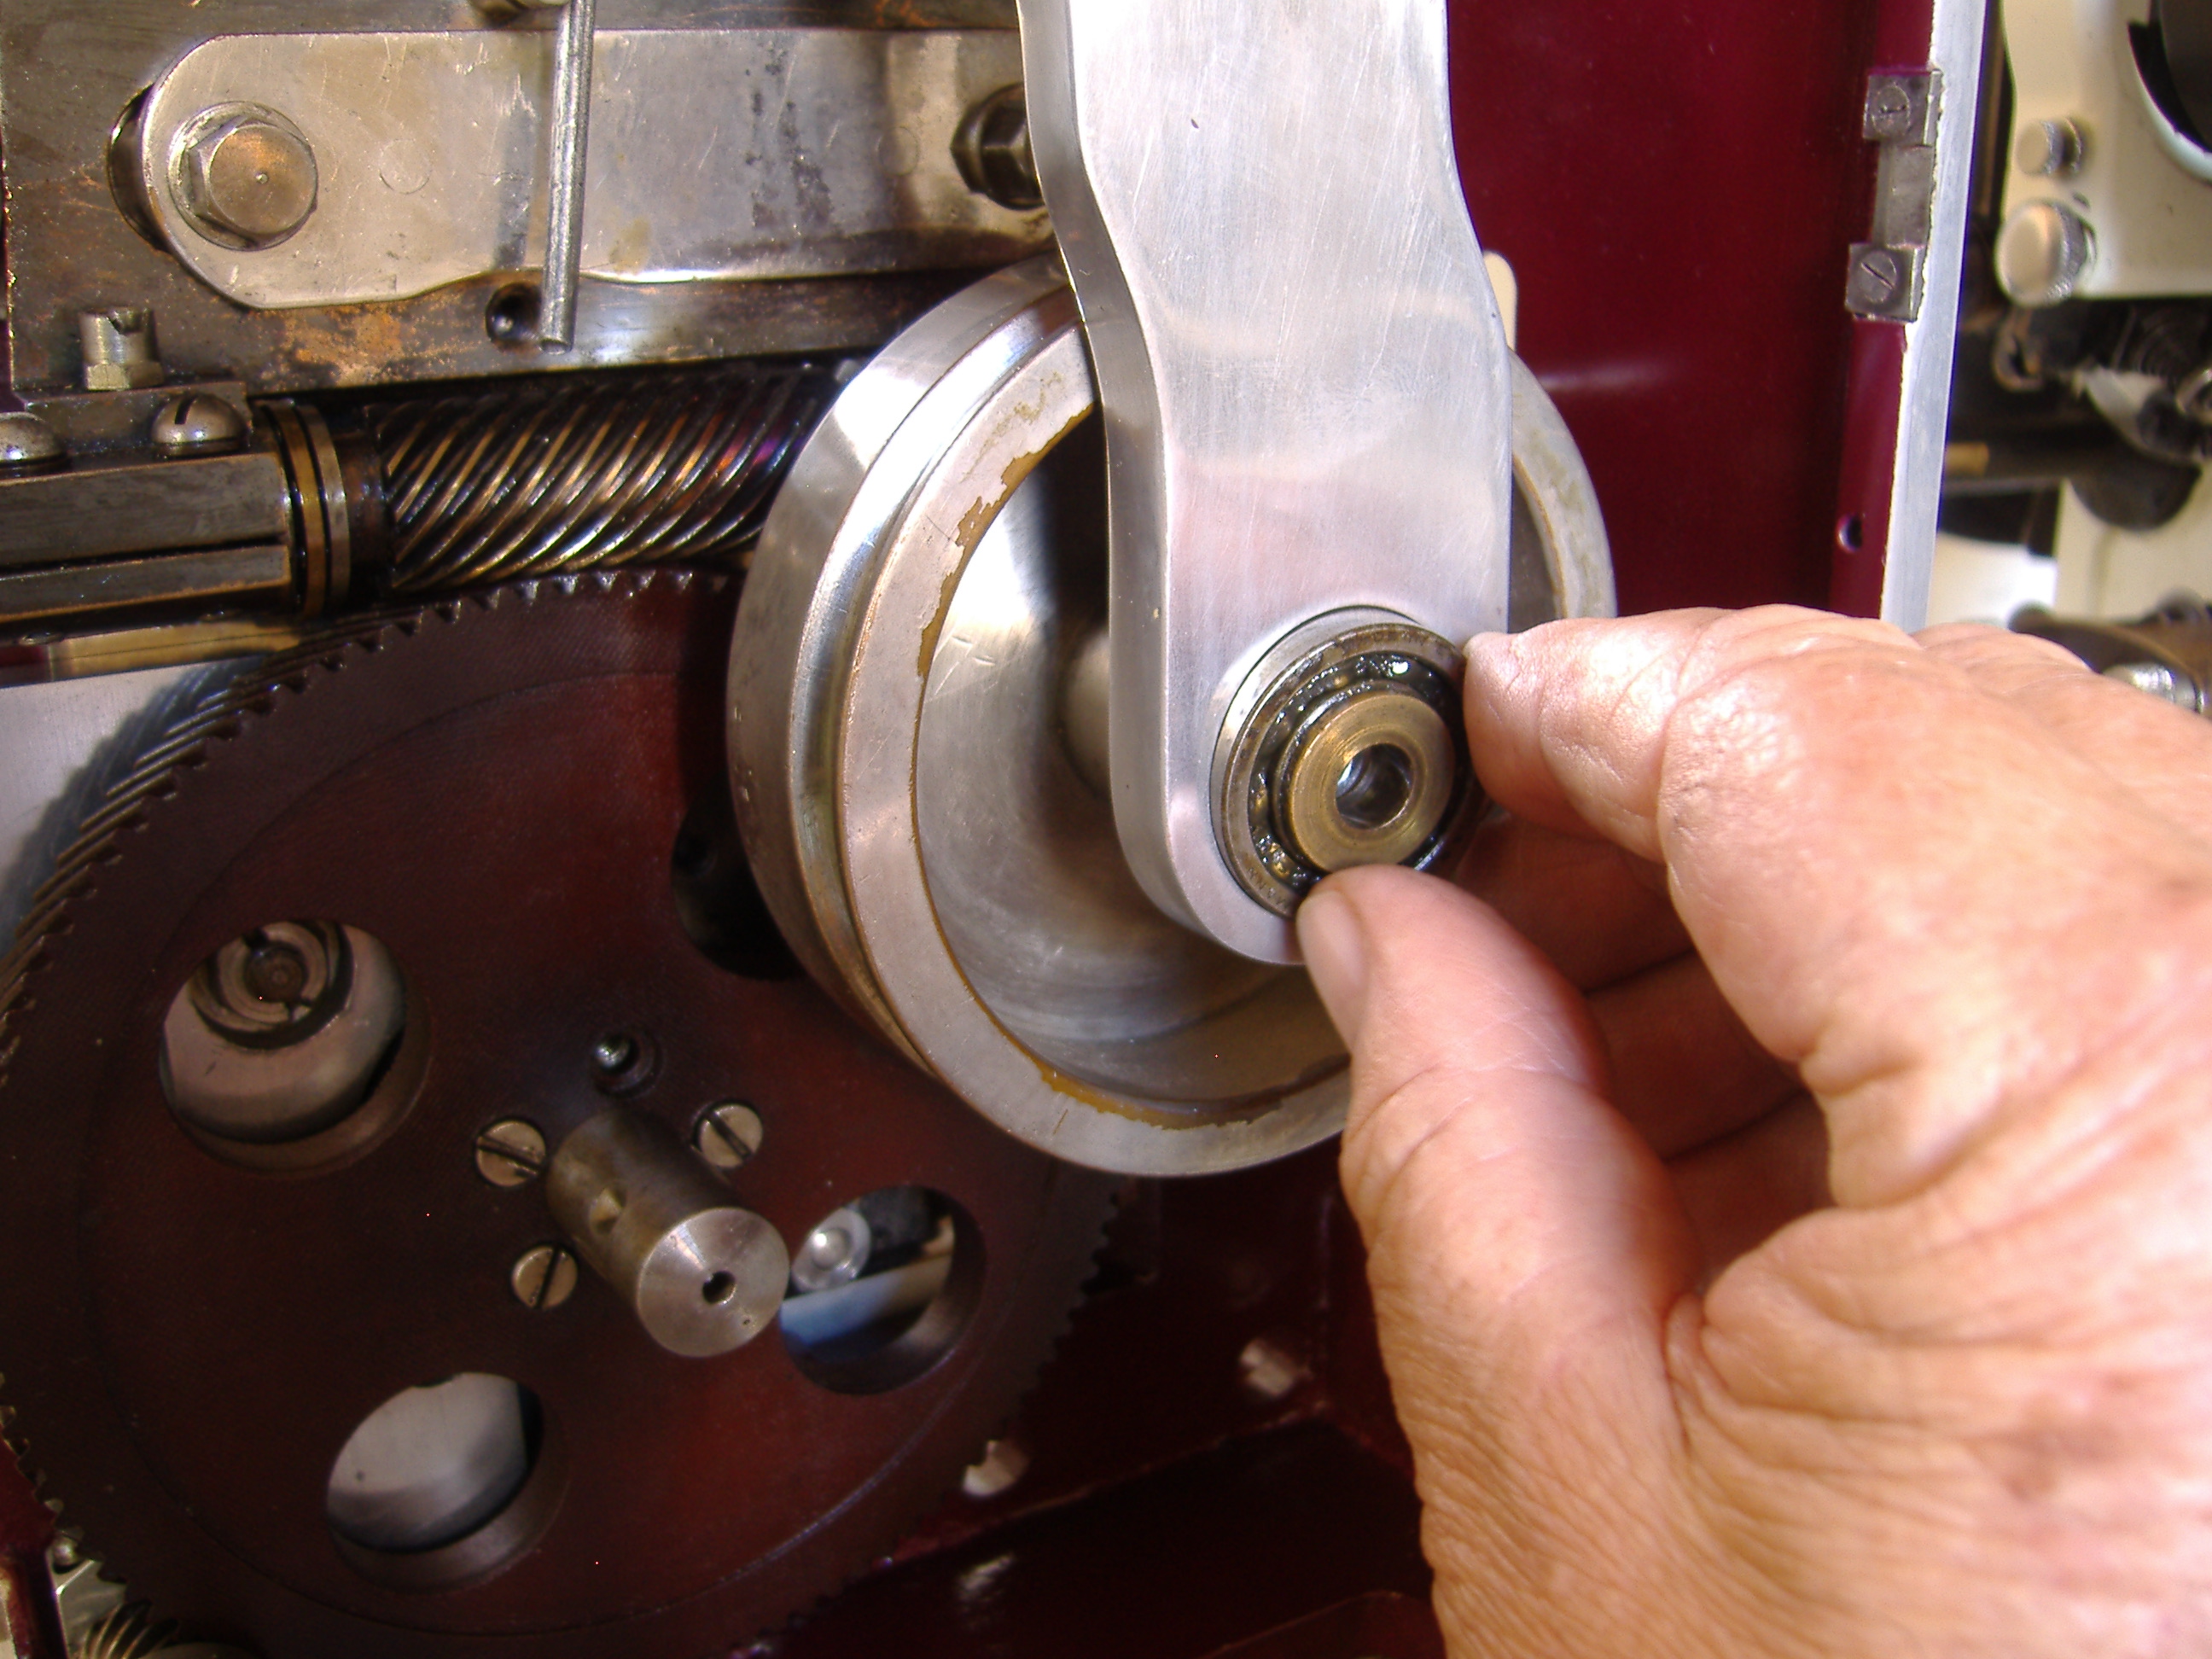
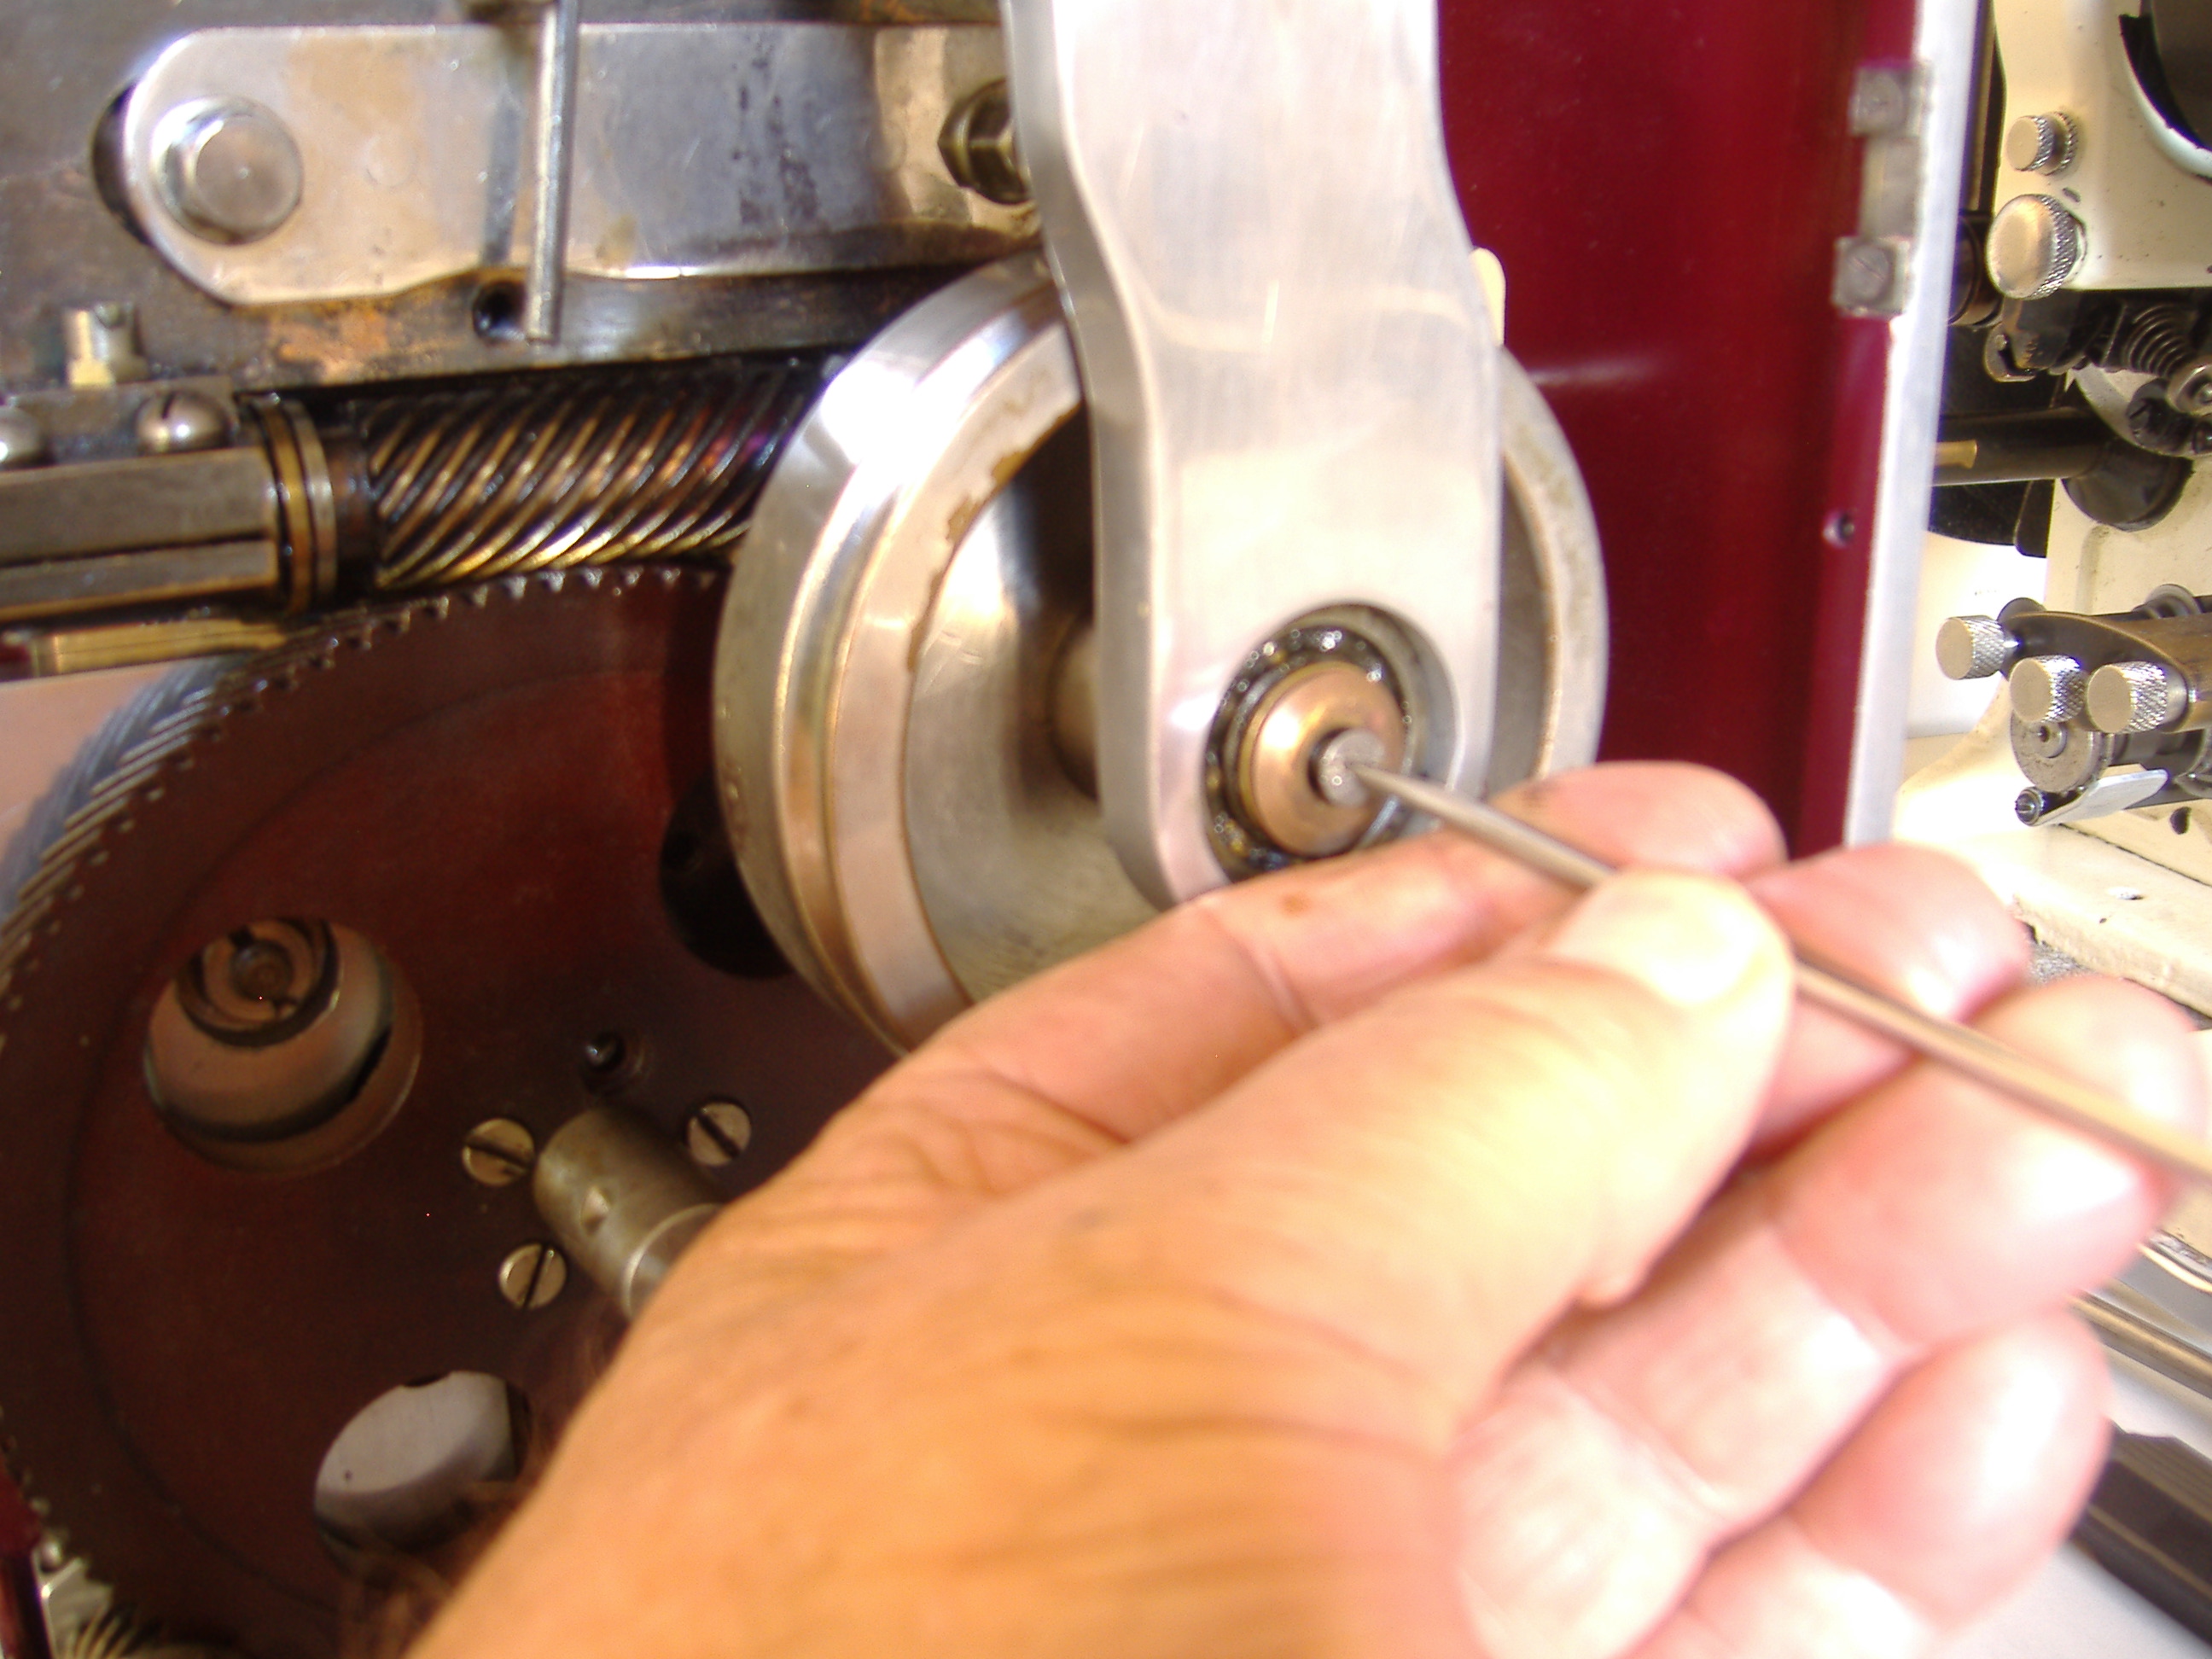
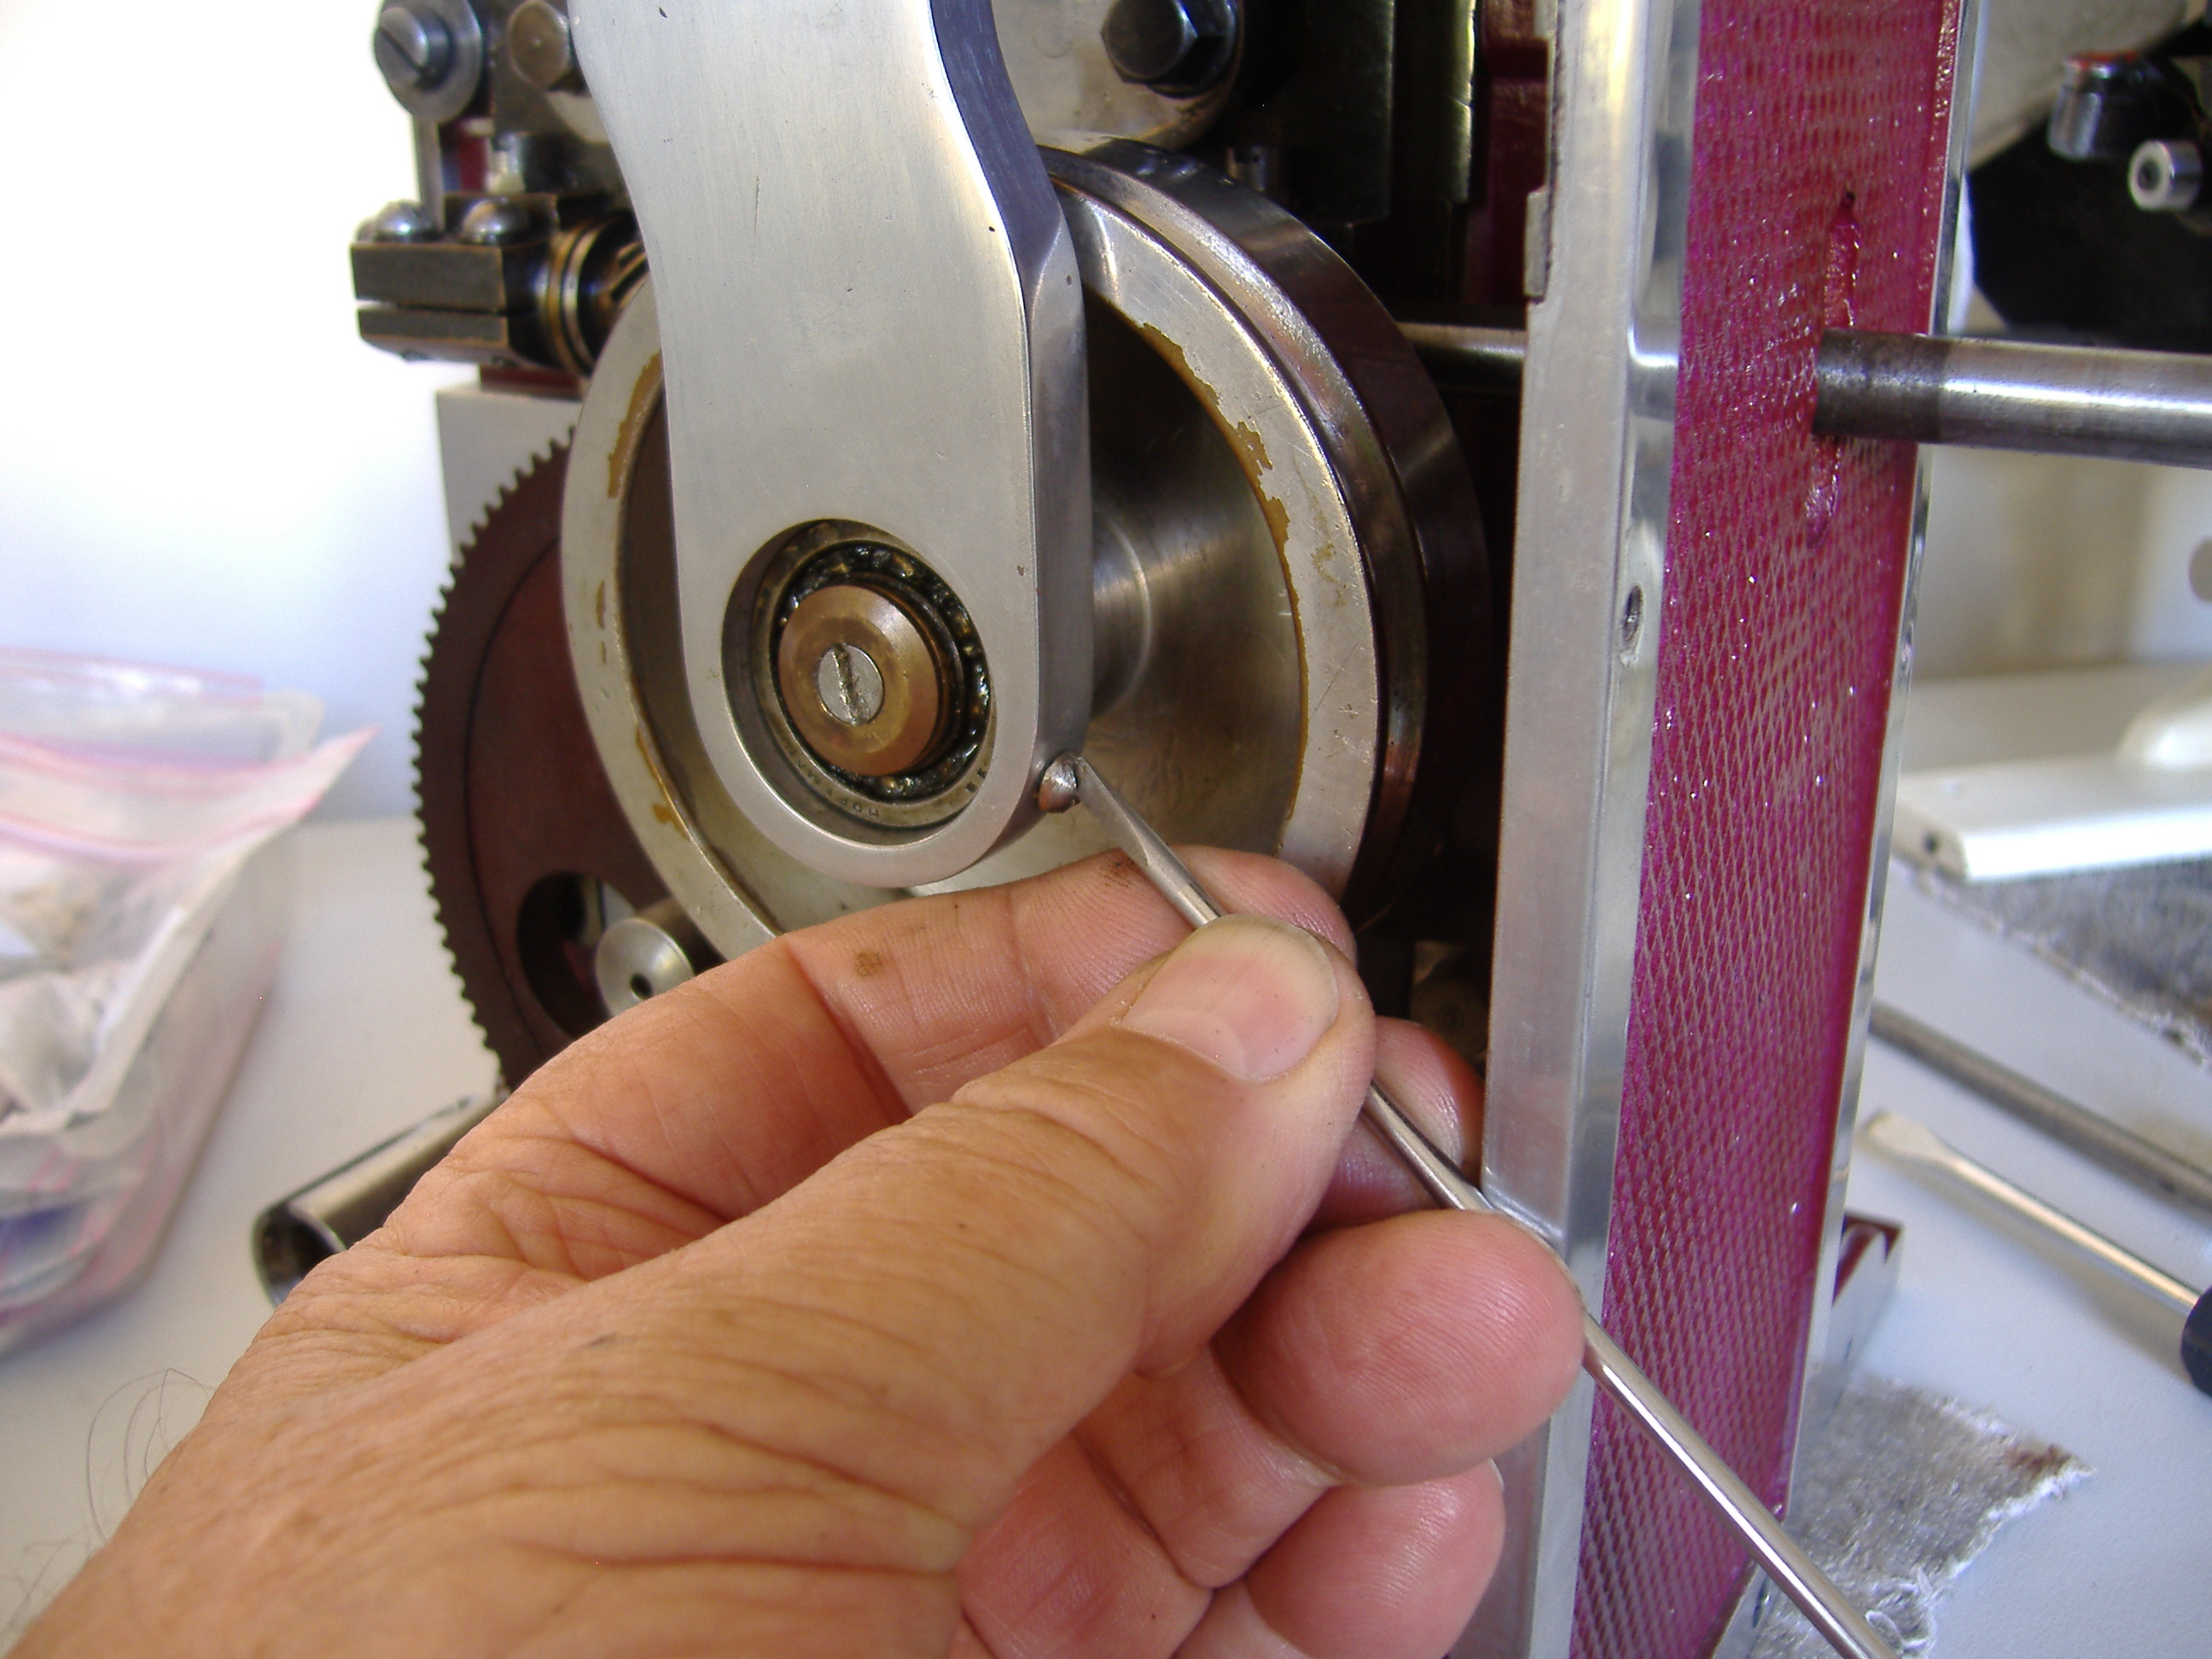
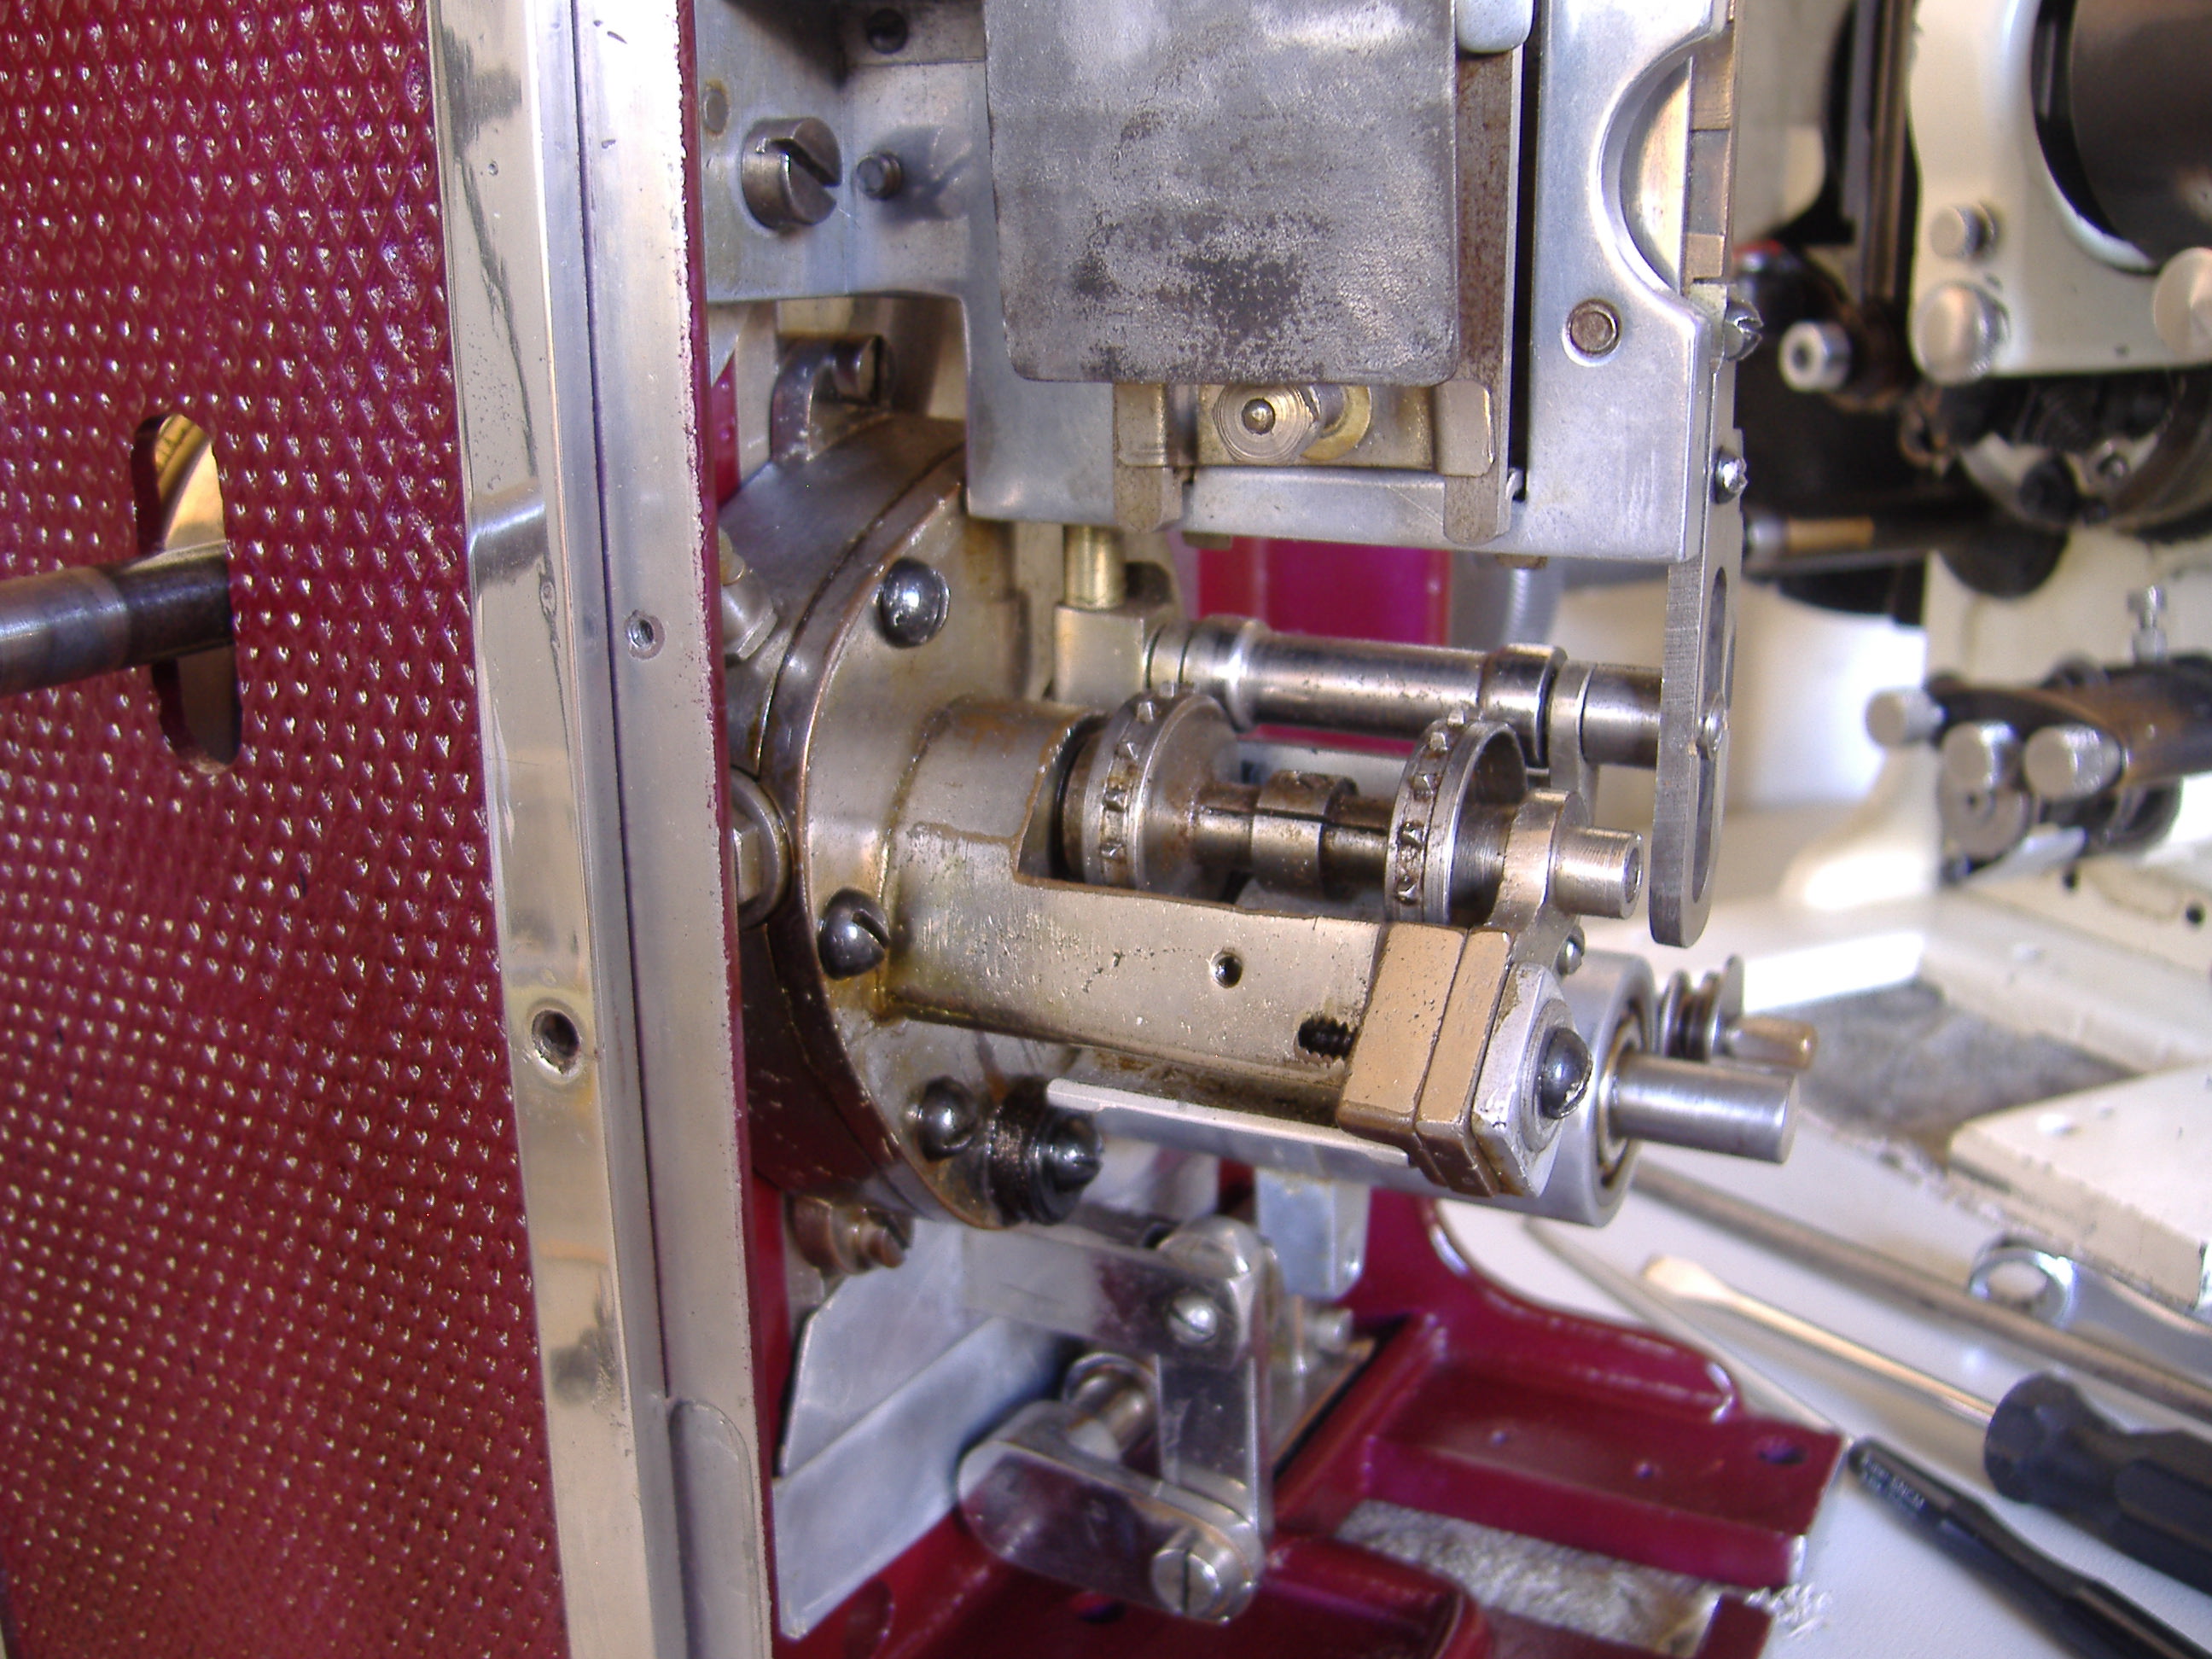
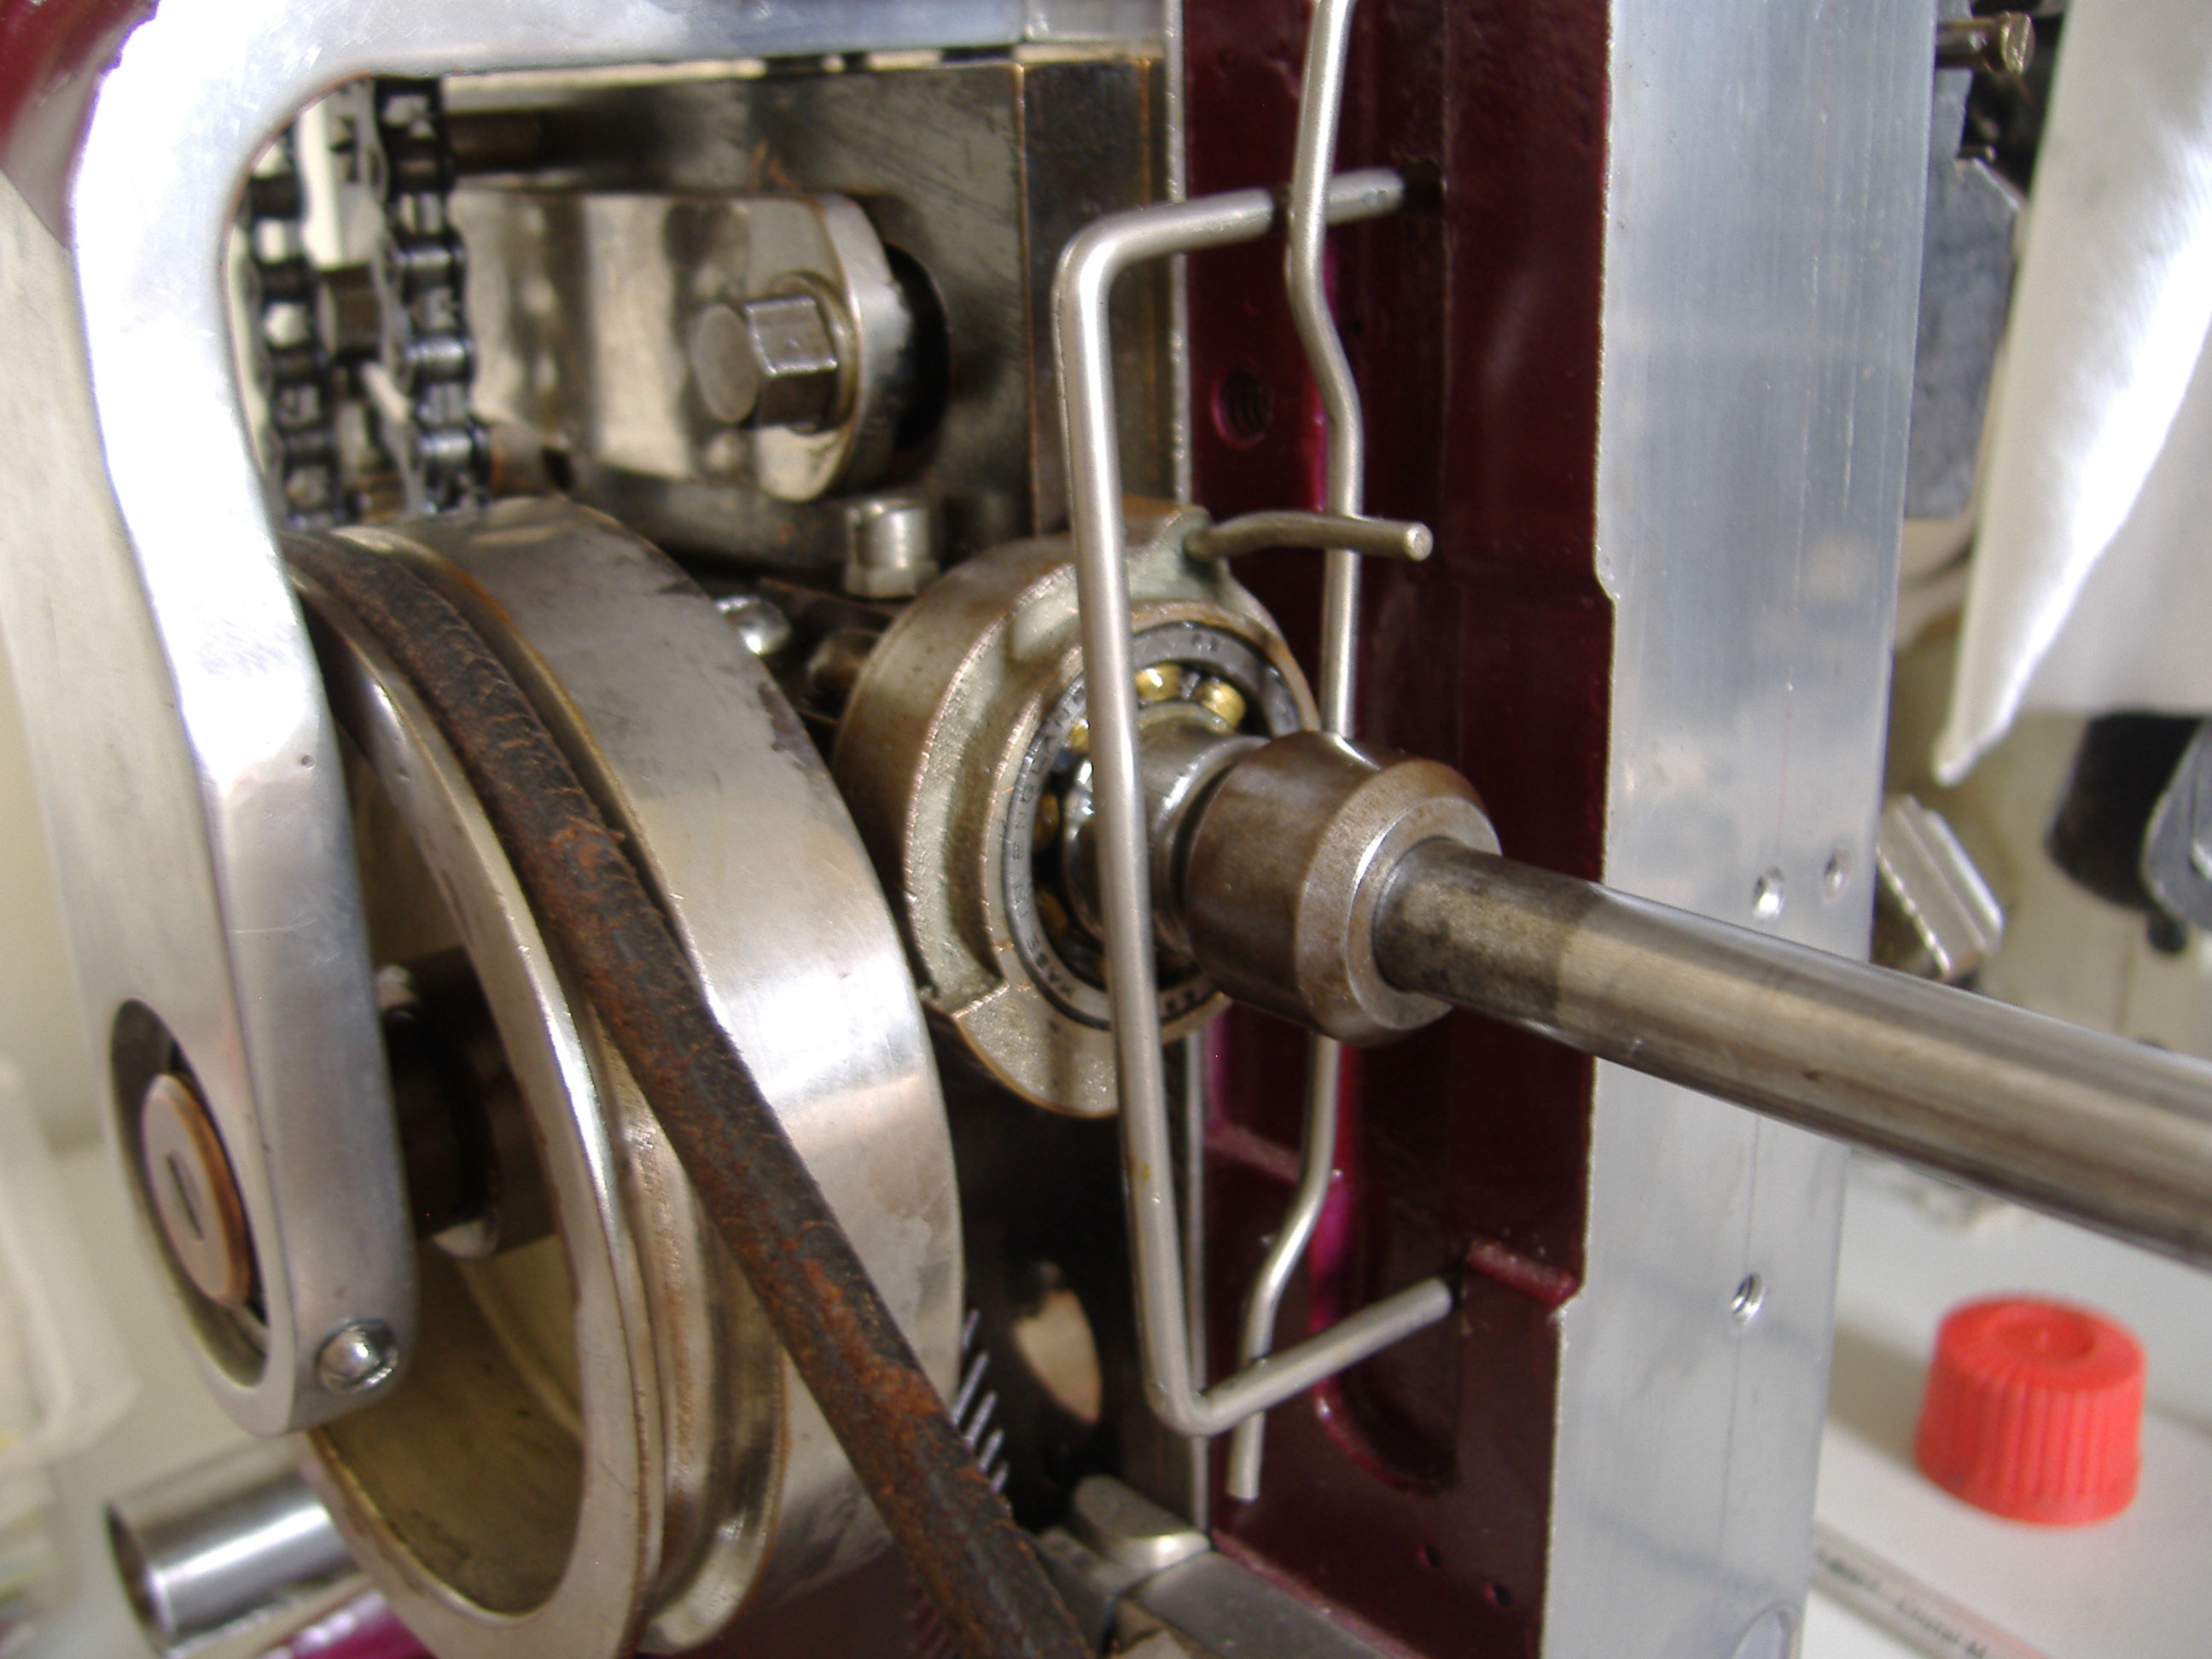
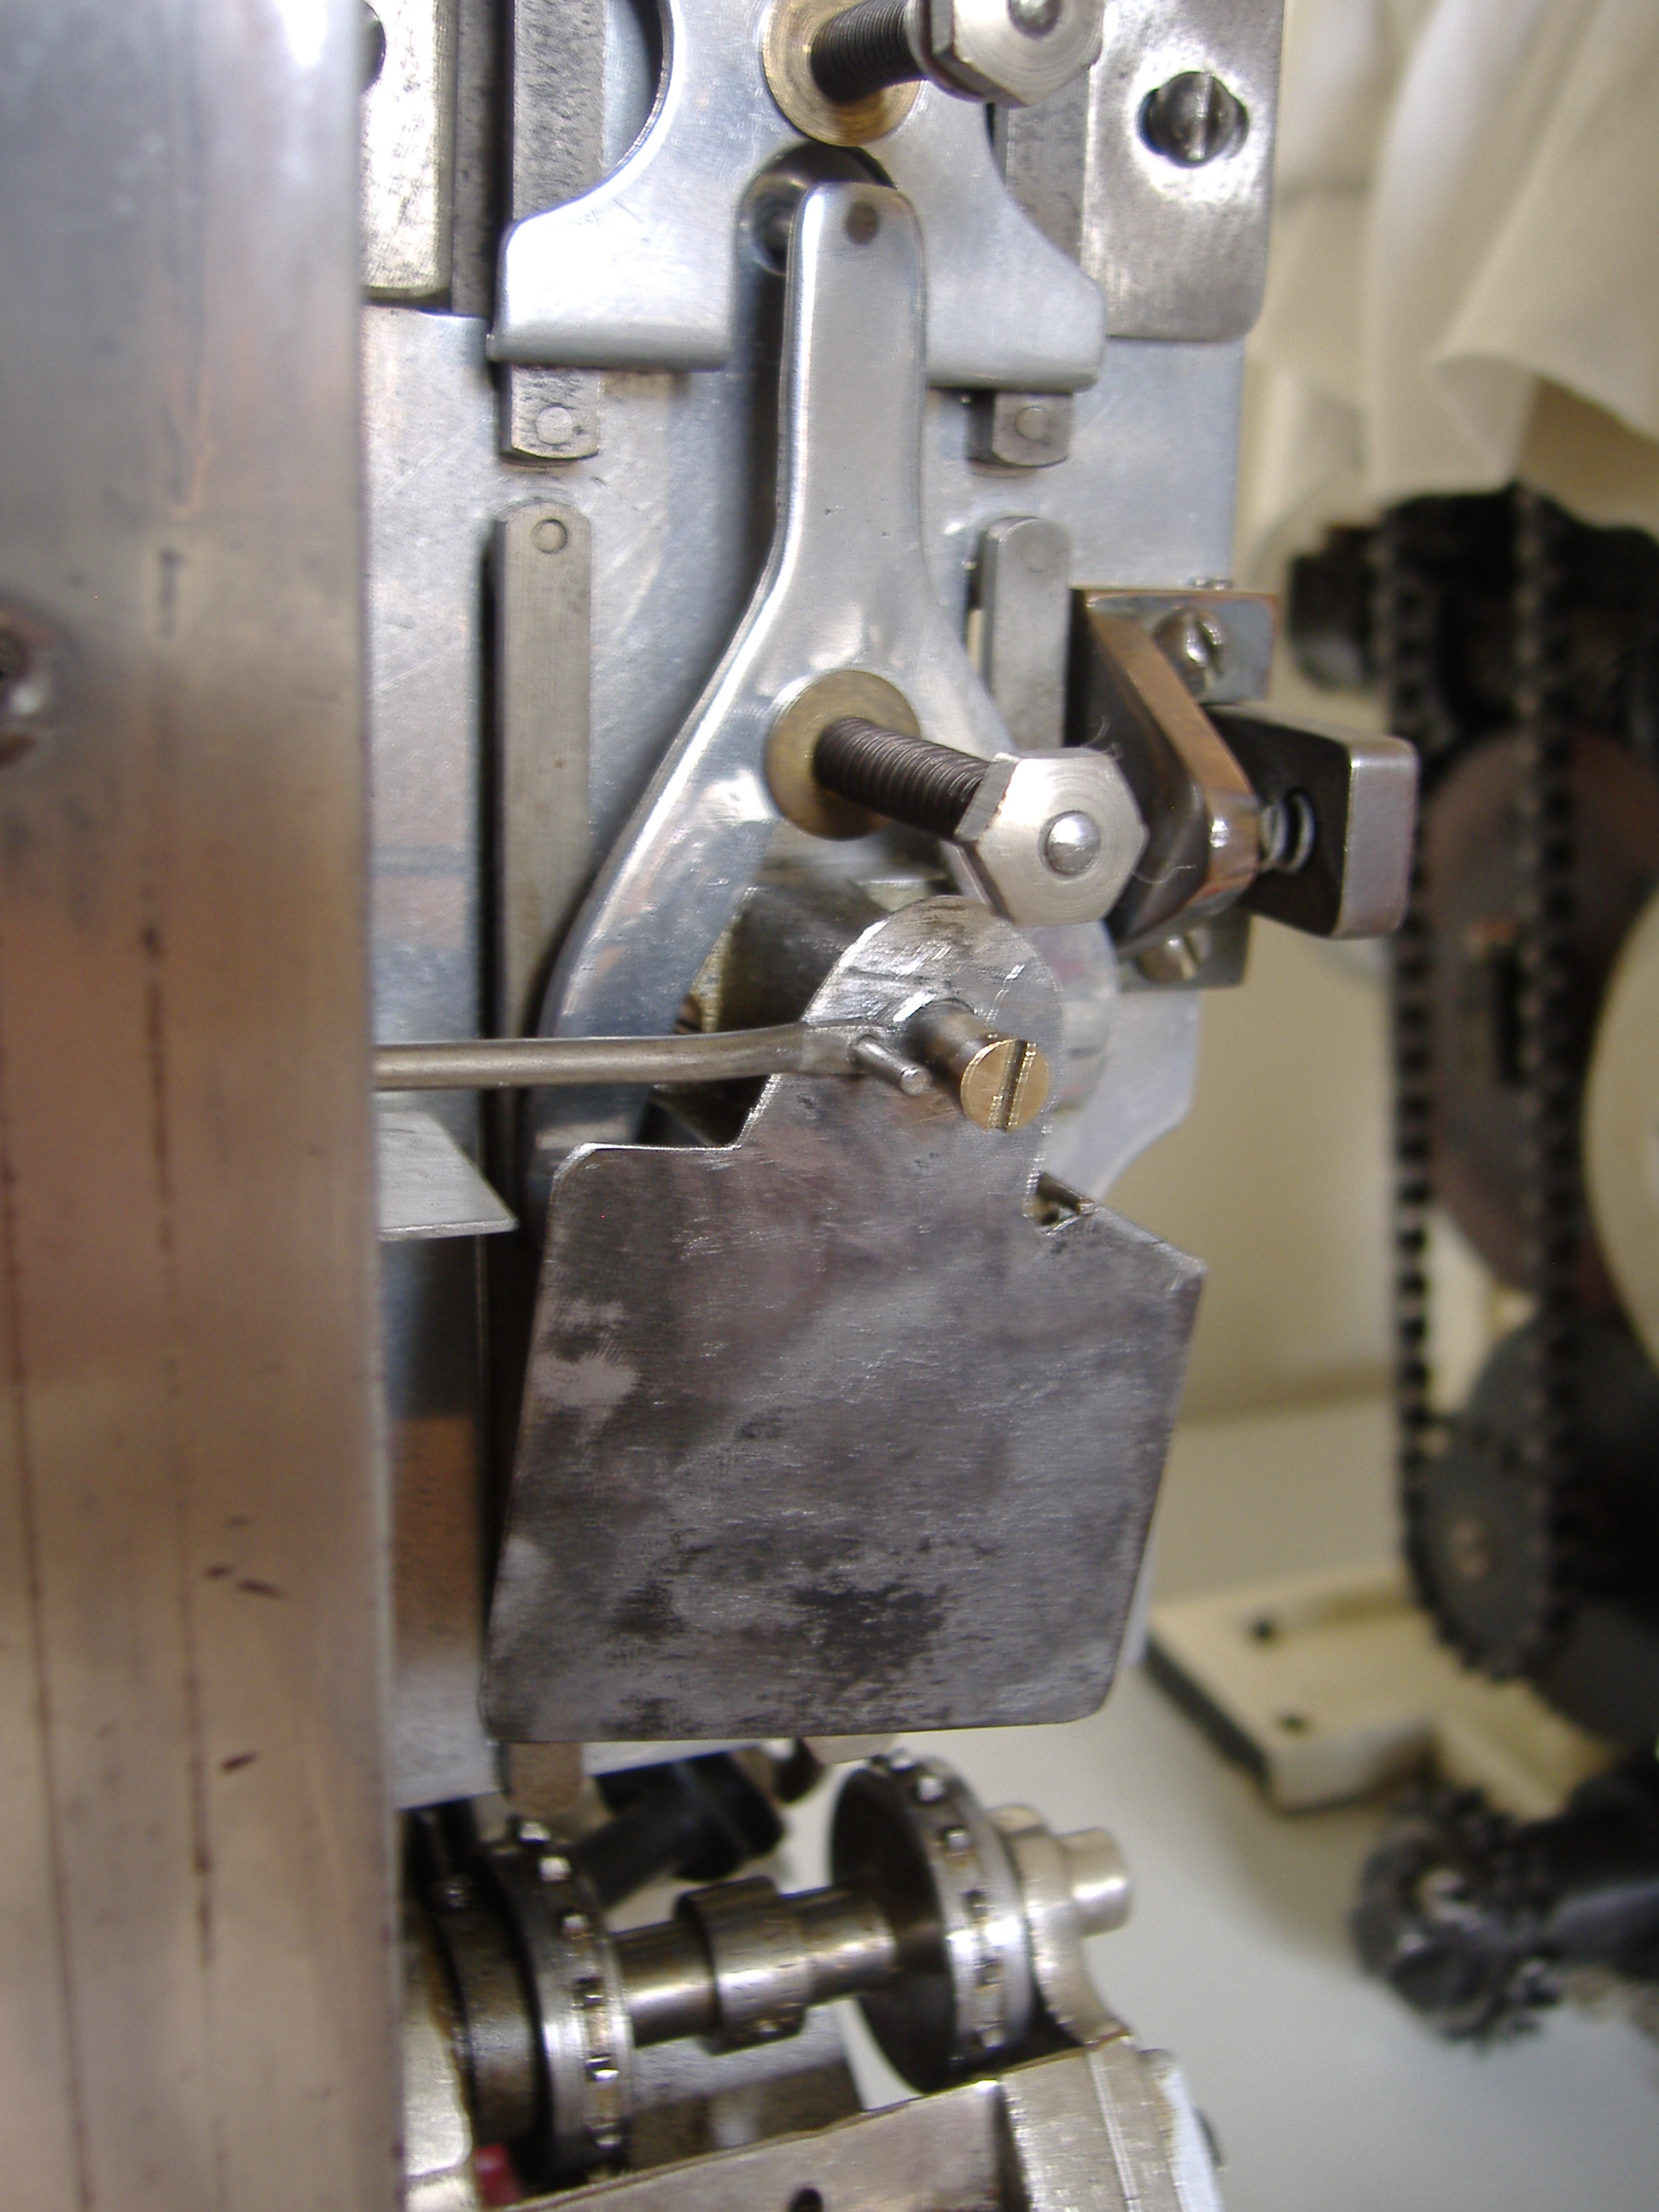
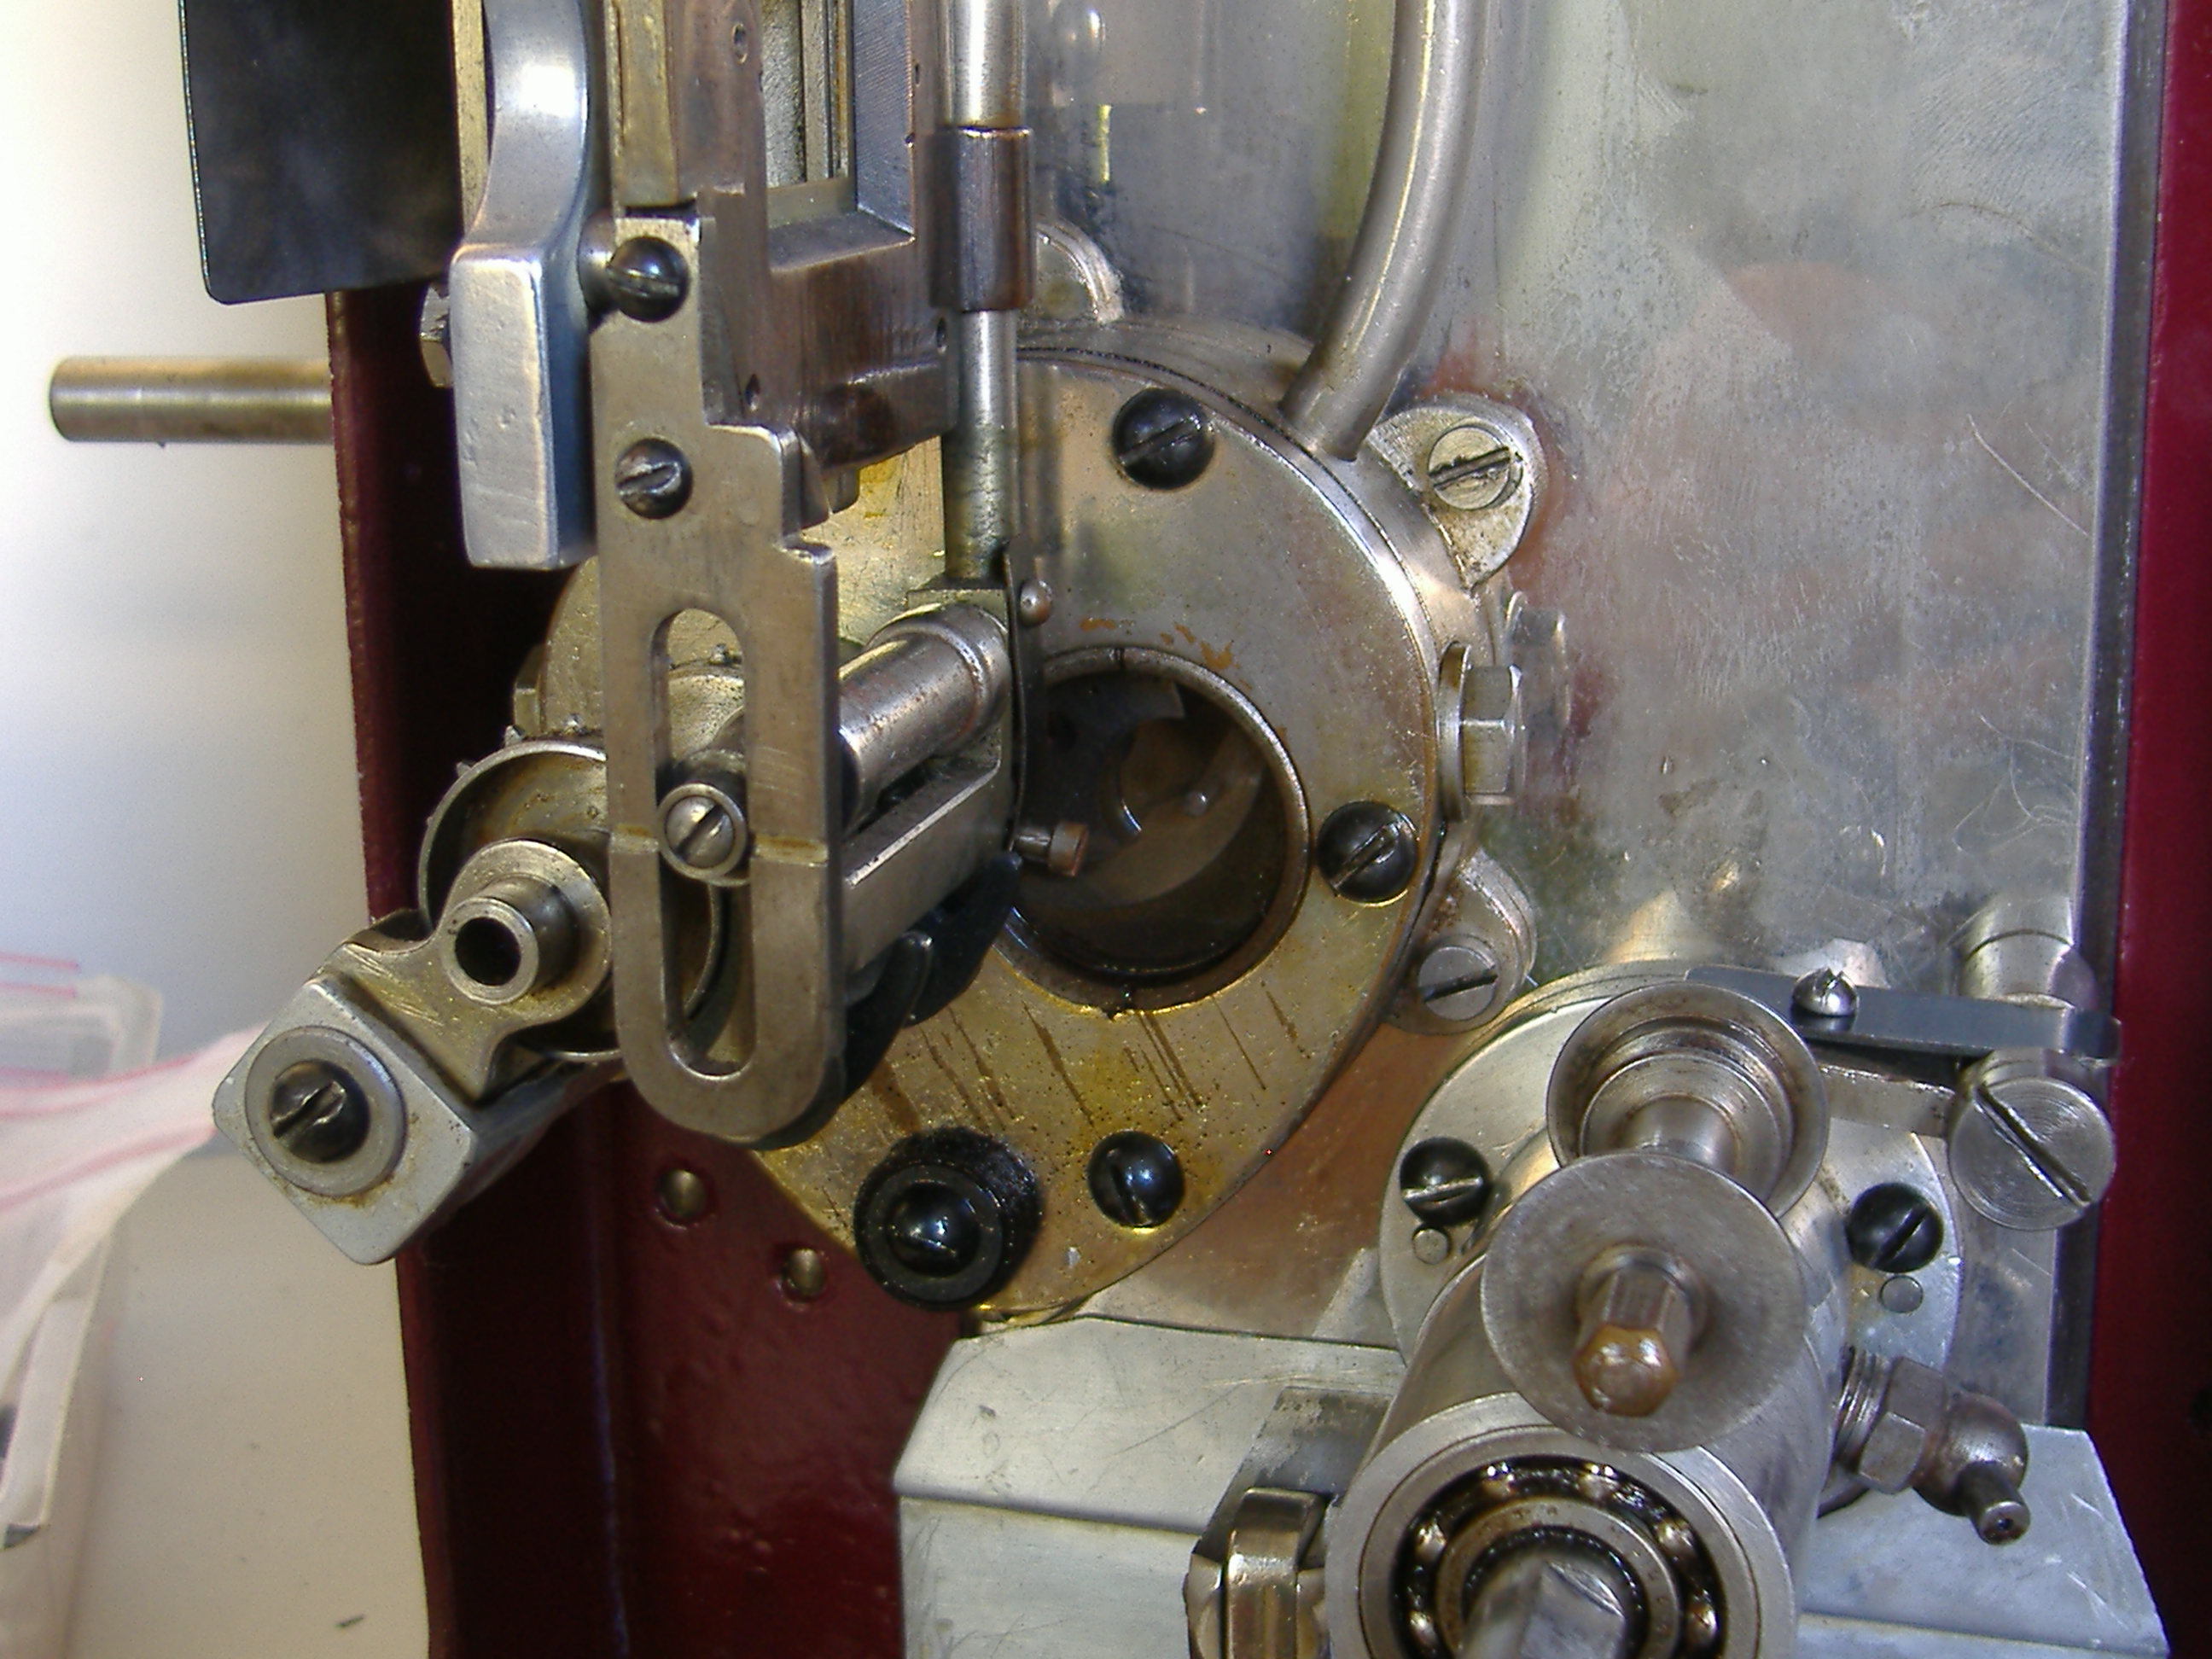
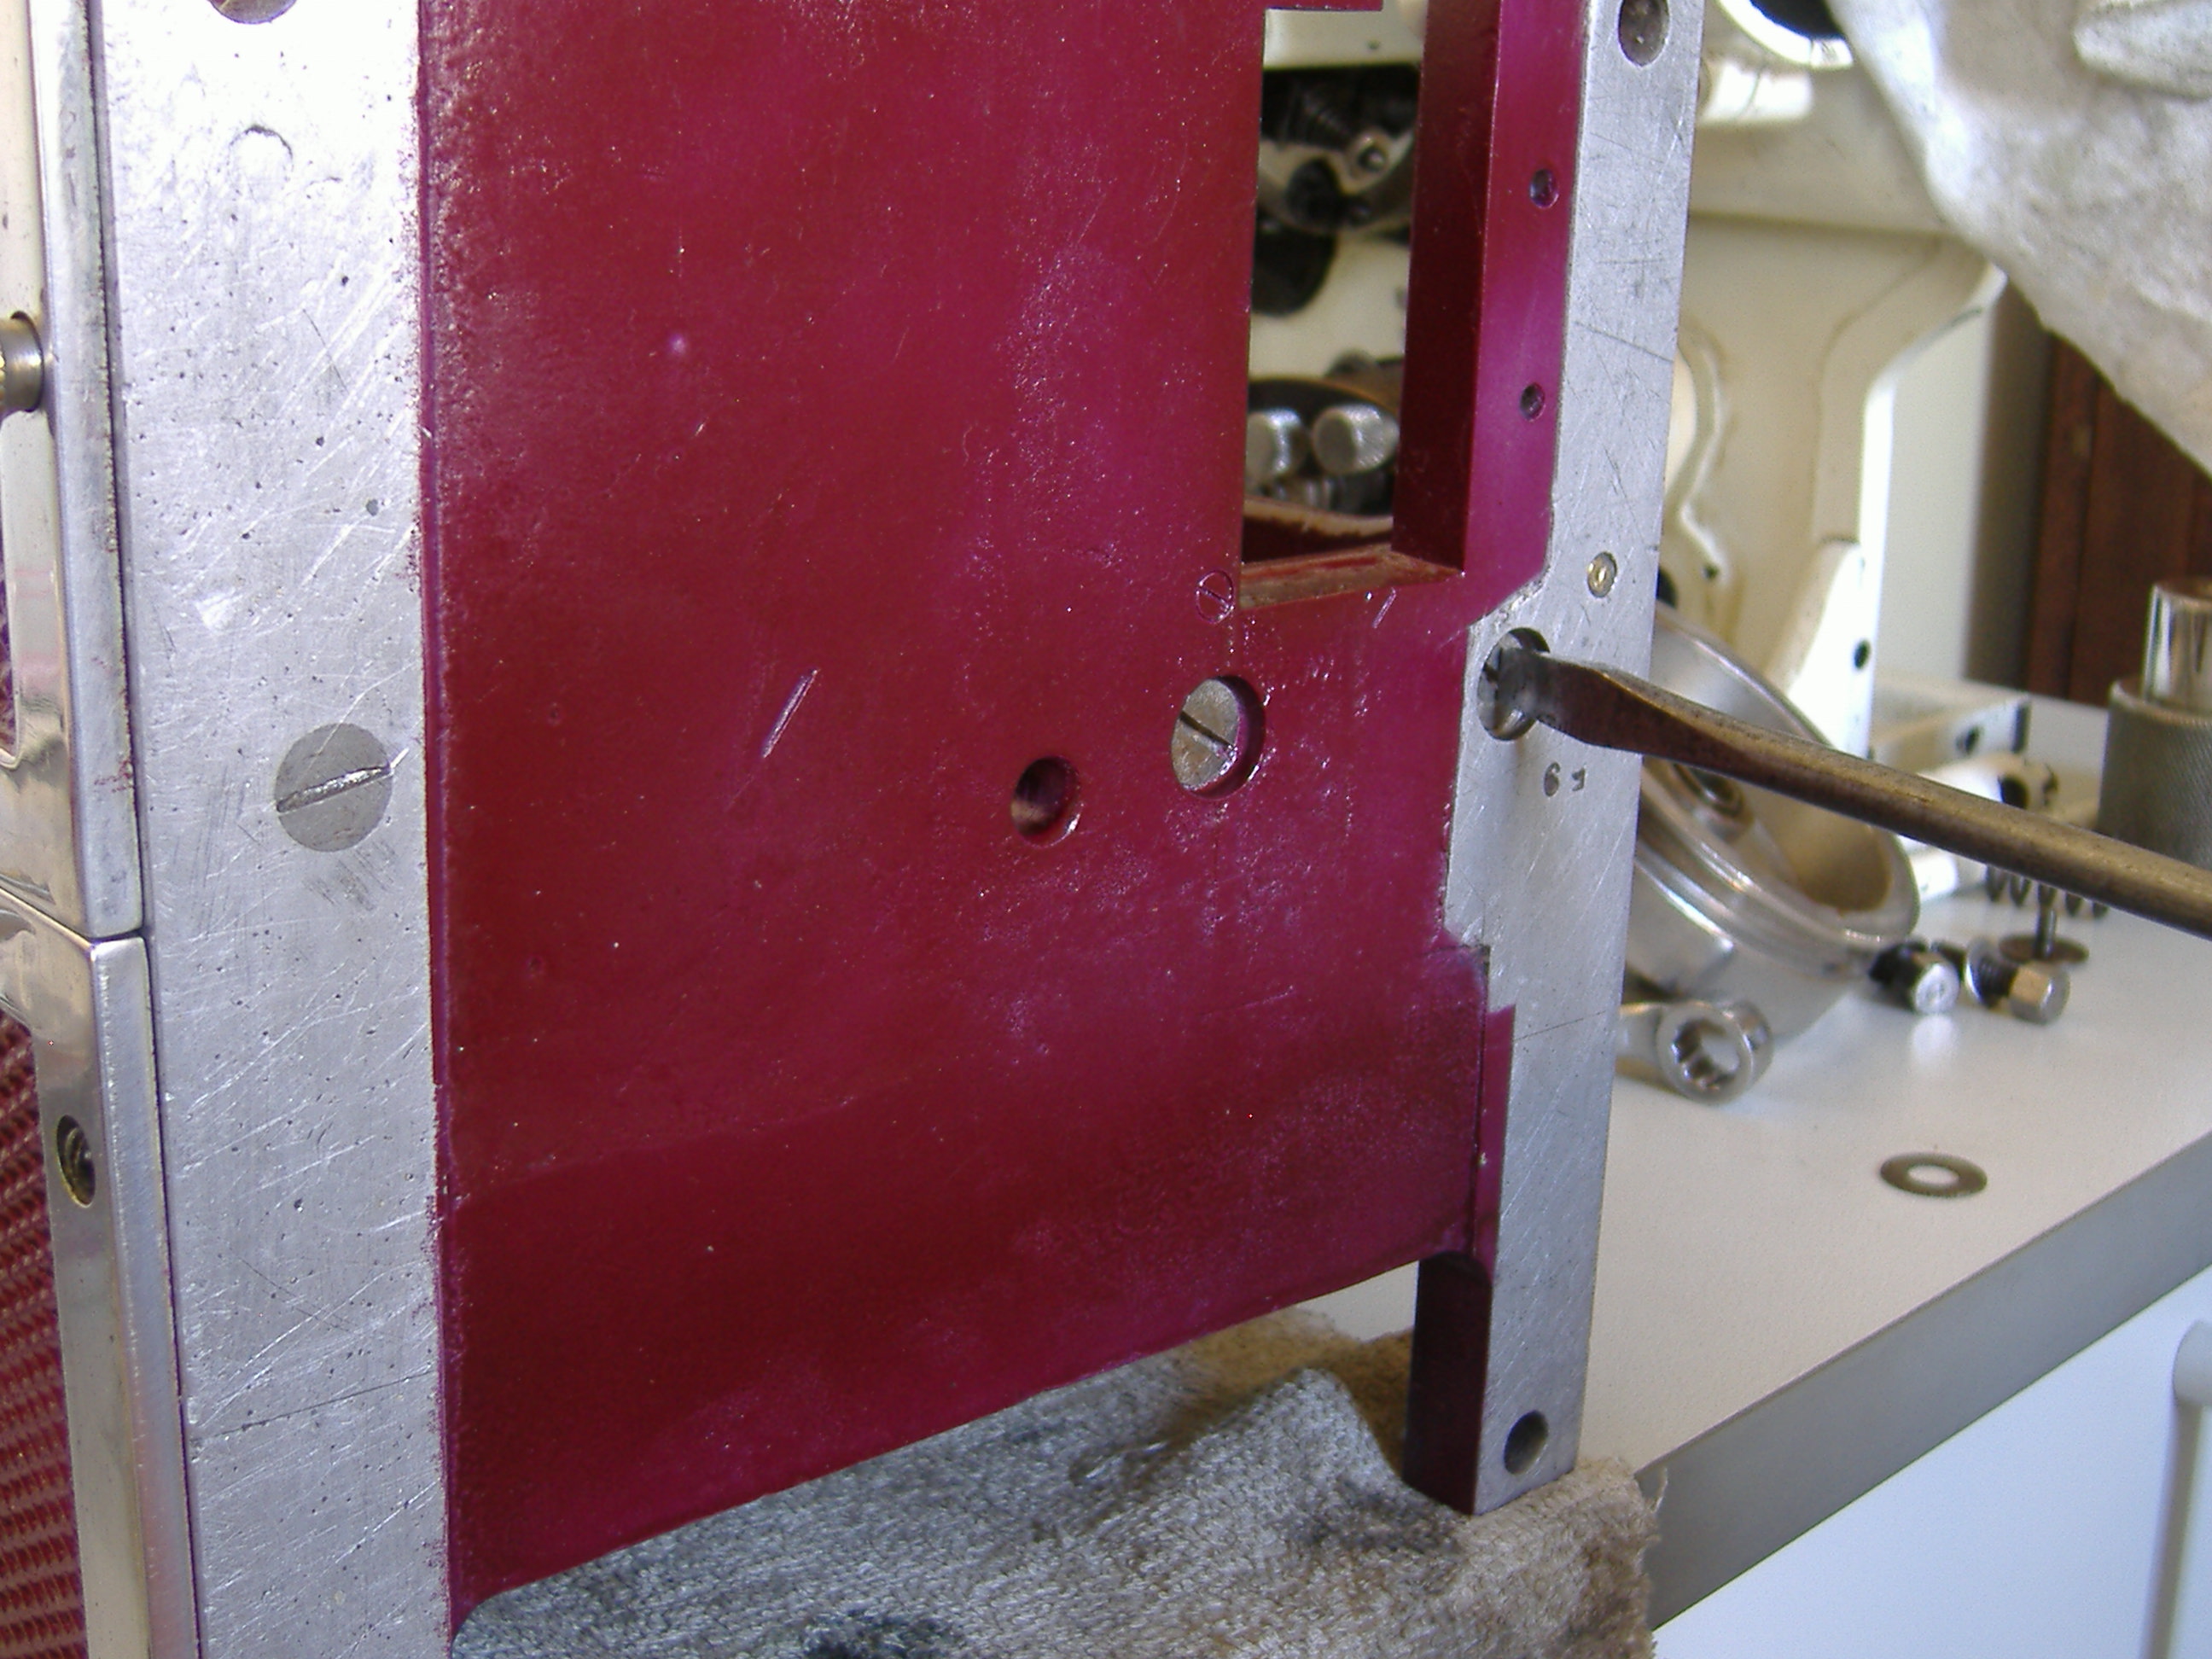
Assembling the Model E

Screws for the framing lifter bar bracket are inserted up from the underside


Insert the framing lifter and the oil resisting plate through the main plate


Nip up the framing lifter nut flywheel side


Secure the lifter to the faming unit with the fulcrum pin


Framing lifter ready to go


Early type Western Electric gear mounting plate and drive gear ready to fix onto the plate of an early C&W model D Note the early oiling hole


Refit the main fibre driving gear without the holding screws


Insert the threaded floppy disk drive gear


With a large pointed screw driver tighten up the holding screw


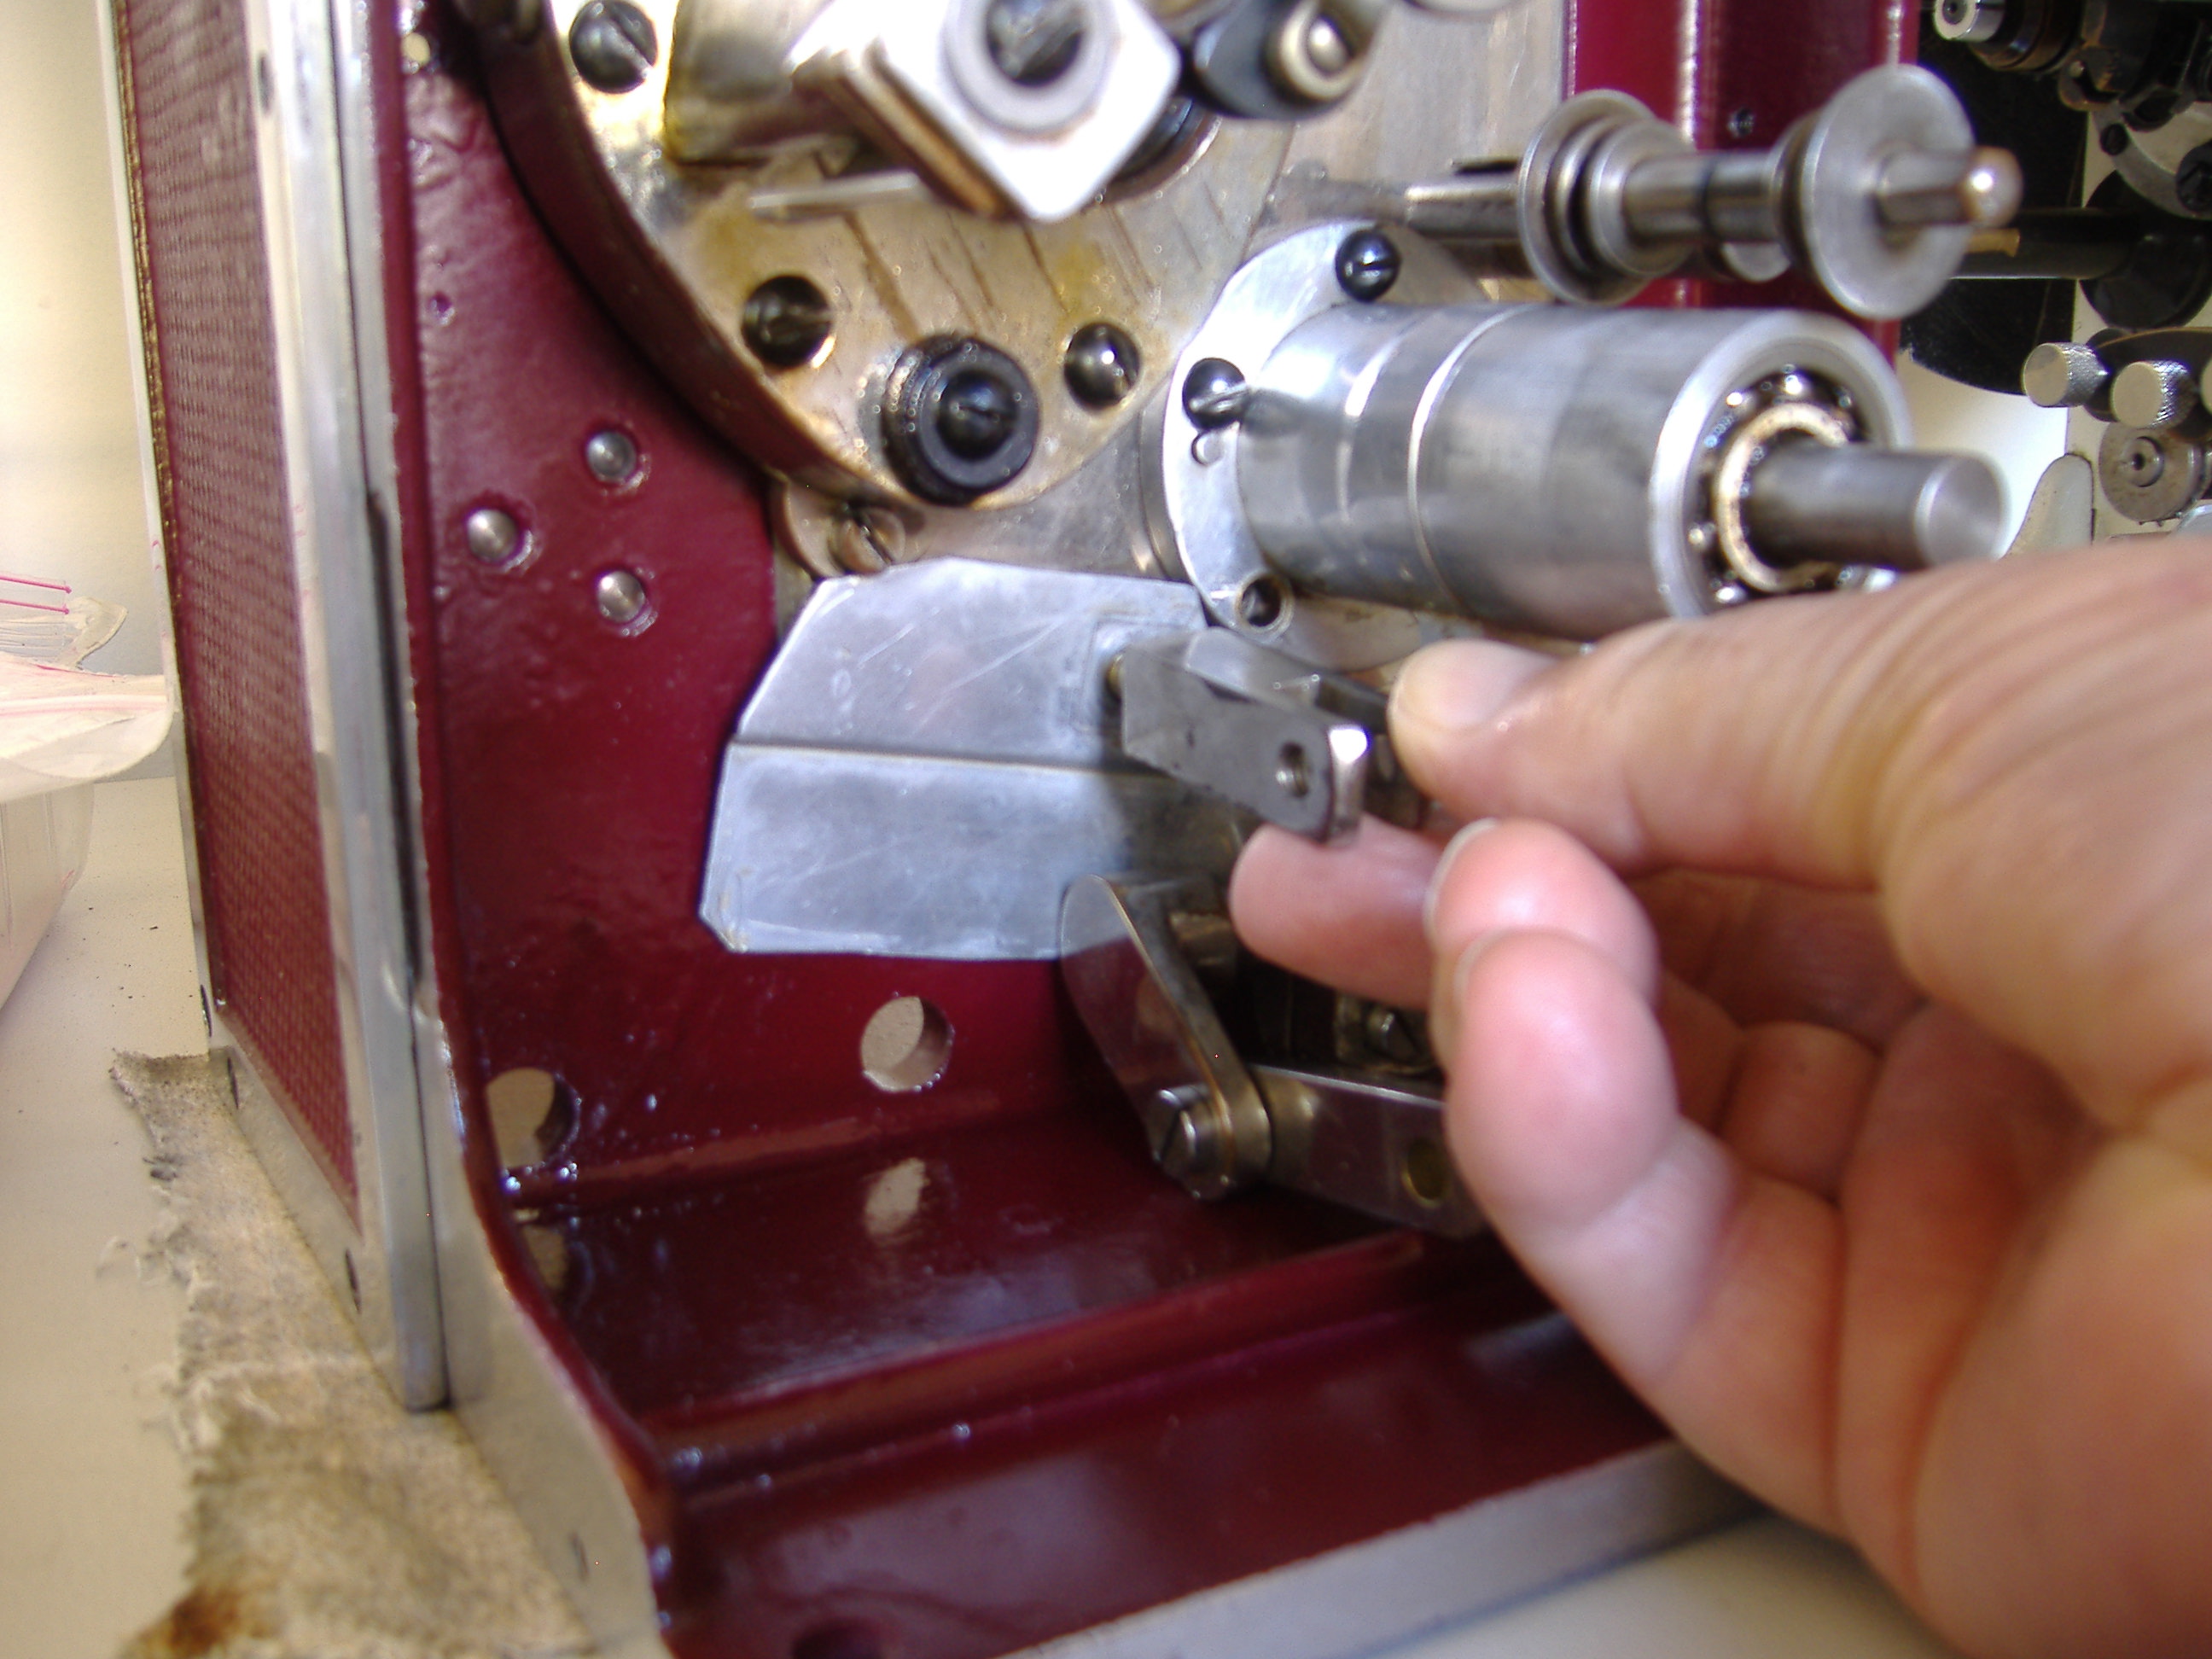
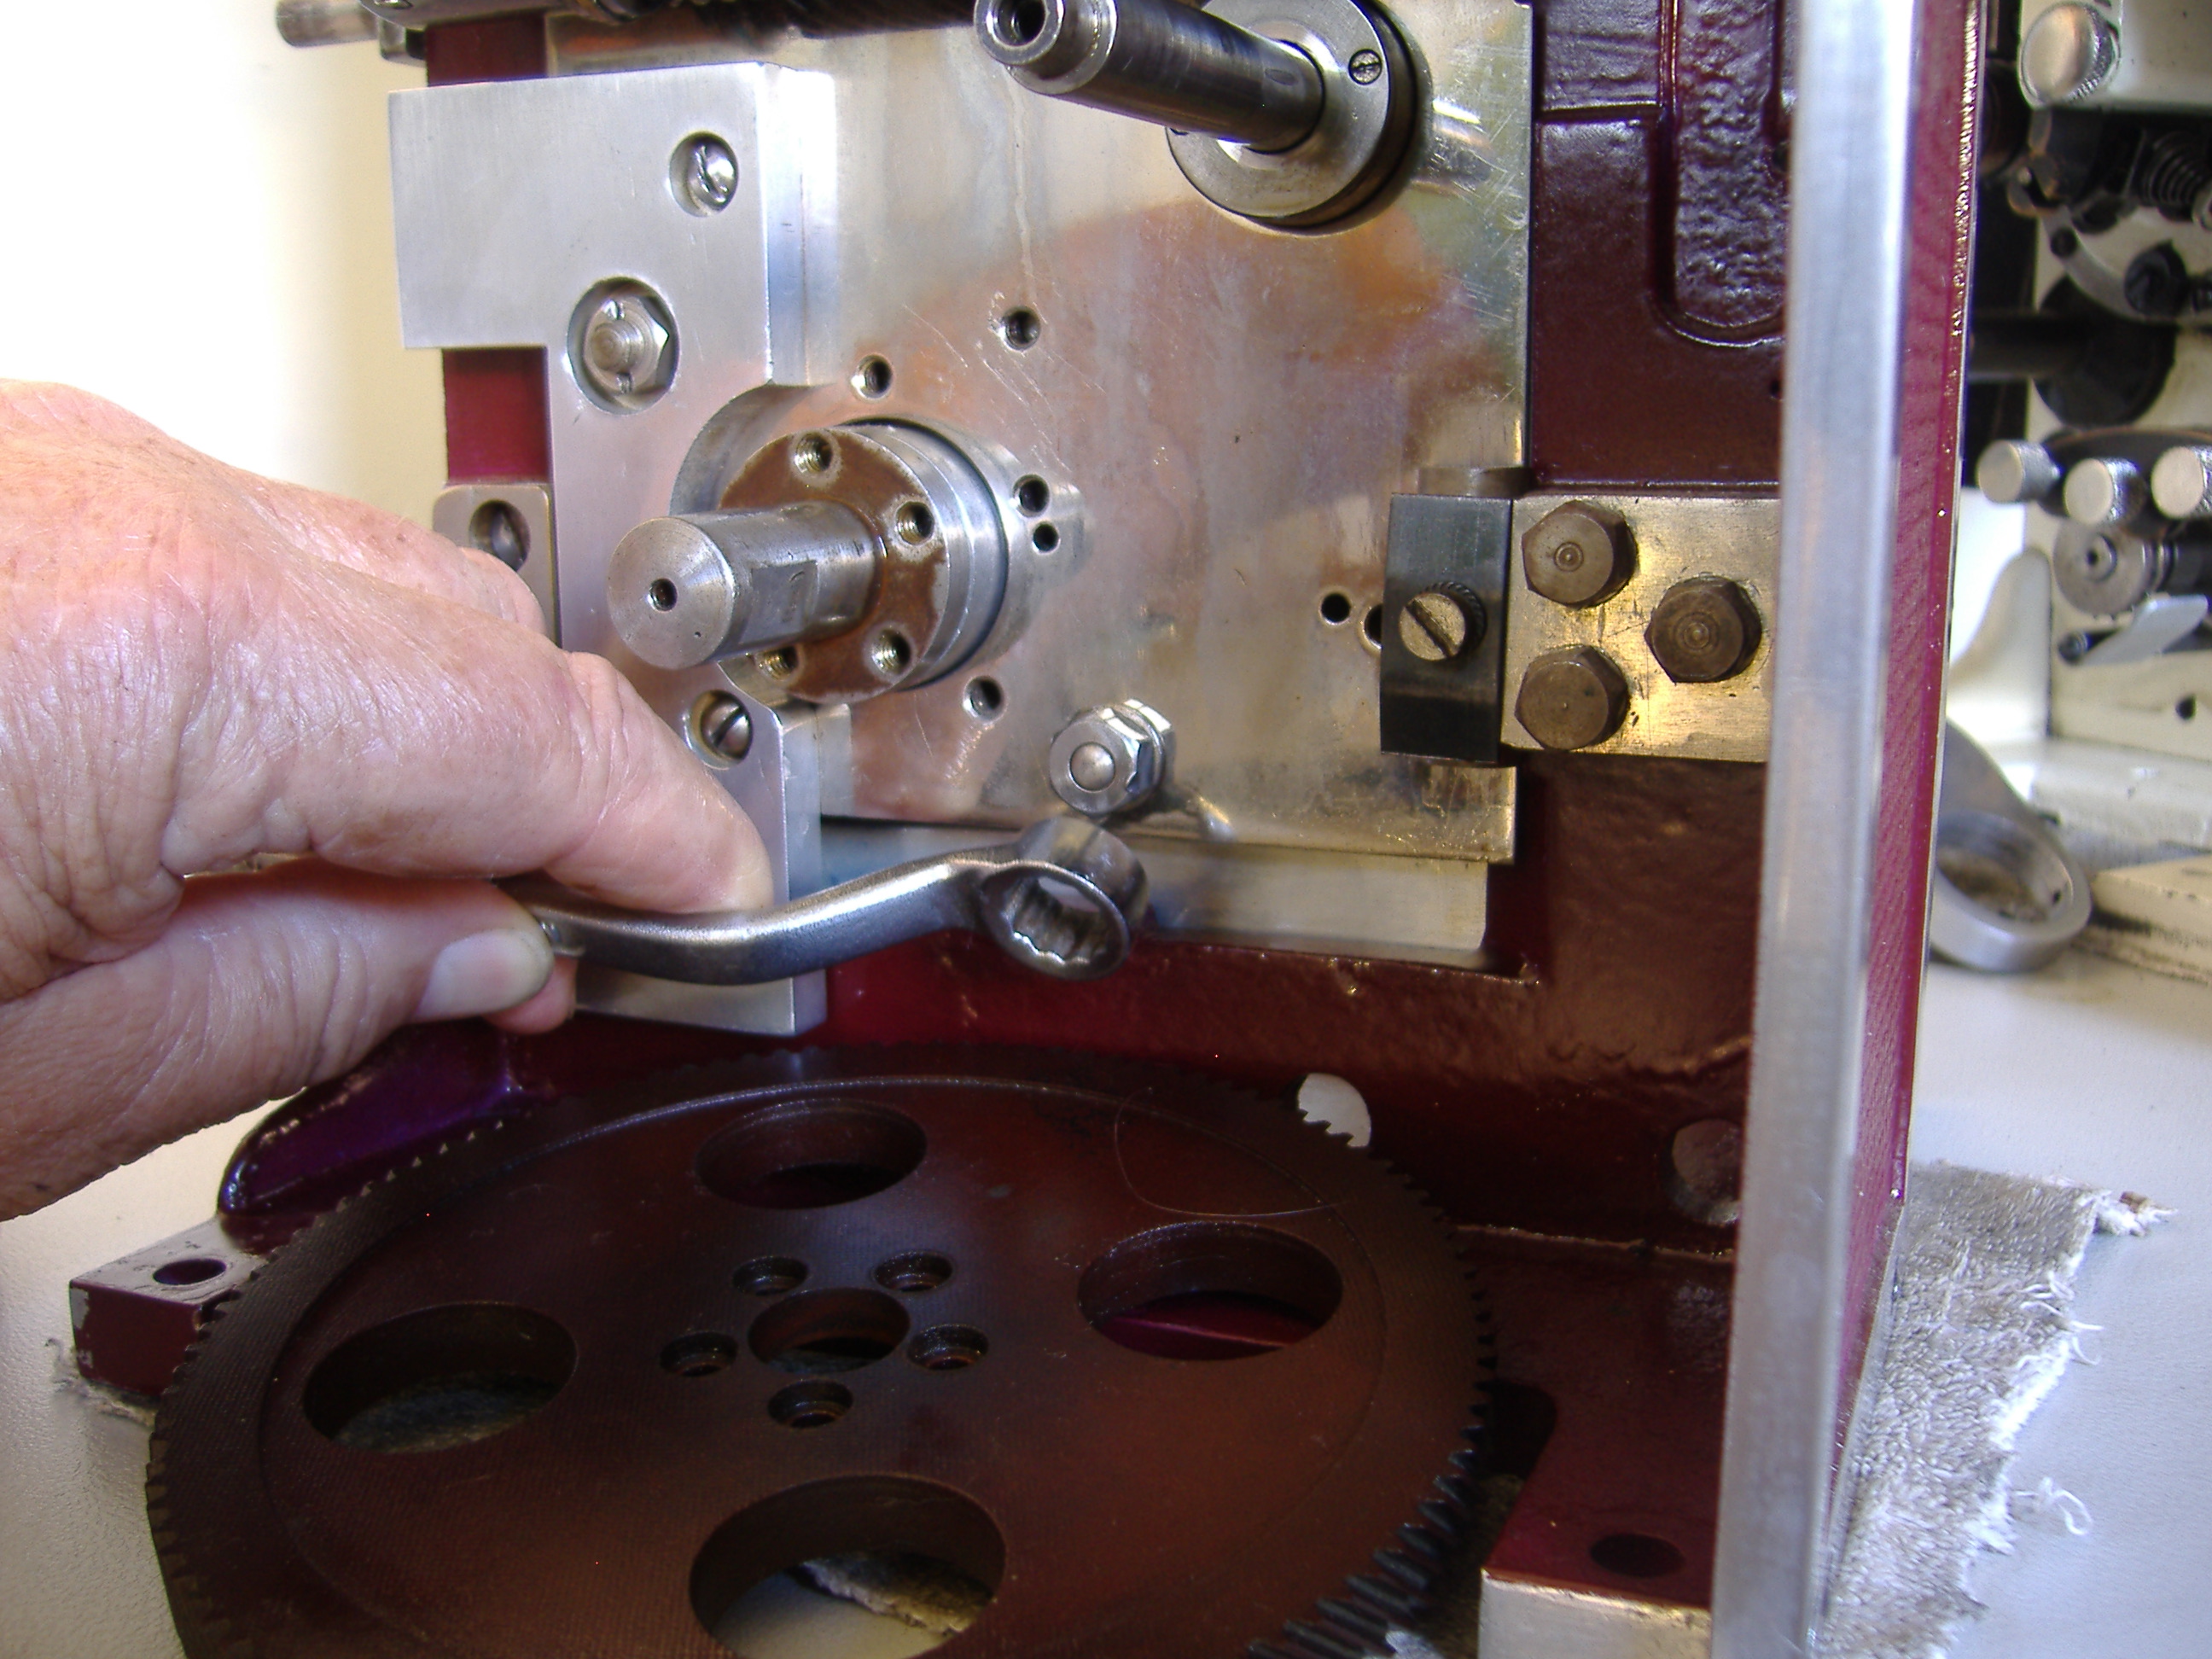
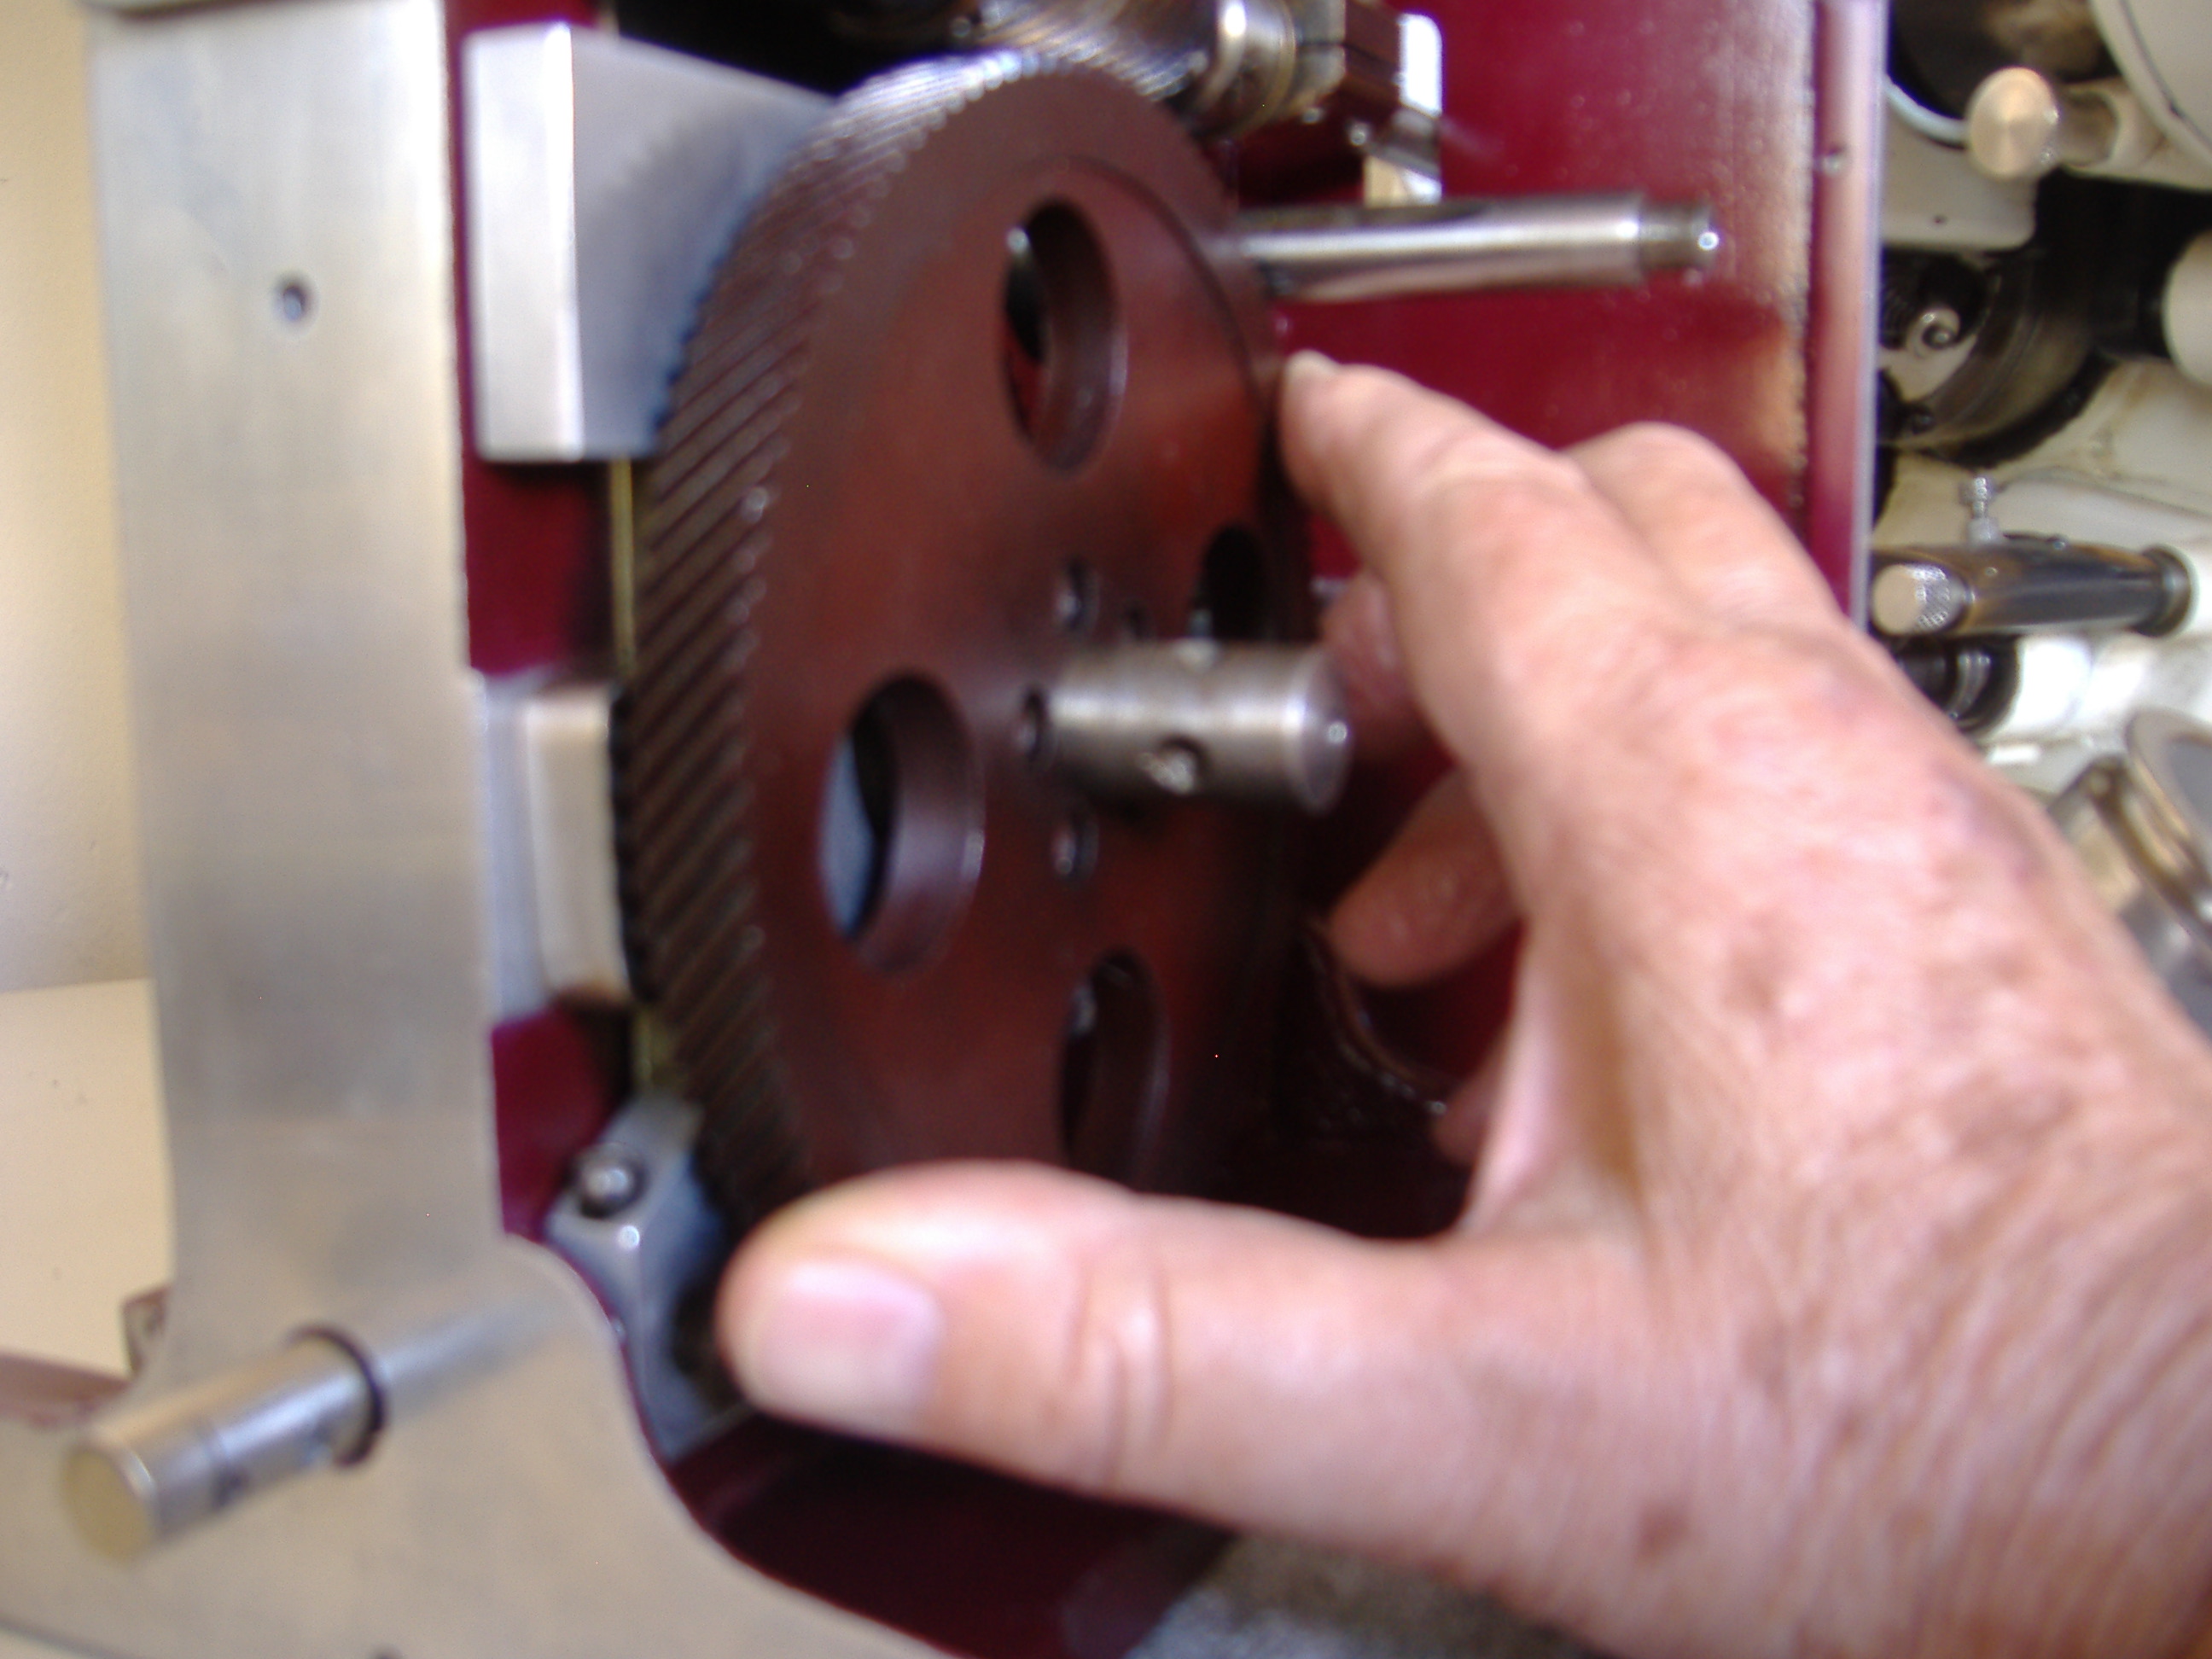
Then Carefully push on the flywheel, engaging its gear to the main gear

Insert it 90° to the engage in an anti-clockwise motion and twist it clock-wise as it carefully engages with the main driving gear


Insert the collar spacer


Mount the outer bearing holder bracket into its engineering pins


Insert and nip up the holding screws


Push in the outer ball bearing and its bearing bush


Replace the bearing keeper with its screw


Tighten up the bearing keeper screw


Rotate the intermittent flywheel clock-wise to see that all is rotating smoothly


Model E rear view showing Gate and Intermittent sprocket


Automatic cut-off Actuating lever, Ball race, Holder and protection bar


Automatic cut off blade and actuating rod


Intermittent Shoe position adjusting screw Note gate central sliding position mark


Scroll to Top